Welcome! Here are the website rules, as well as some tips for using this forum.
Click here to Find a Contractor in your area.
If our community has helped you, please consider making a contribution to support this website. Thanks!
Hot Mop
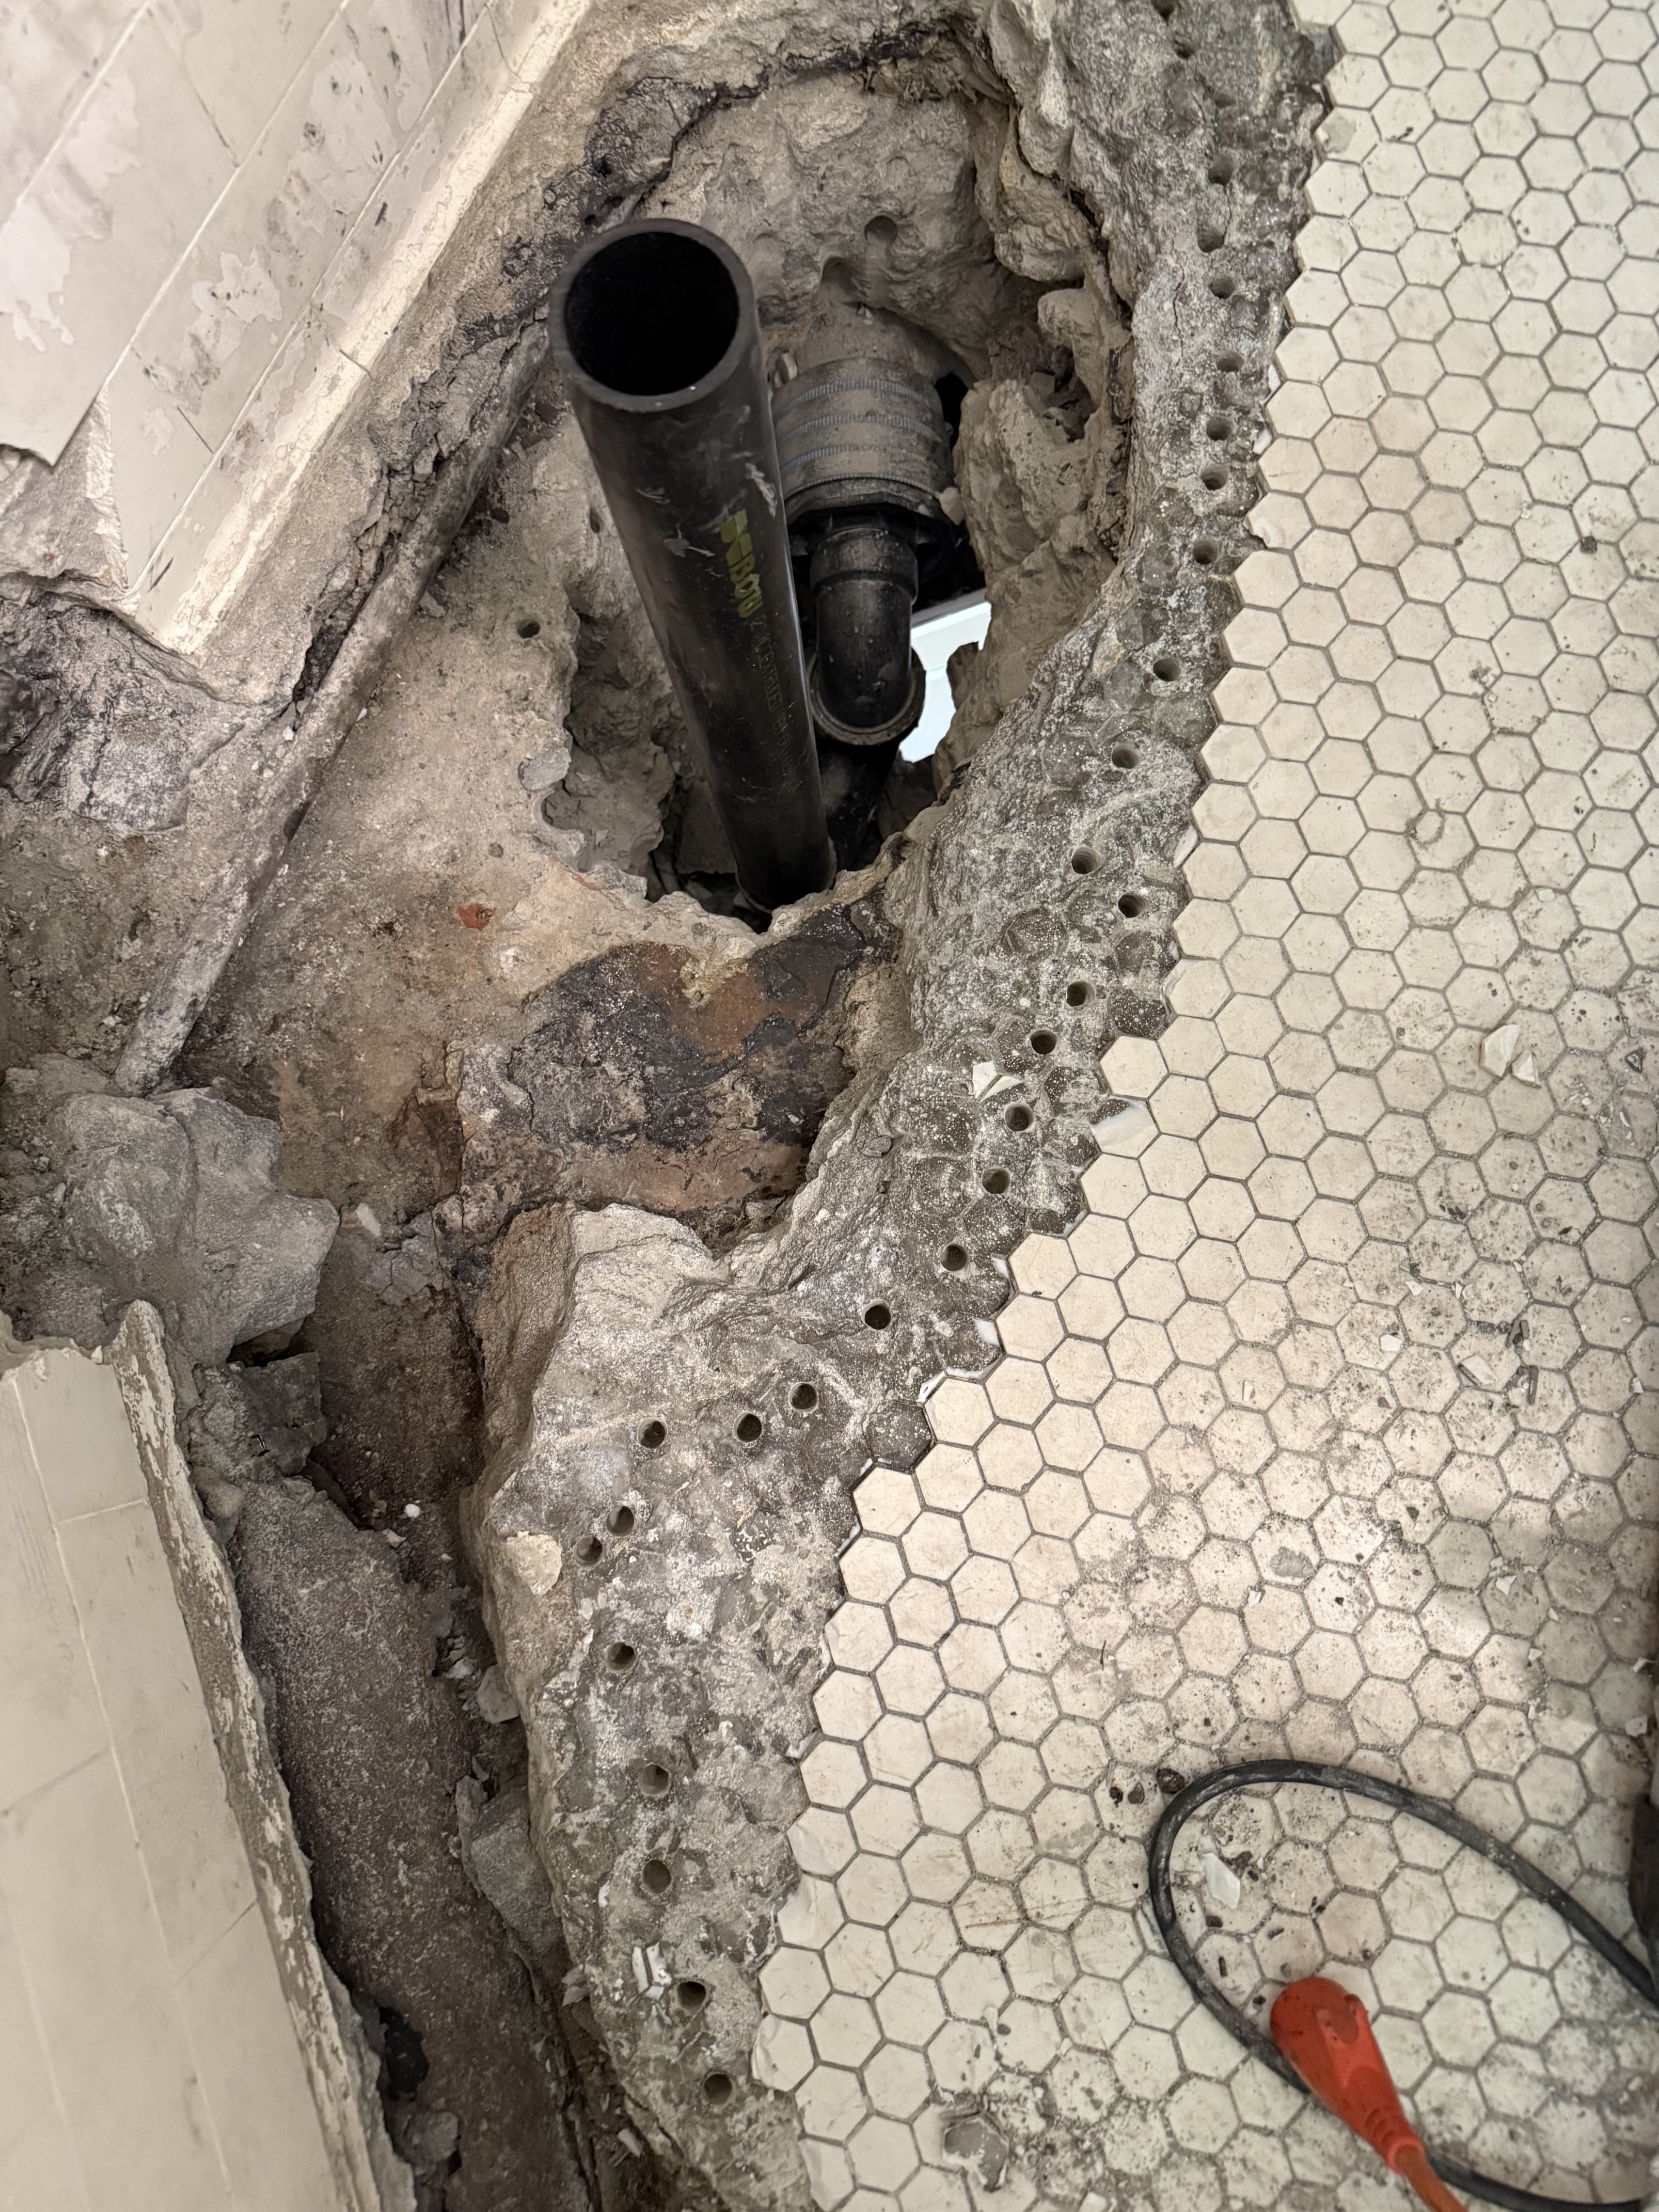
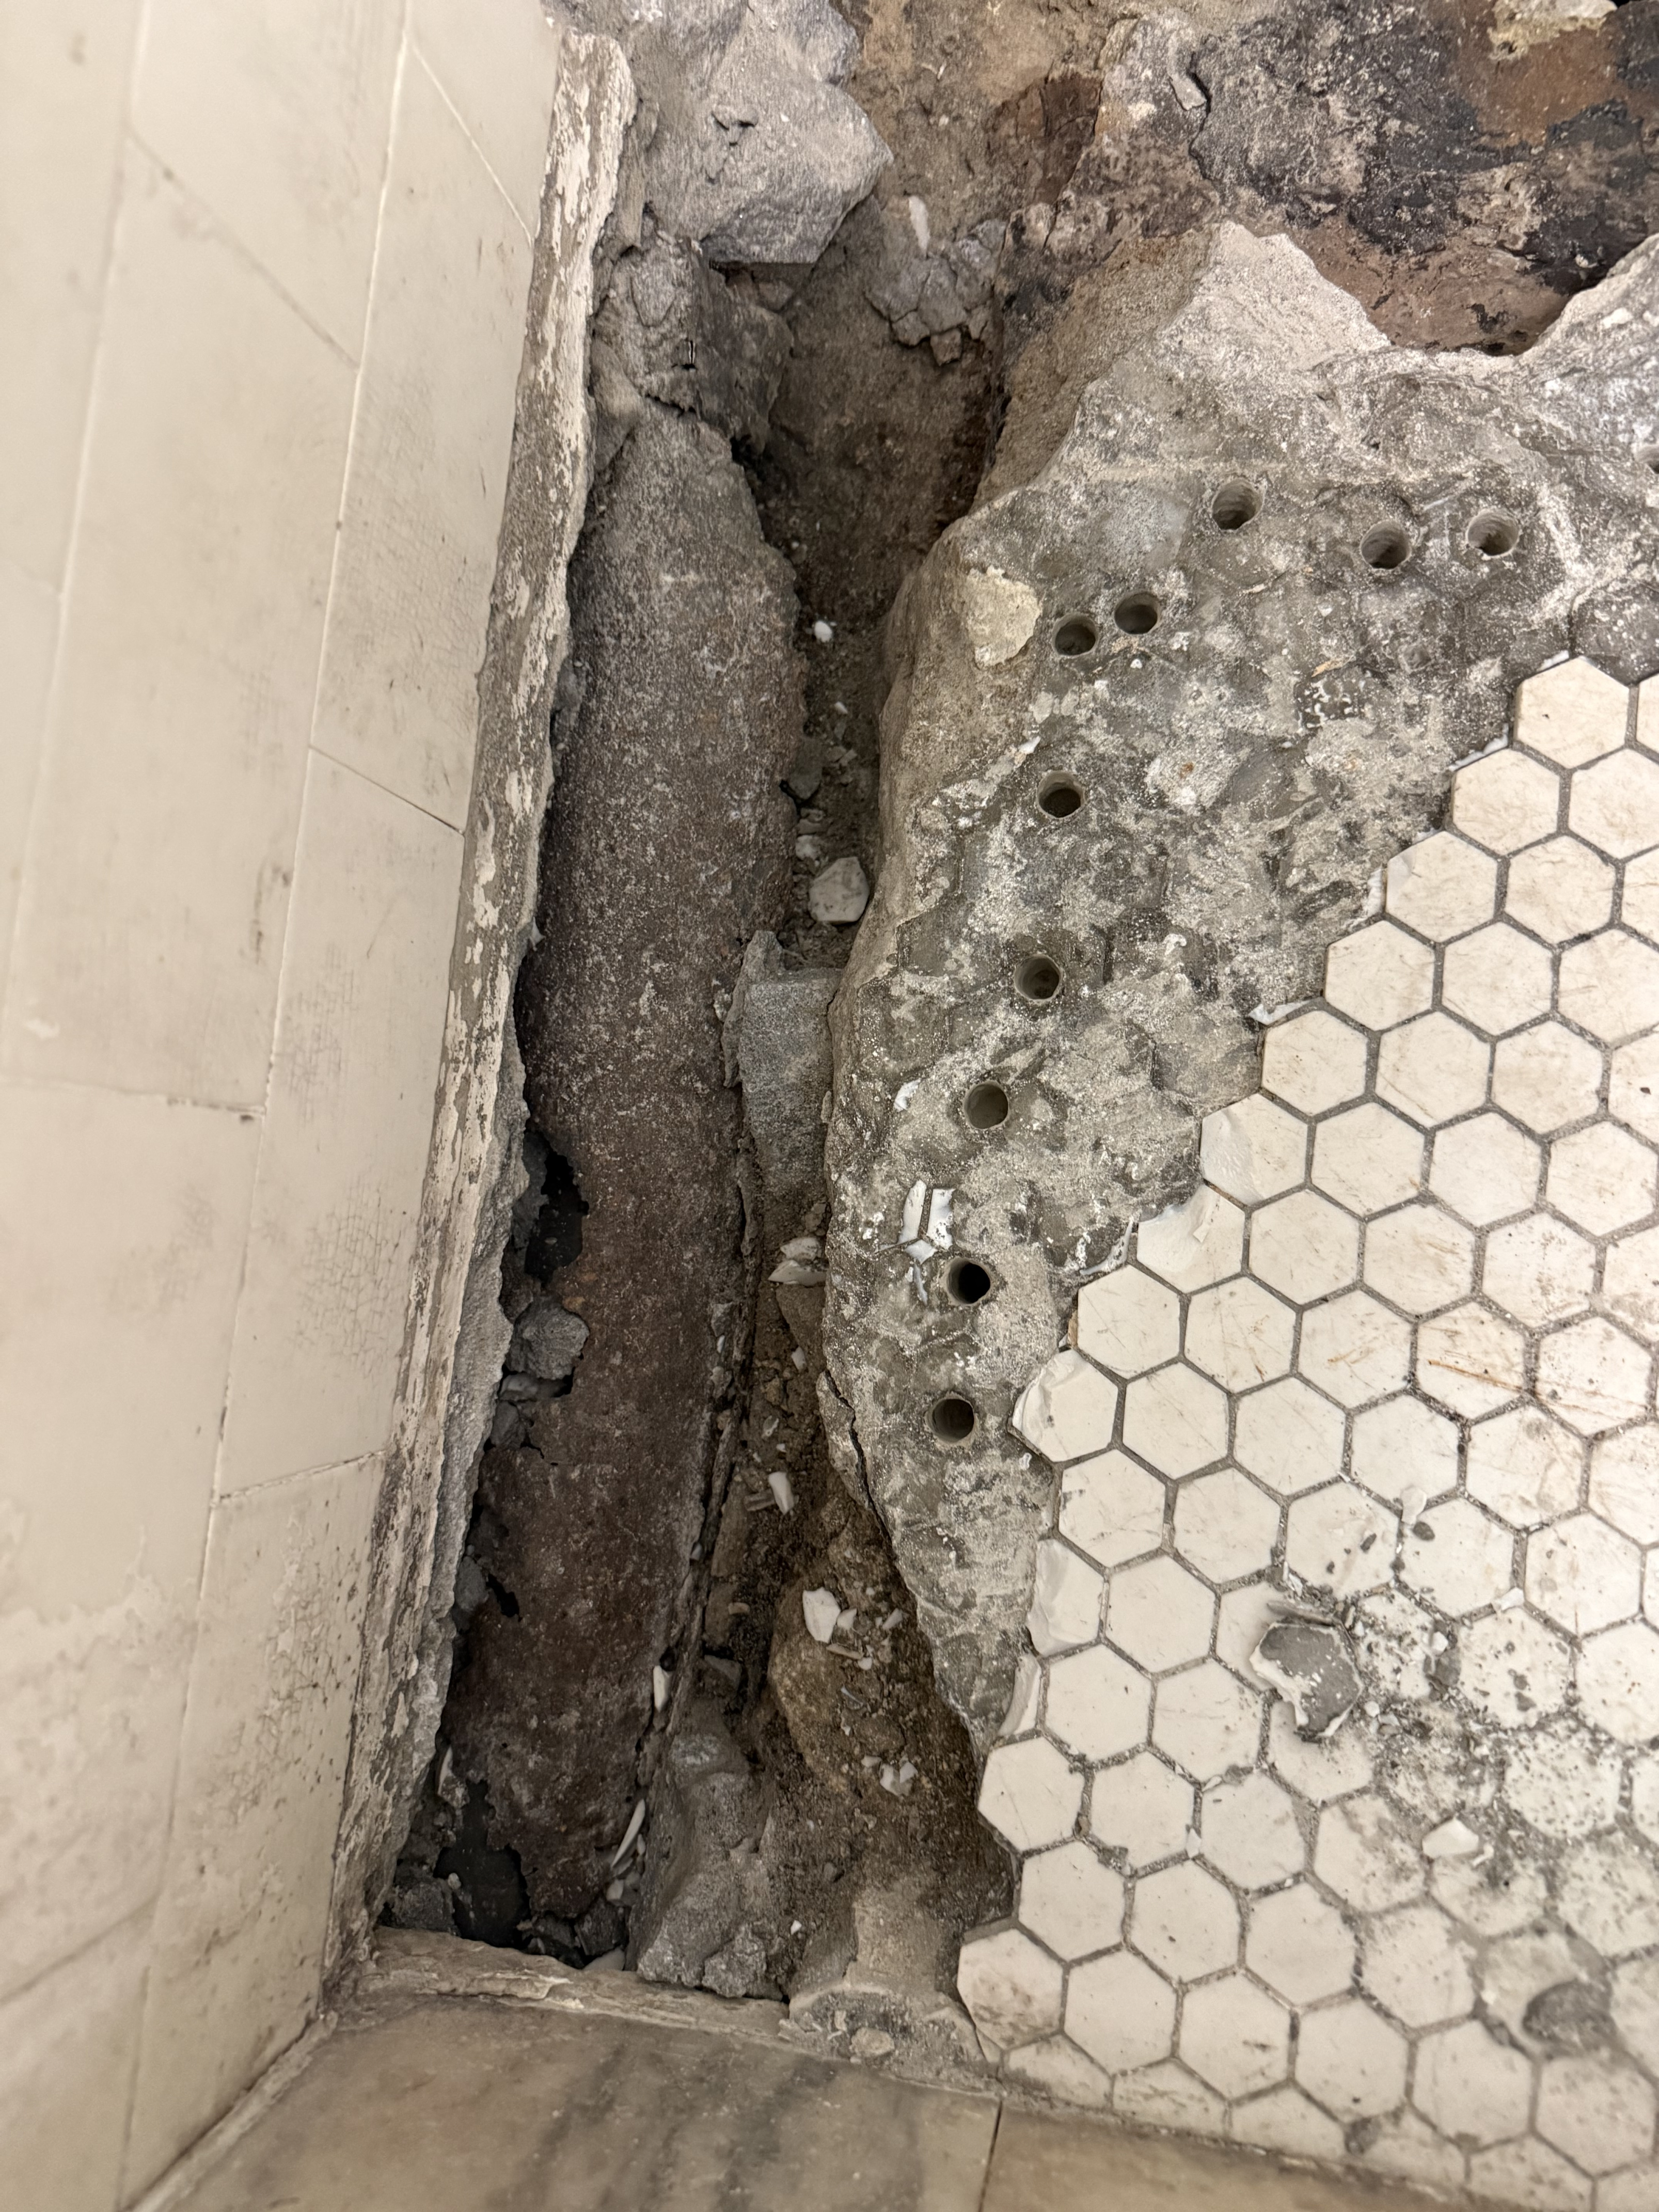
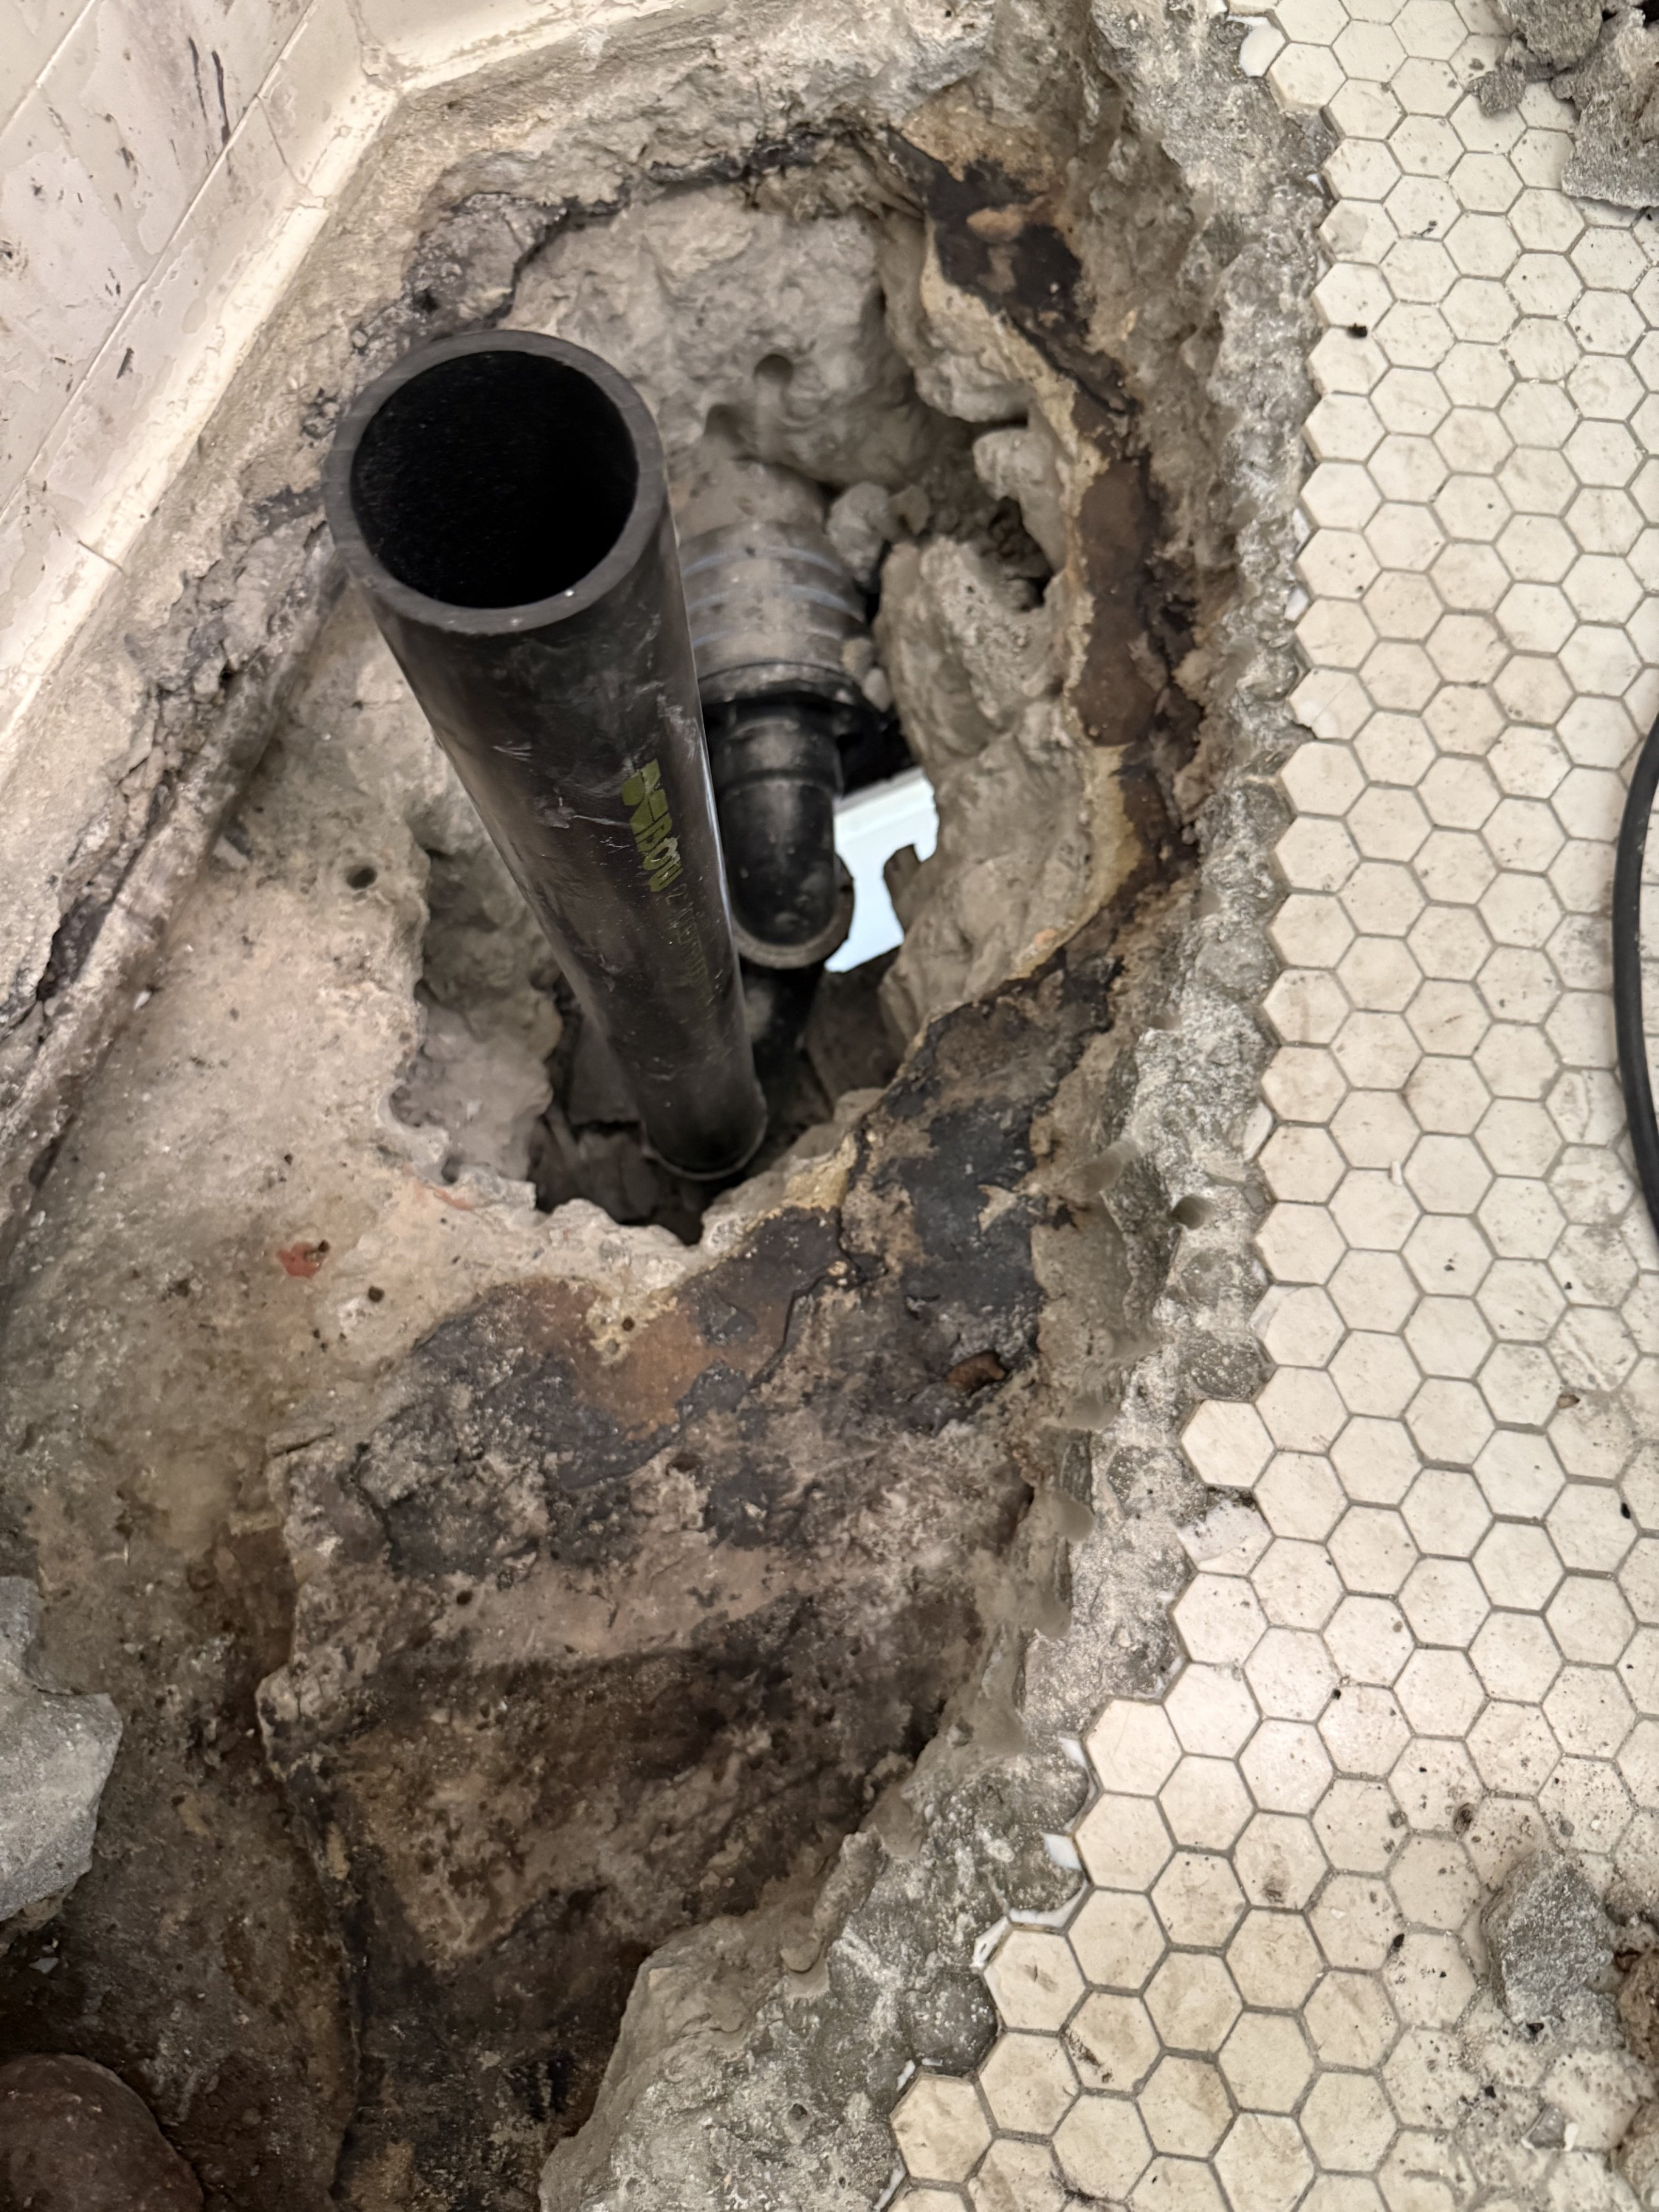
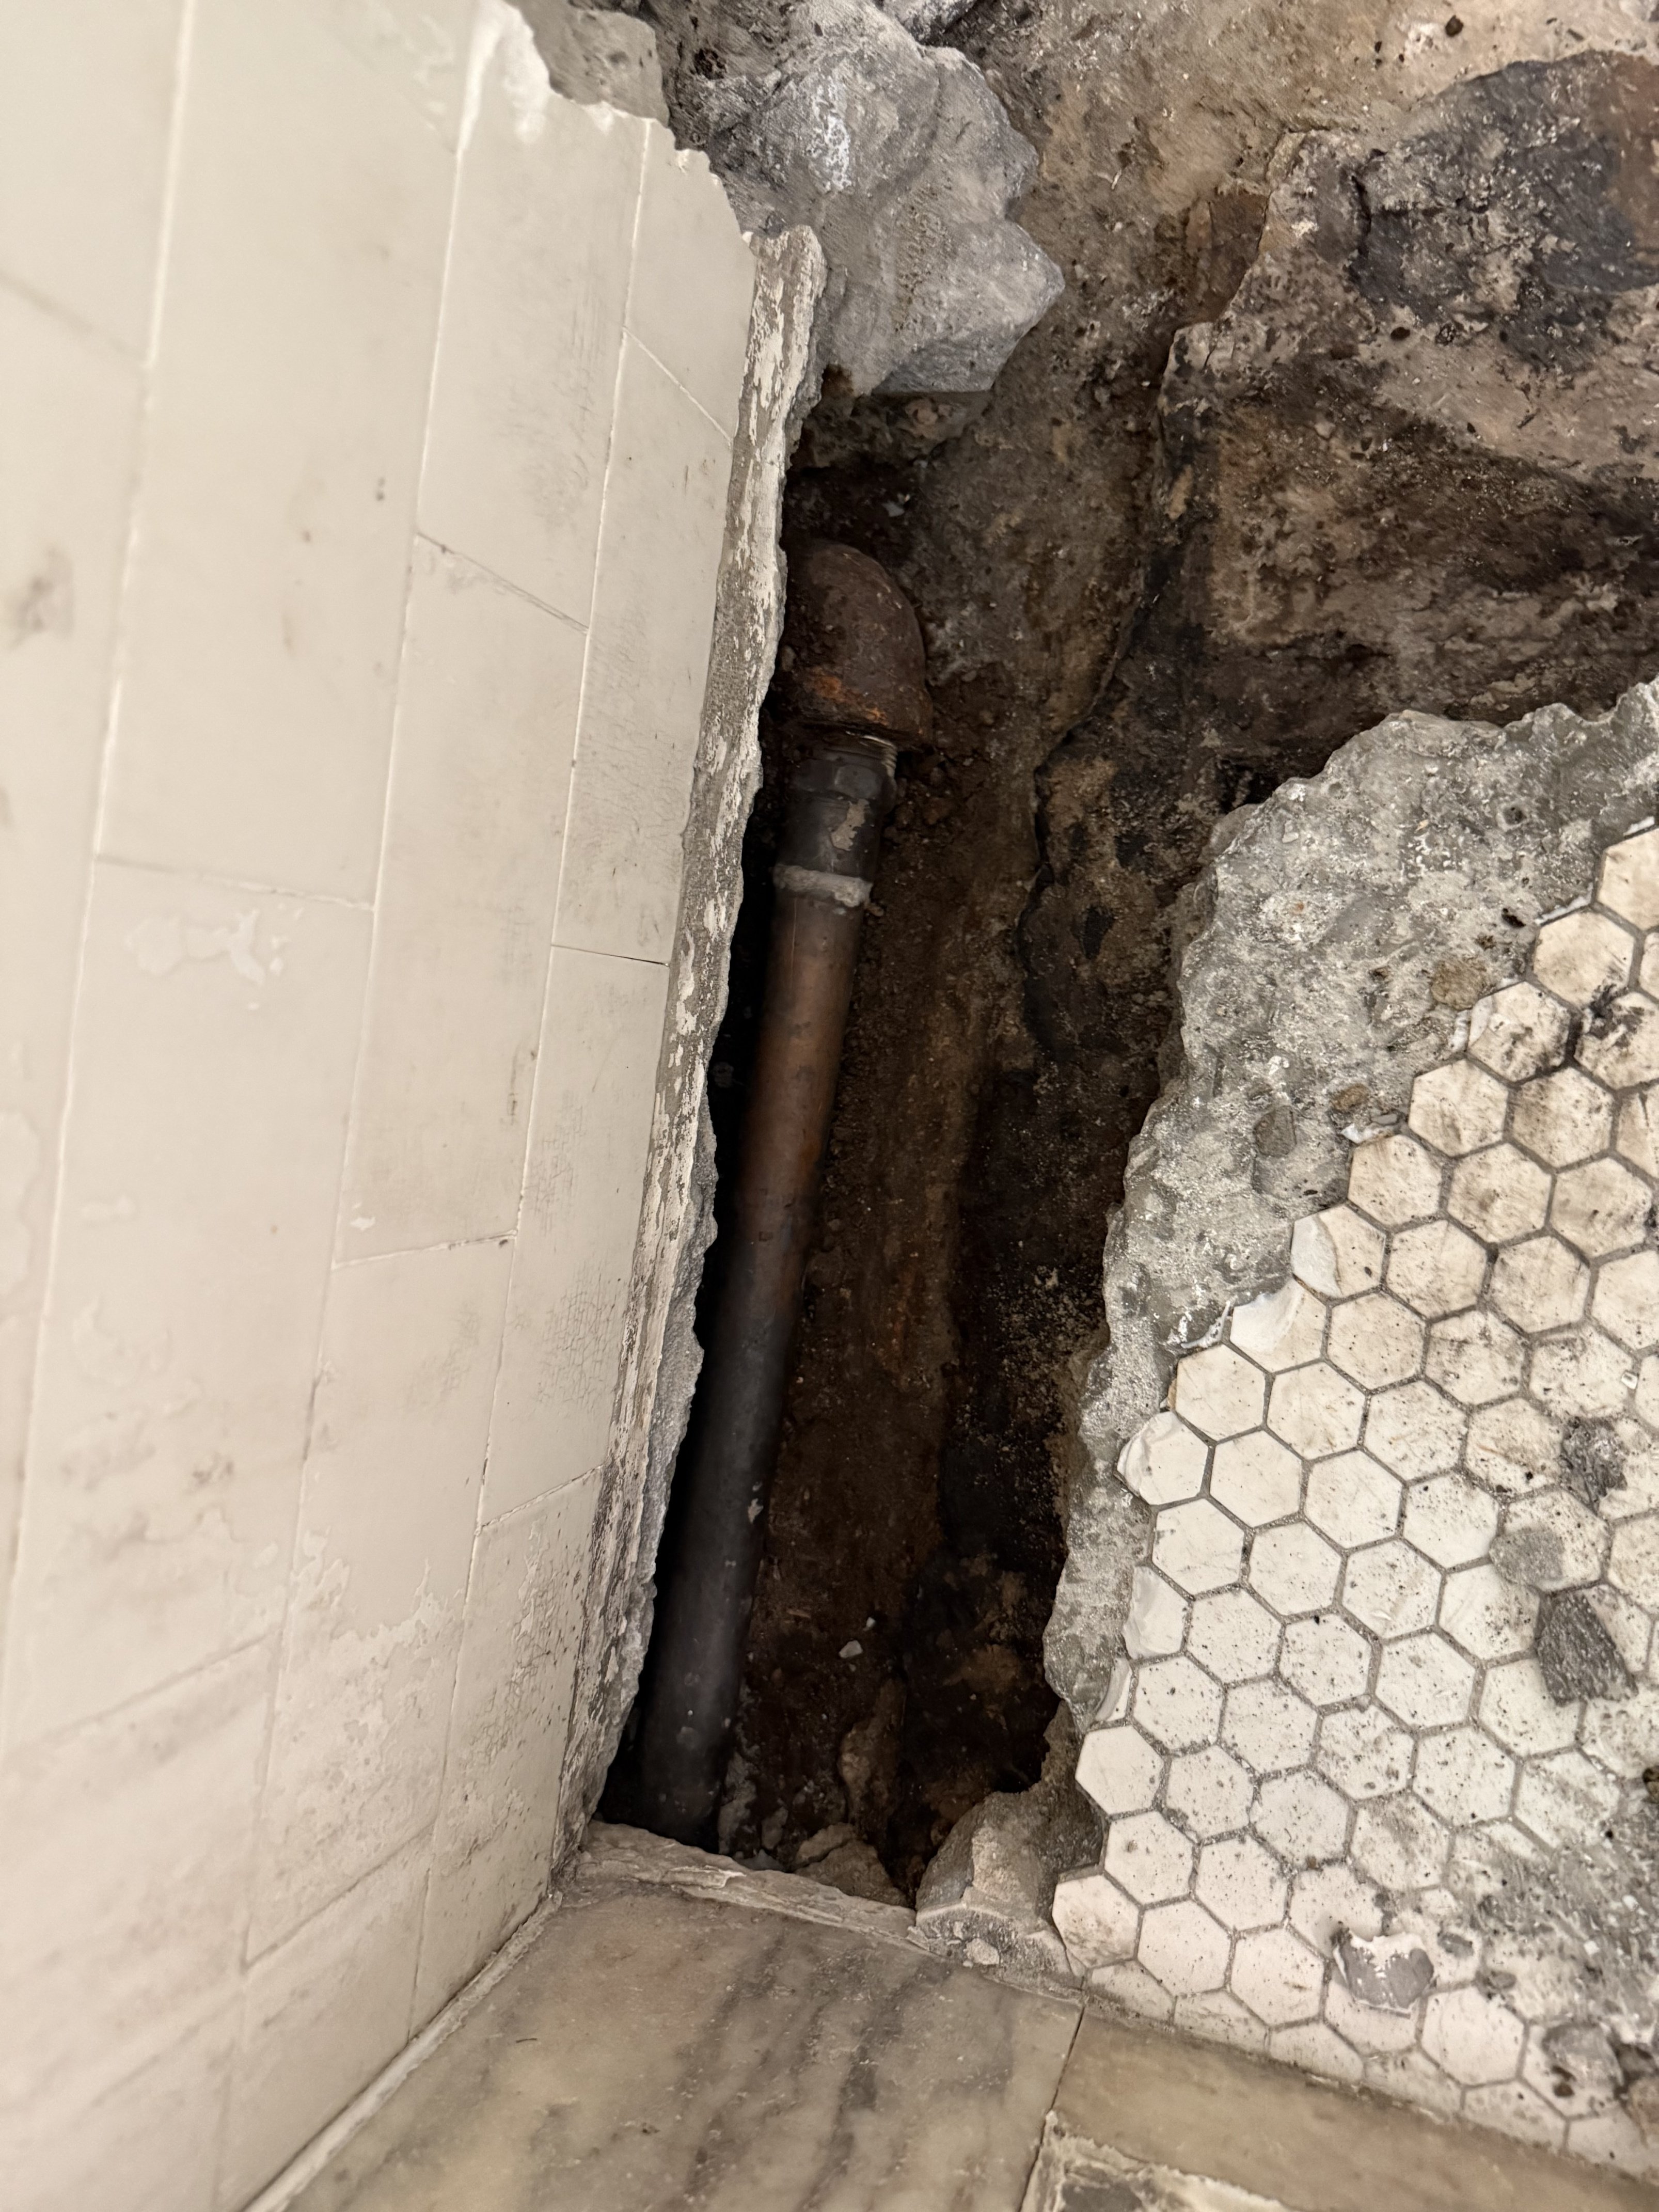
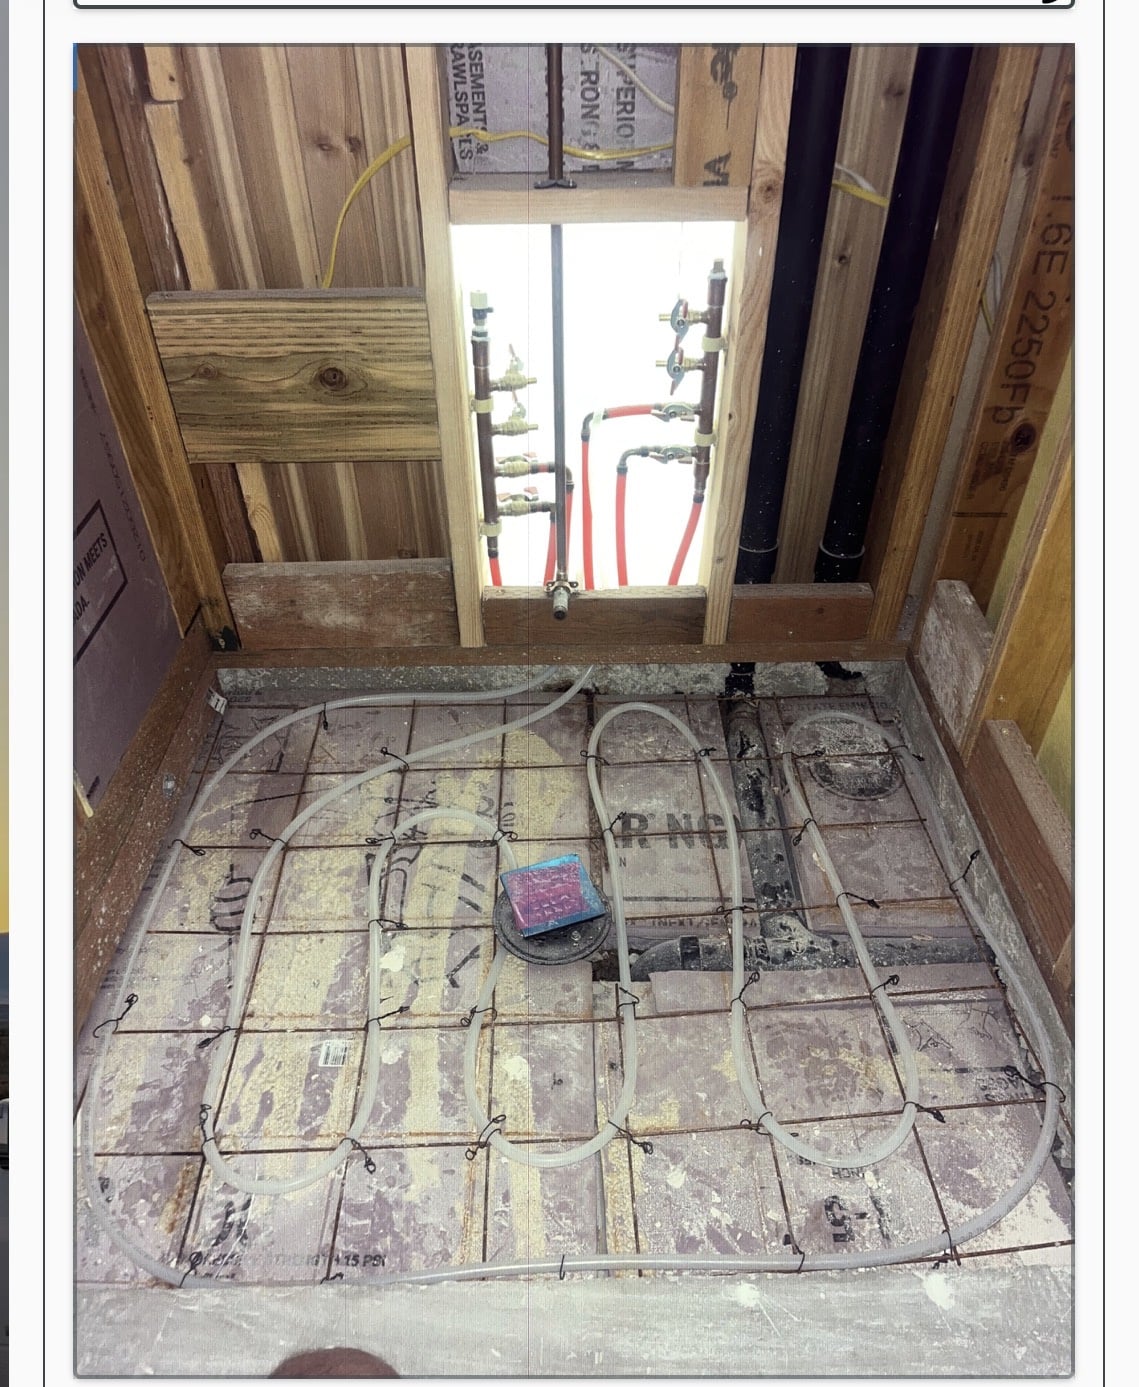
From previous post where I mentioned the need to get to a flat surface. Here's what I've done. Drill to the hot mop layer in the first picture and know off the top layer tor reviele the hot mop underneath. That'll give me something flat to support and pour onto. I can then seal and finish the tile.
The last picture is an old steam line repair I found. It's abandonded now do to a steam leak in the walls and ceiling of the living room.
Miss Hall's School service mechanic, greenhouse teacher, dog walker and designated driver
Comments
-
I’d fill with shower mud bed (or deck mud). Mix using 4 parts clean mason sand to 1 part Portland cement
I’d follow-up with a Schluter Kerdi water proofing system (drain + fabric layer) to prepare the surface for tile.
Johnbridge.com used to be the go to site for all things tile but it closed down earlier this year. So sad
 0
-
I did run that through my head but I'm not so sure I want to bust out all the tile. I have some time to think it over.
Miss Hall's School service mechanic, greenhouse teacher, dog walker and designated driver
0 -
You will need to install a continuous waterproof membrane under all the tile in the shower and slope the membrane to a 2-part EZ Test shower drain. Then plug the drain, fill the shower pan up with water up to the threshold and let it sit for a day to make sure there are no leaks.
8.33 lbs./gal. x 60 min./hr. x 20°ΔT = 10,000 BTU's/hour
Two btu per sq ft for degree difference for a slab


 4
-
I think it’s too late for that. You don’t have to take up all the floor tile you can lay over the top of it if you do the but it really does pop up pretty easy with the floor scraper.
0 -
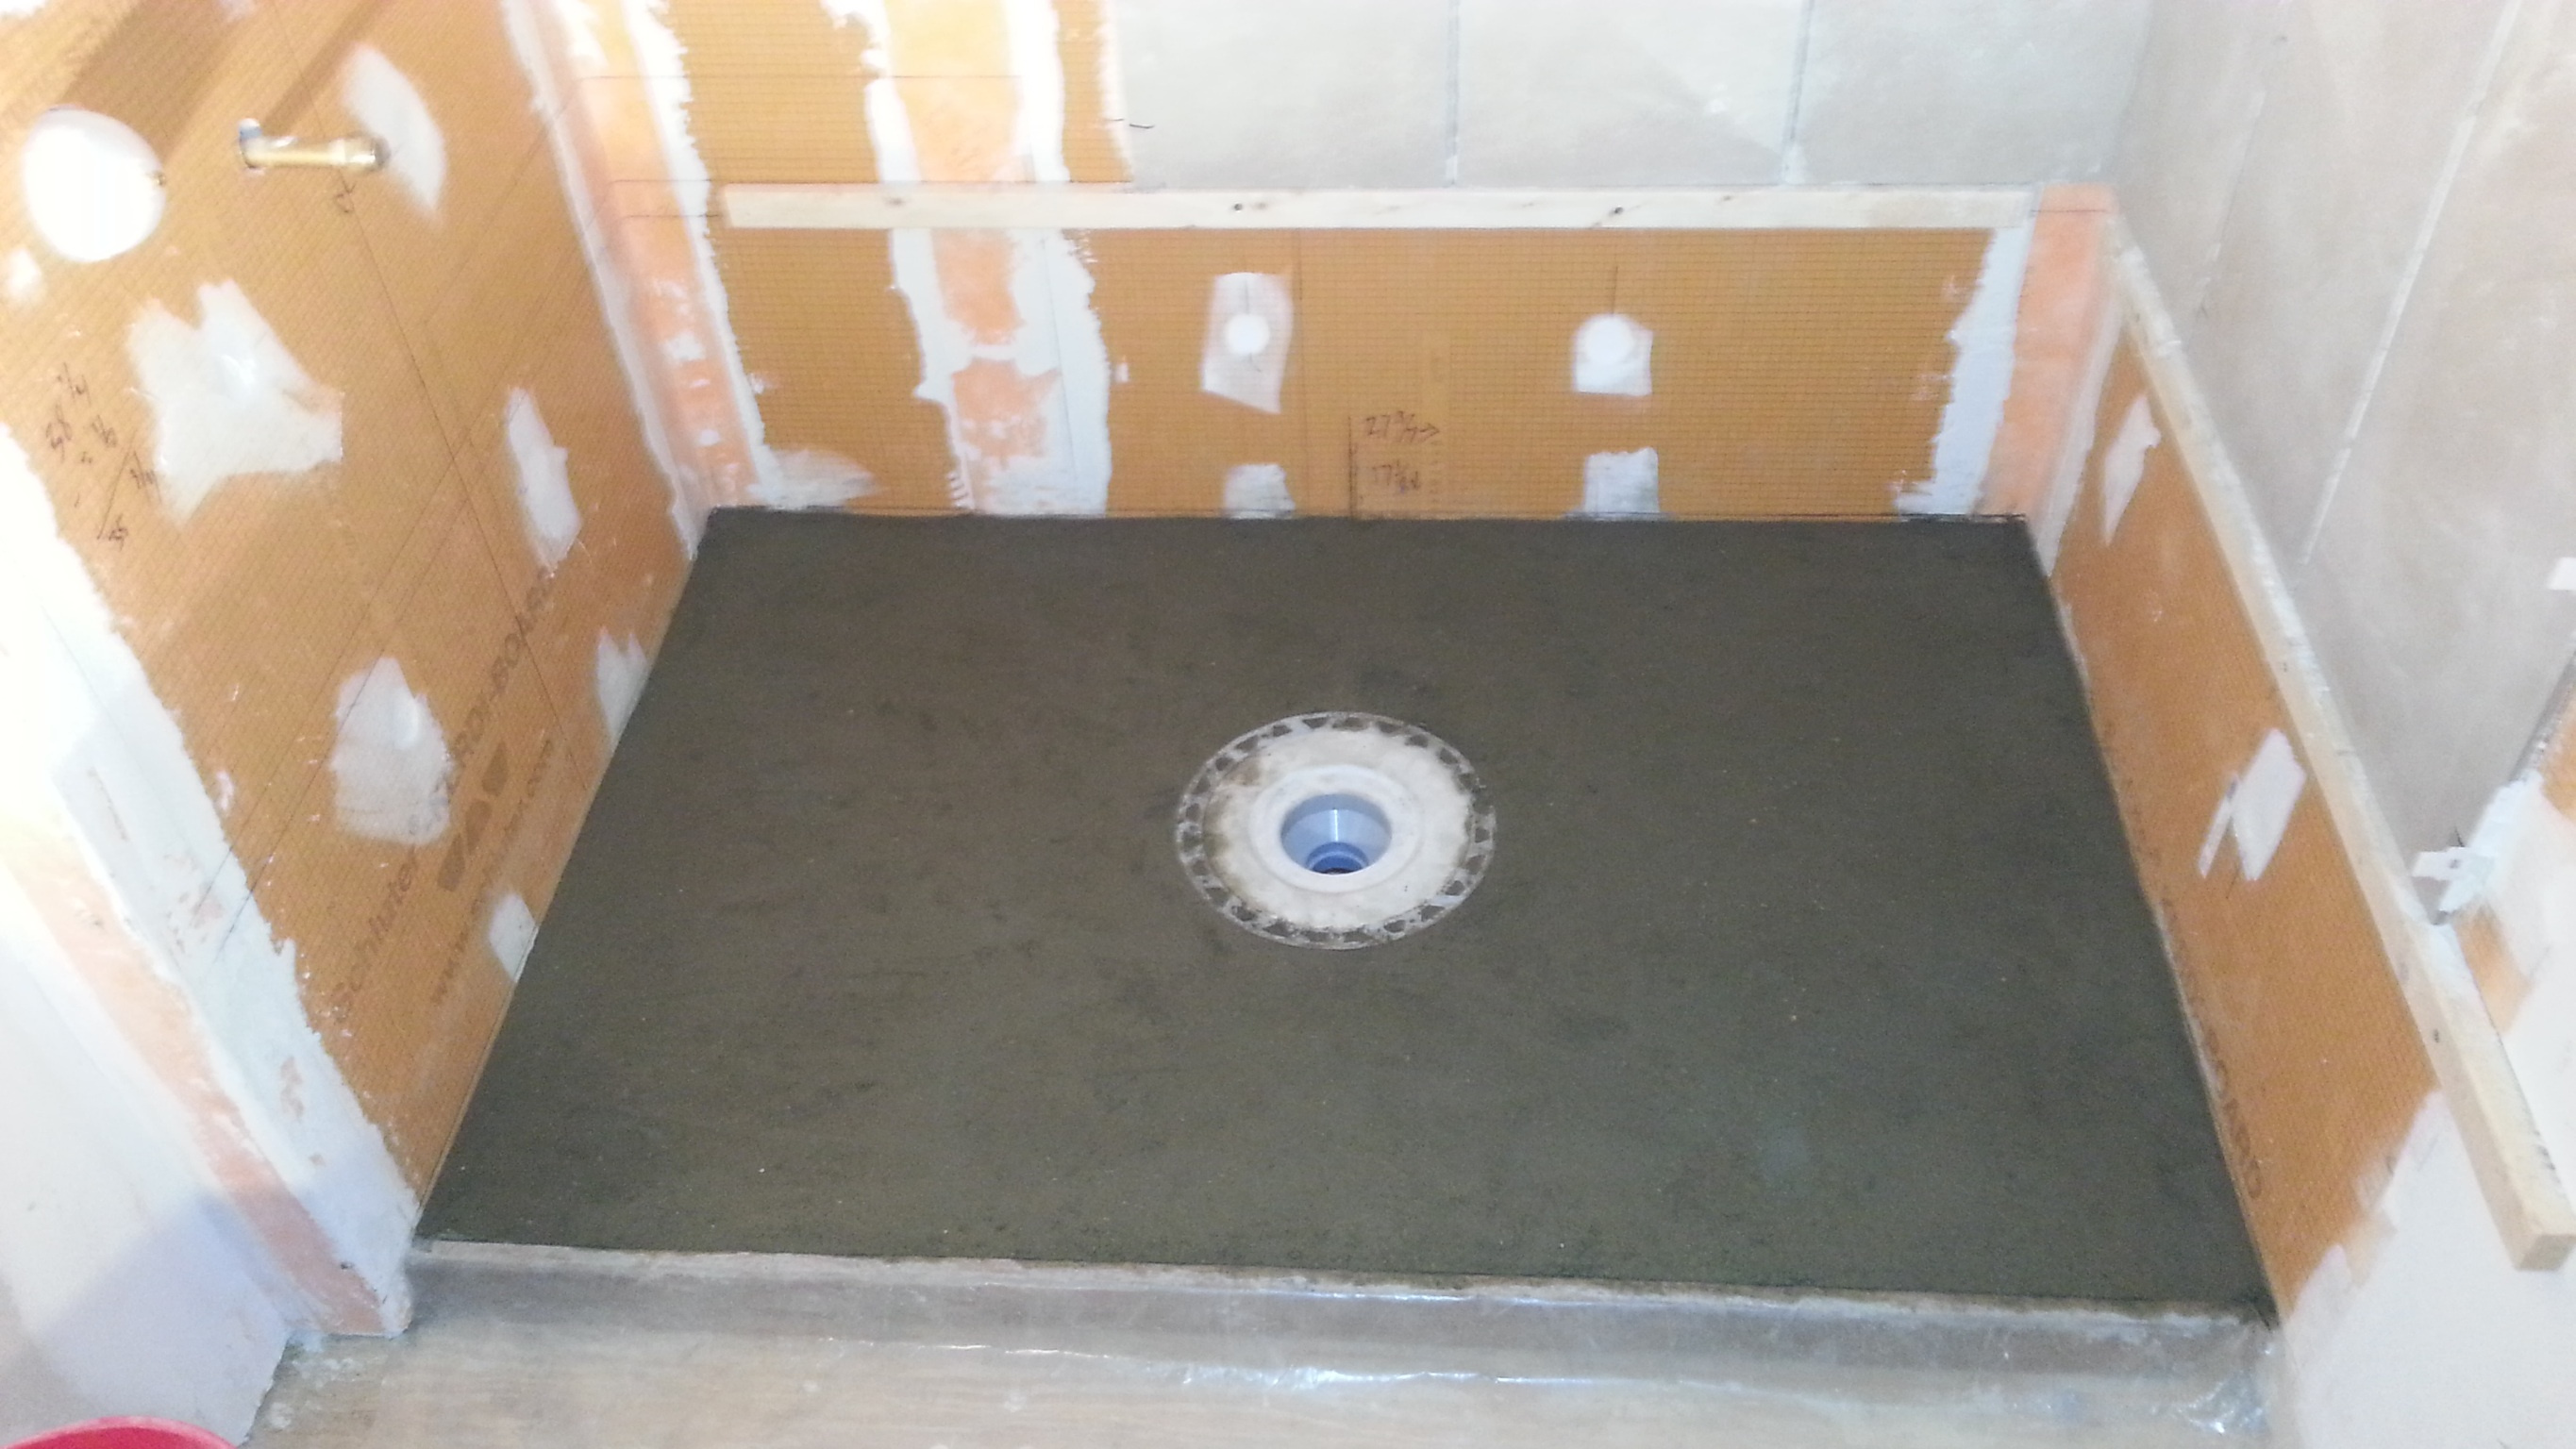
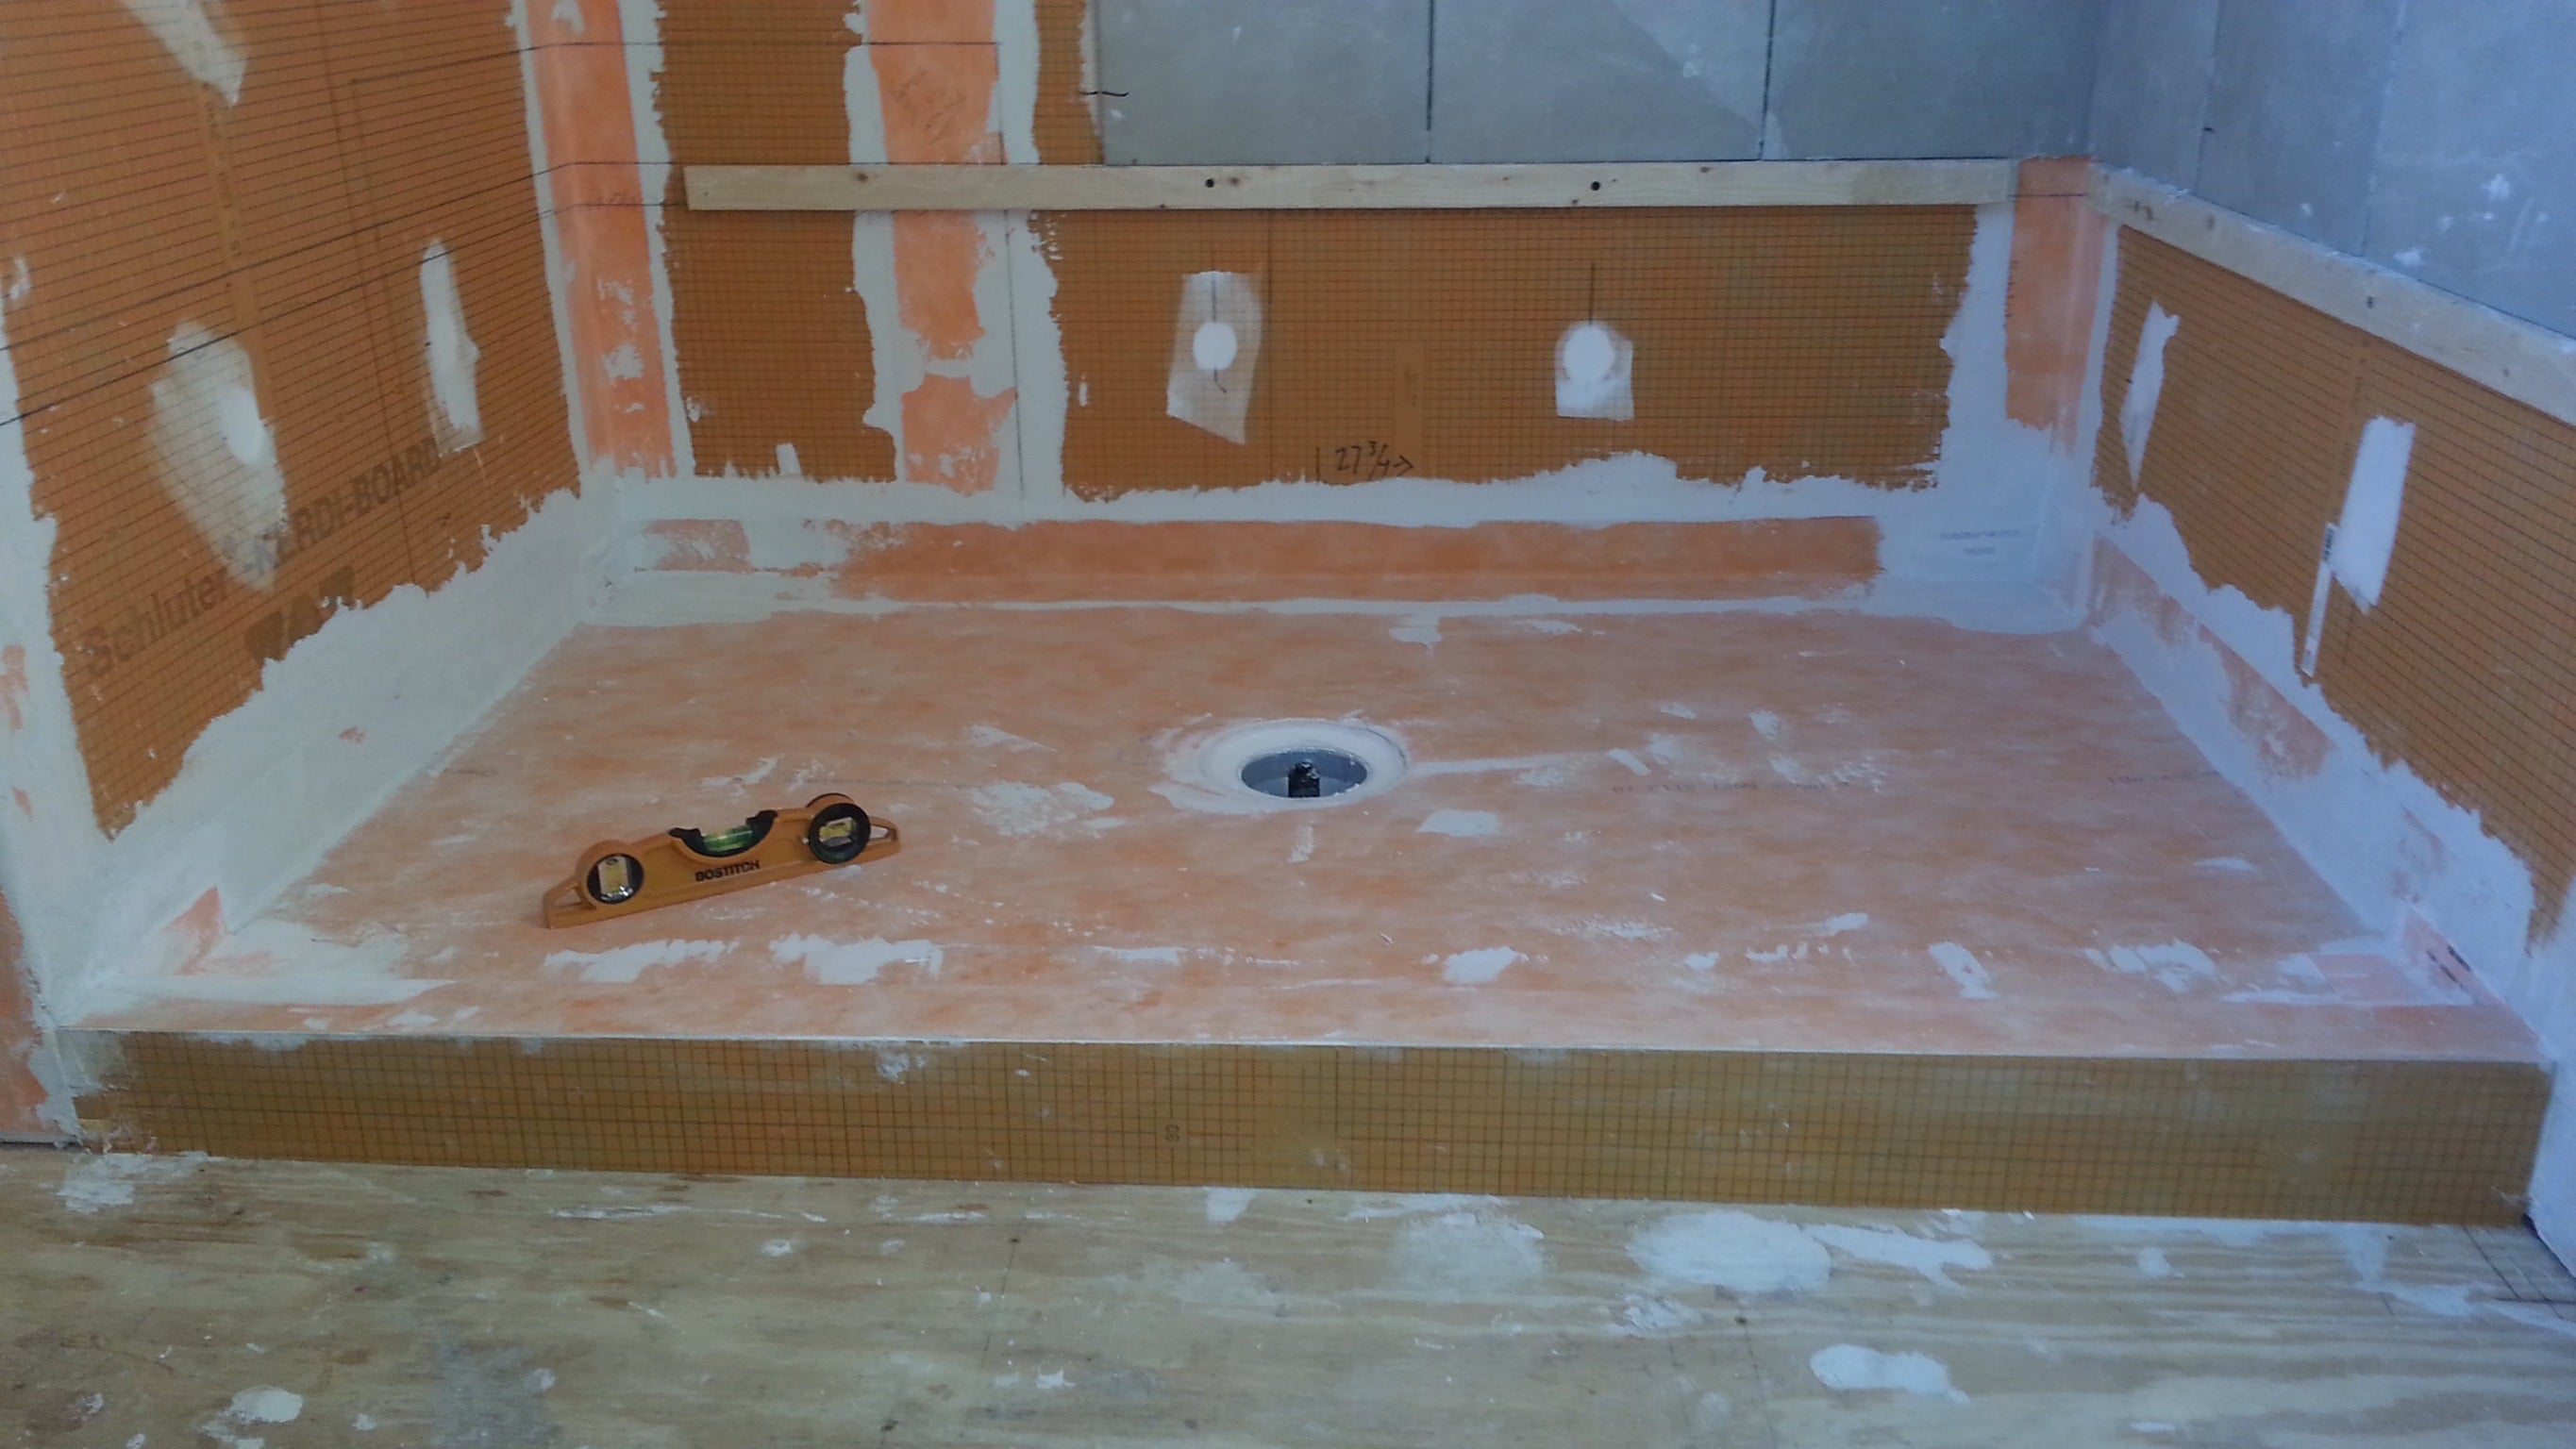
Having the weekend to think it all over I've take the advice of the committee :) The tiles are out and the 3" of base down to the tar. I think this will make the finished floor much easier to do and seal. It came off the tap pretty easily. There's a picture of the damage the leak had done to the ceiling of the Livingroom. The painters are here now. That's a slab of 1" marble on the right there. The opening on the left is a vent stack, That's where the main leak is originating. Someone else will address that.


Miss Hall's School service mechanic, greenhouse teacher, dog walker and designated driver
0 -
A mud bed with kerdi drain and water proofing will work well for that shower.
I had a thread with detailed posted on the methods and materials but unfortunately no longer accessible with the closure of johnbridge.1 -
Sort of off topic but tile men build showers in their own homes where leaks don't matter.
A/C s have overflow pans with drains going to where problem can be detected without damage. I've thought about overflow pan for shower. Built into ceiling and draining outside.
1 -
the correct way to do a shower base is pour or dry pack a sloped floor. Then membrane, either PVC, or a liquid. Then dry pack for the tile.
If the floor and pan are not sloped water will always be under the tile.
Inspectors around here want to see the pan filled, then they pull the plug to make sure all the water drained out, no puddles or low spots.
Now is a good time to get some radiant in the floor😉
 Bob "hot rod" Rohr
trainer for Caleffi NA
Living the hydronic dream1


Categories
- All Categories
- 87.9K THE MAIN WALL
- 3.3K A-C, Heat Pumps & Refrigeration
- 60 Biomass
- 430 Carbon Monoxide Awareness
- 133 Chimneys & Flues
- 2.2K Domestic Hot Water
- 6K Gas Heating
- 124 Geothermal
- 170 Indoor-Air Quality
- 3.9K Oil Heating
- 80 Pipe Deterioration
- 1.1K Plumbing
- 6.7K Radiant Heating
- 397 Solar
- 16.1K Strictly Steam
- 3.5K Thermostats and Controls
- 56 Water Quality
- 51 Industry Classes
- 51 Job Opportunities
- 18 Recall Announcements