Welcome! Here are the website rules, as well as some tips for using this forum.
Need to contact us? Visit https://heatinghelp.com/contact-us/.
Click here to Find a Contractor in your area.
If our community has helped you, please consider making a contribution to support this website. Thanks!
antique cast iron radiator refurb adventure (TLDR warning)
Options

StevieD
Member Posts: 25
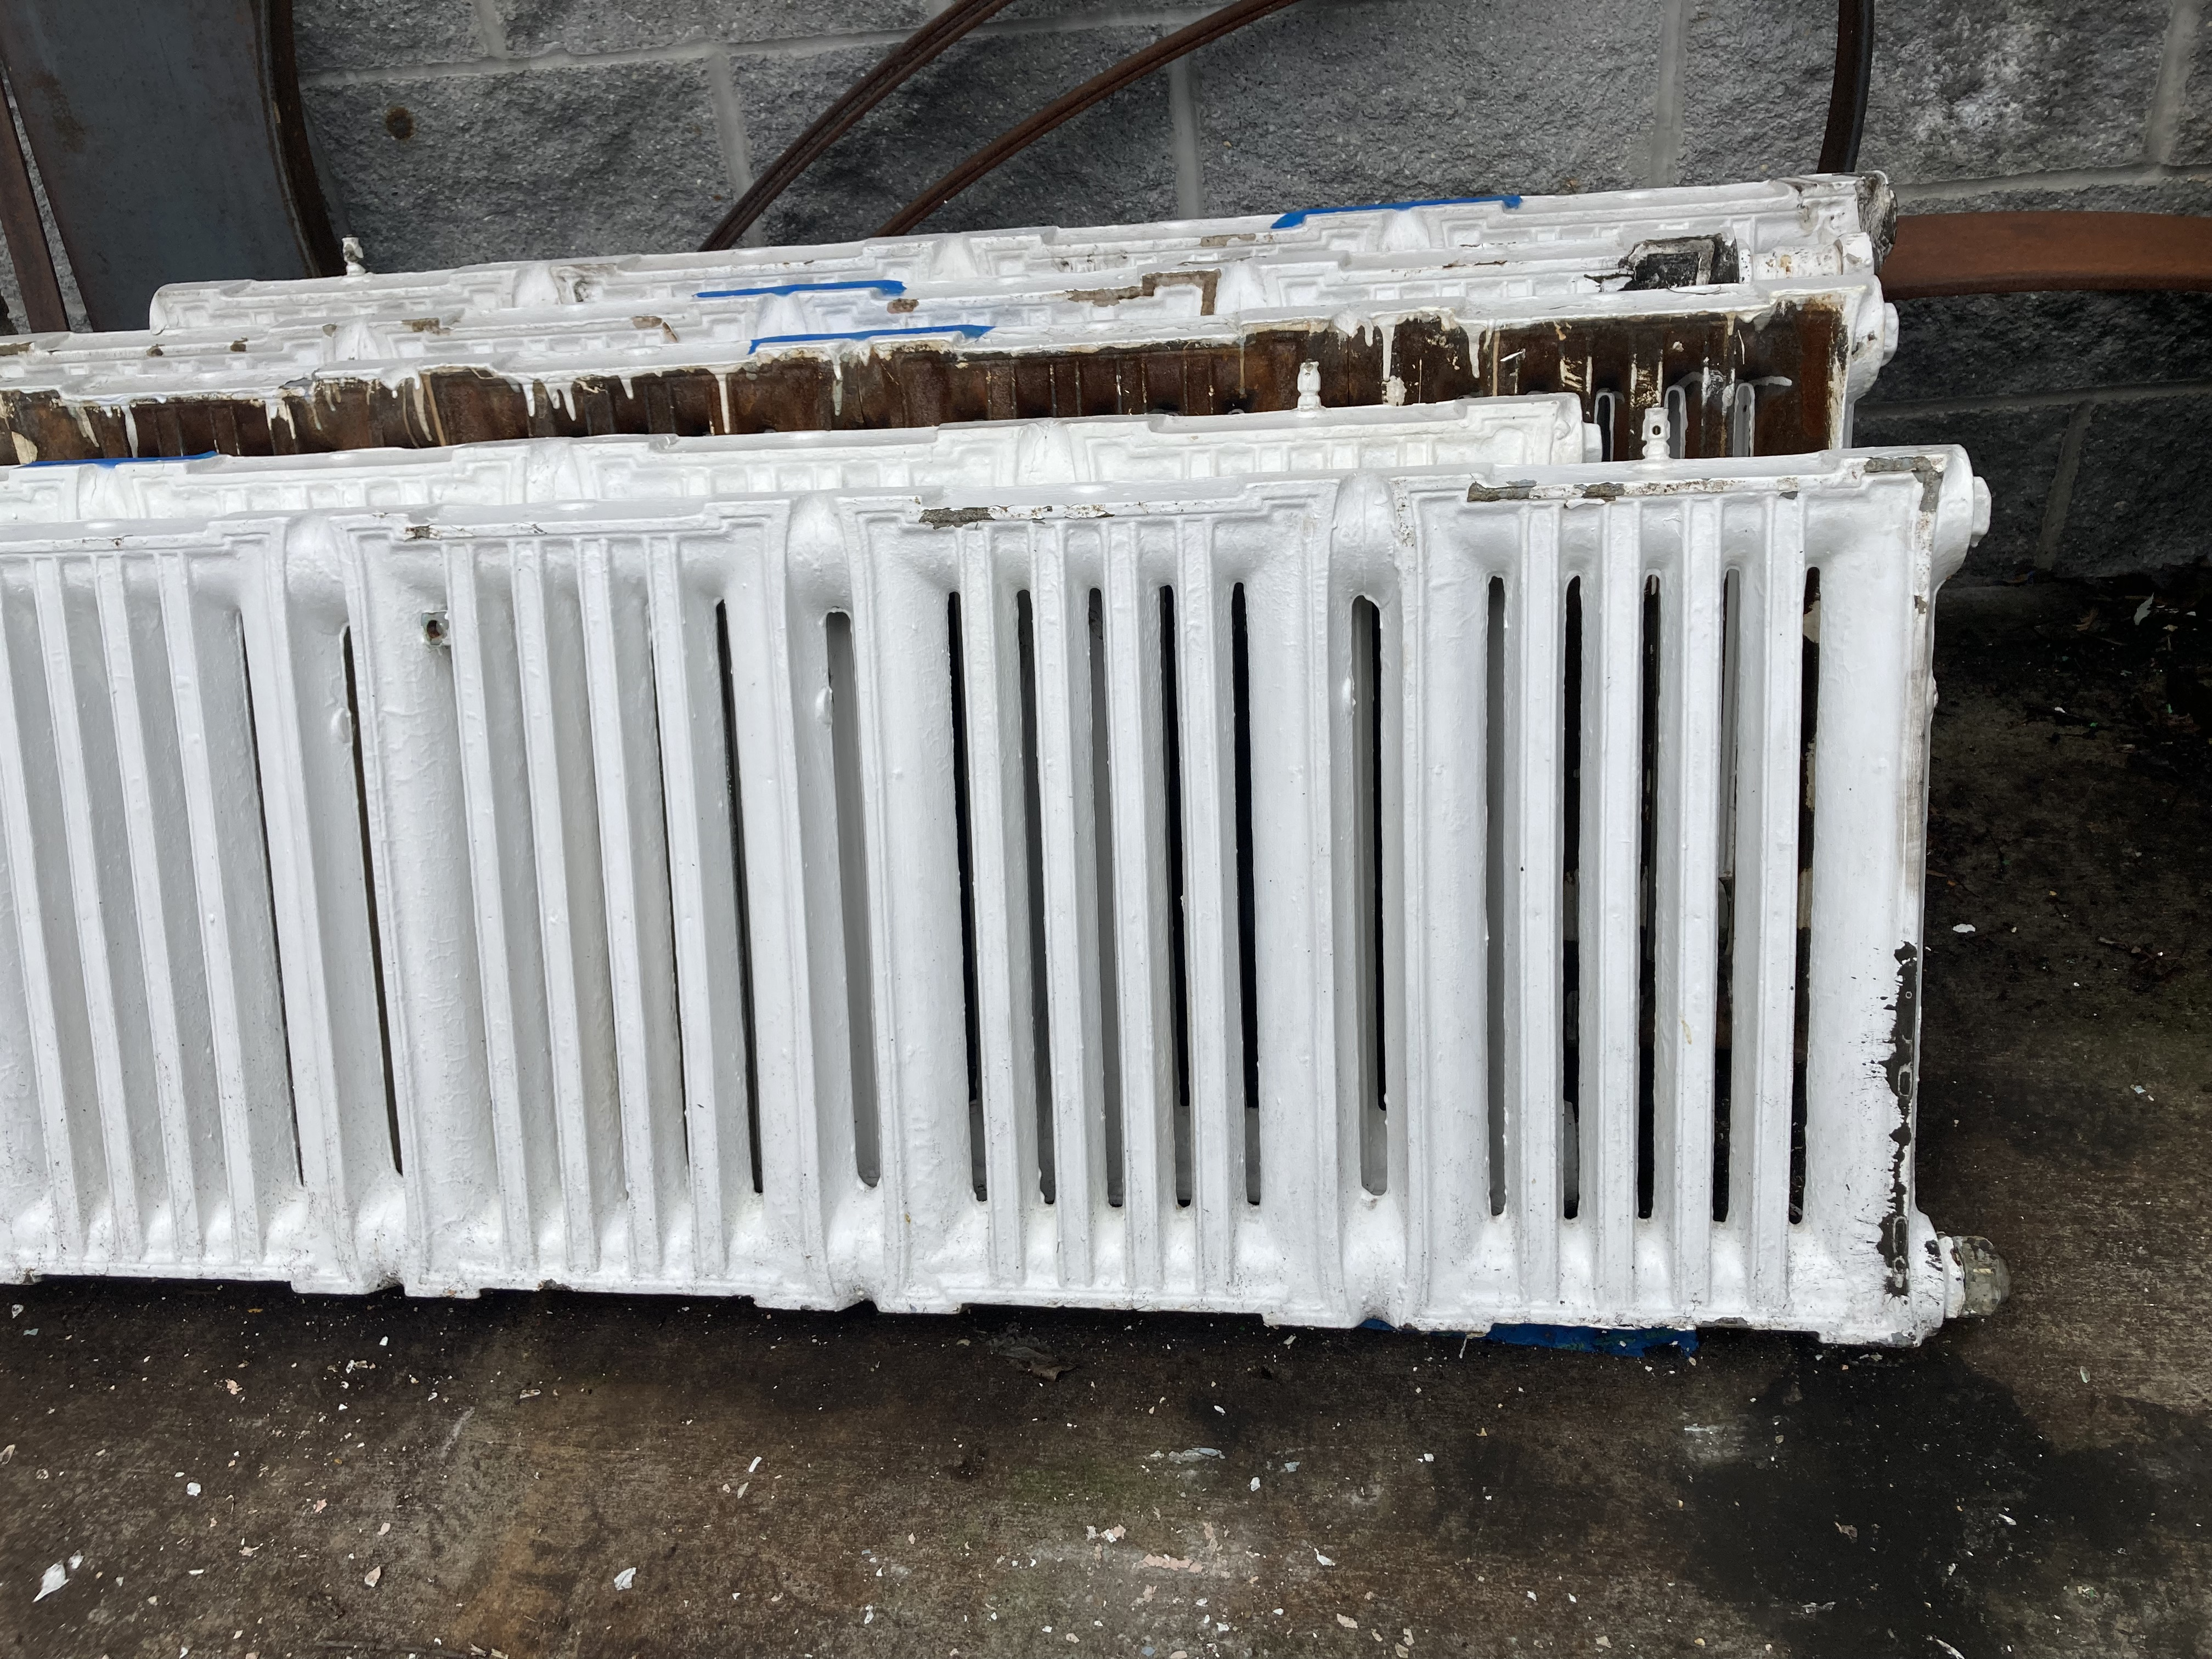
we had our rads taken out in order to put in a new floor.
now i am refurbishing the rads, and what an interesting adventure (or ordeal) this is!
here's some pics of the process
I thought we would discard them but then I realized (in large part from reading this forum) that they are totally cool and worth saving.
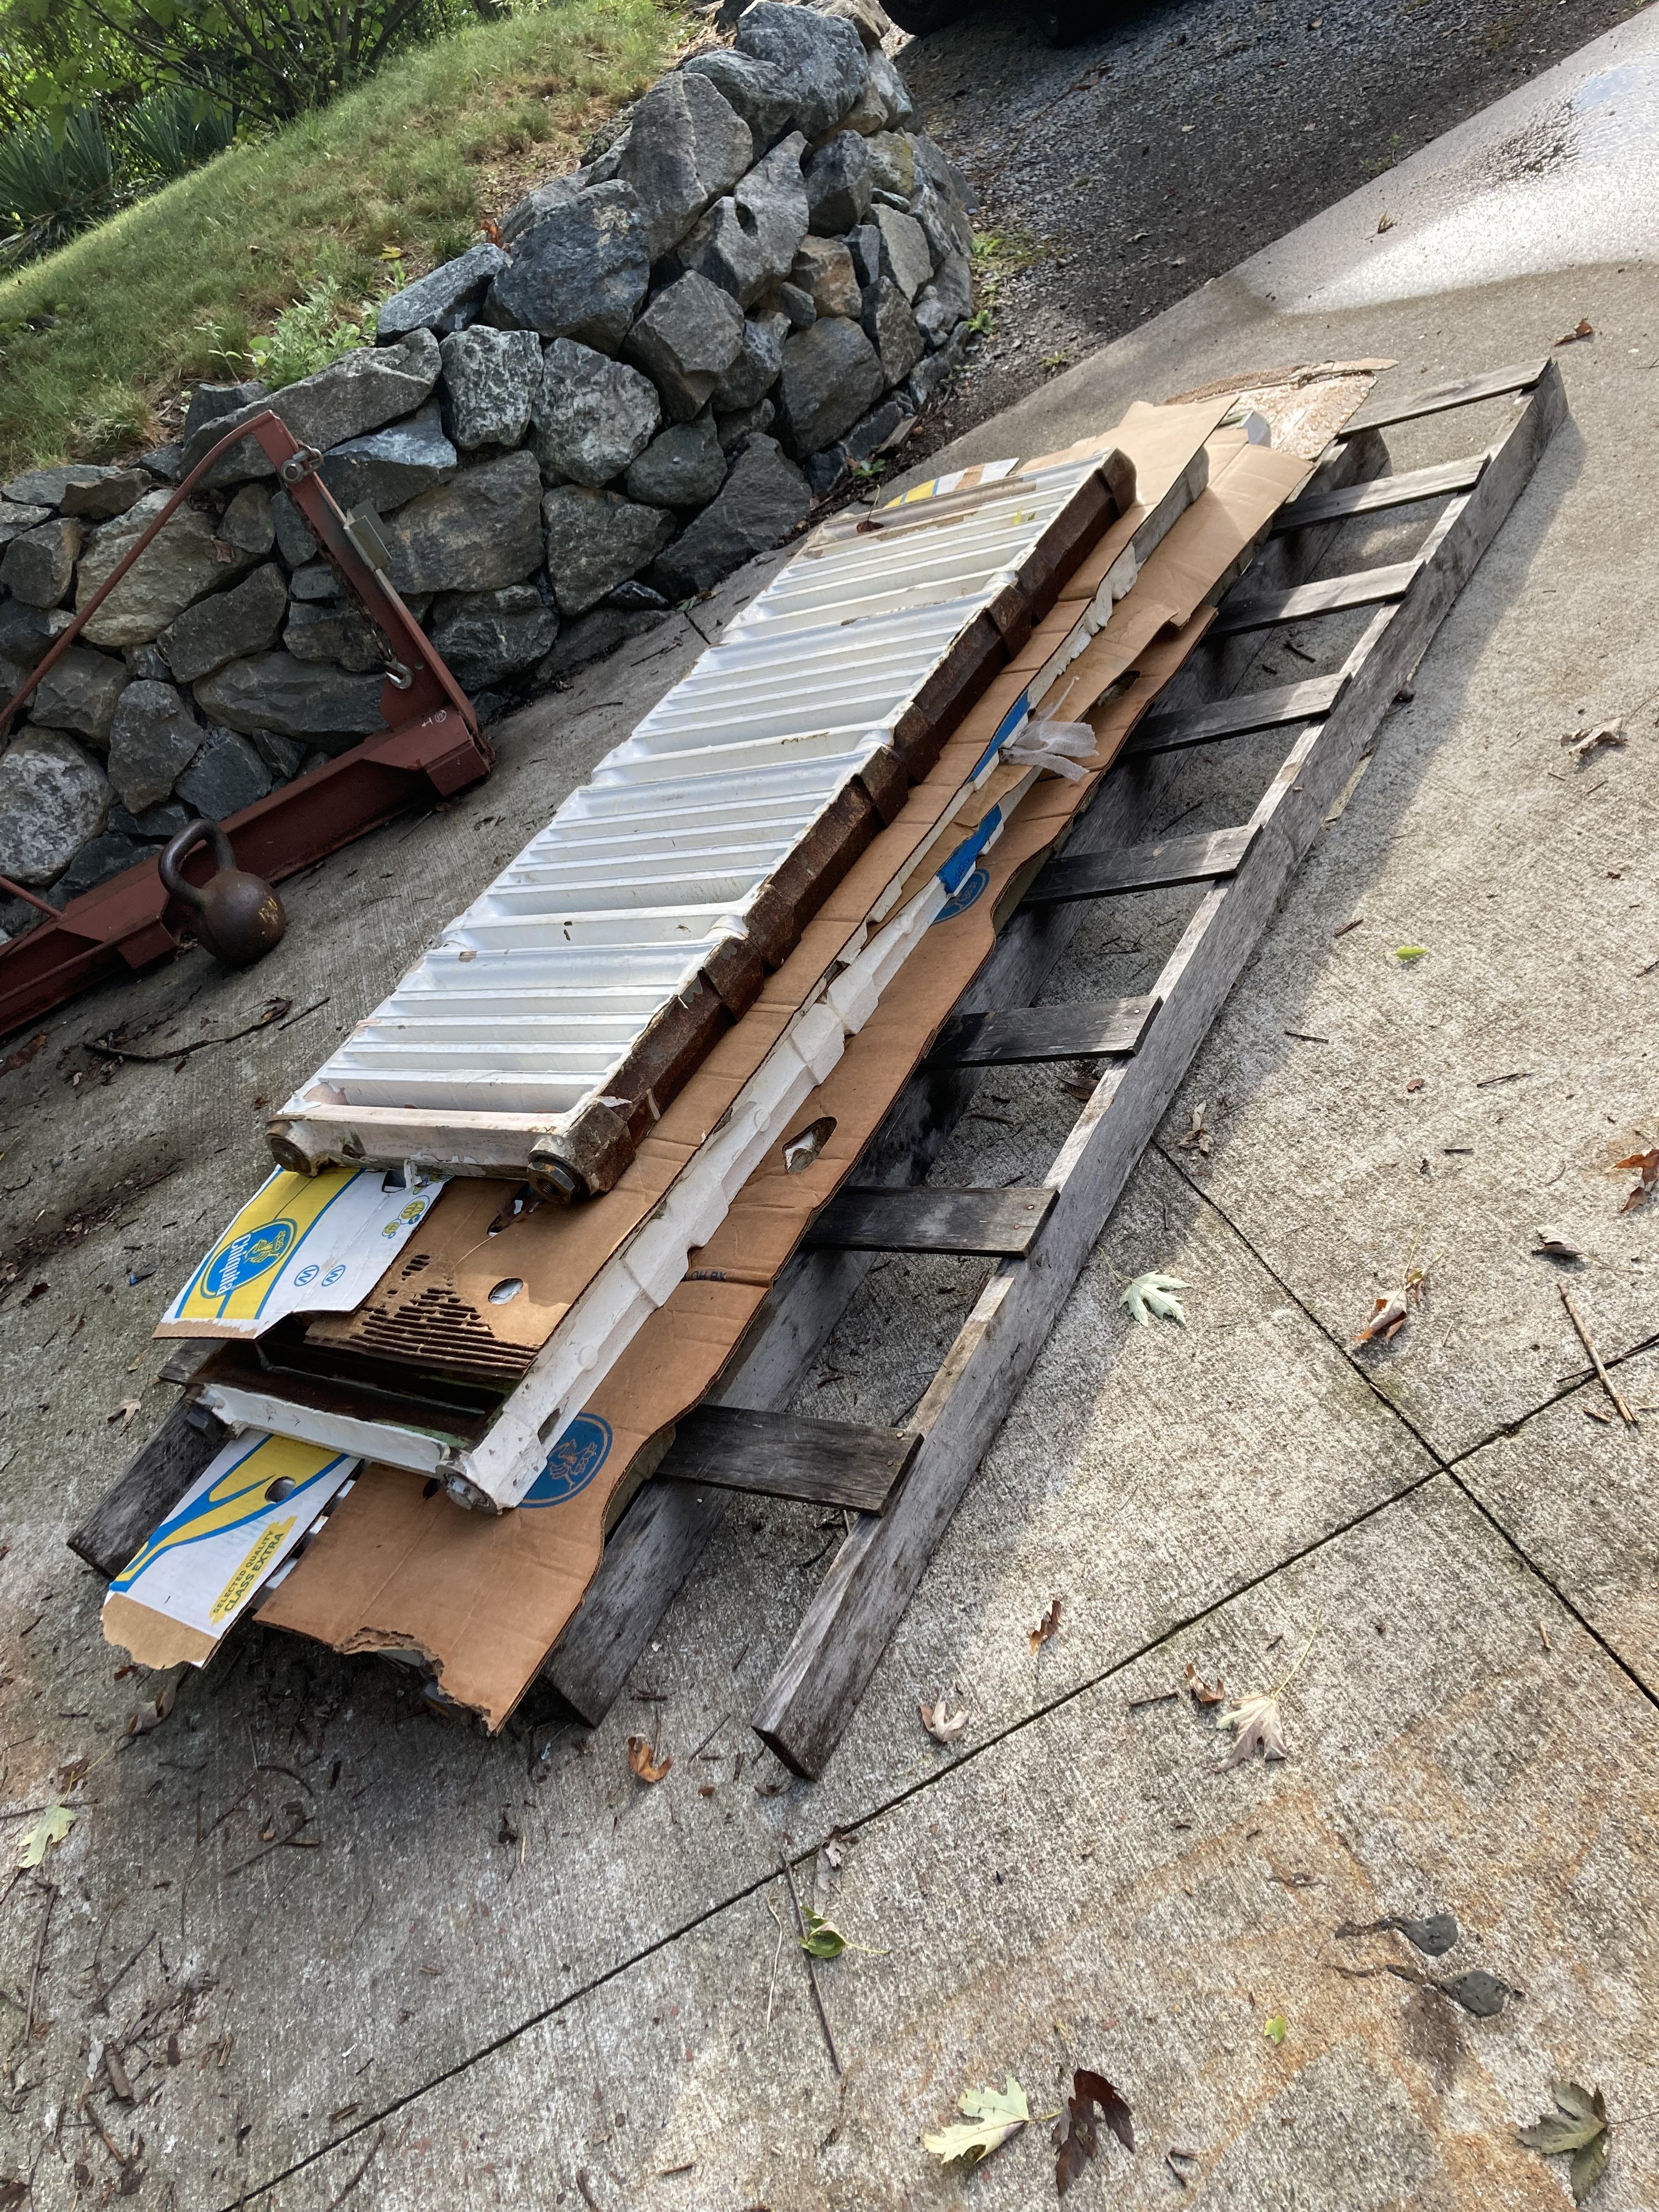
The guys who removed them were rough and carried them flat (UGH) and lucky nothing broke.

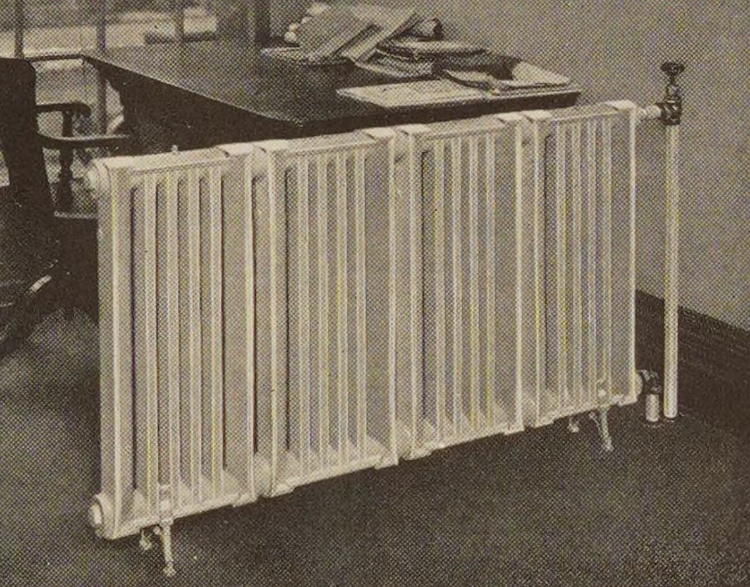
Heres the 1925 catalog that features the rads. They are type 7-B on p17 : Thanks for the link, @Steamhead !!!
https://archive.org/details/americanpeerless00amer/page/16/mode/2up?view=theater
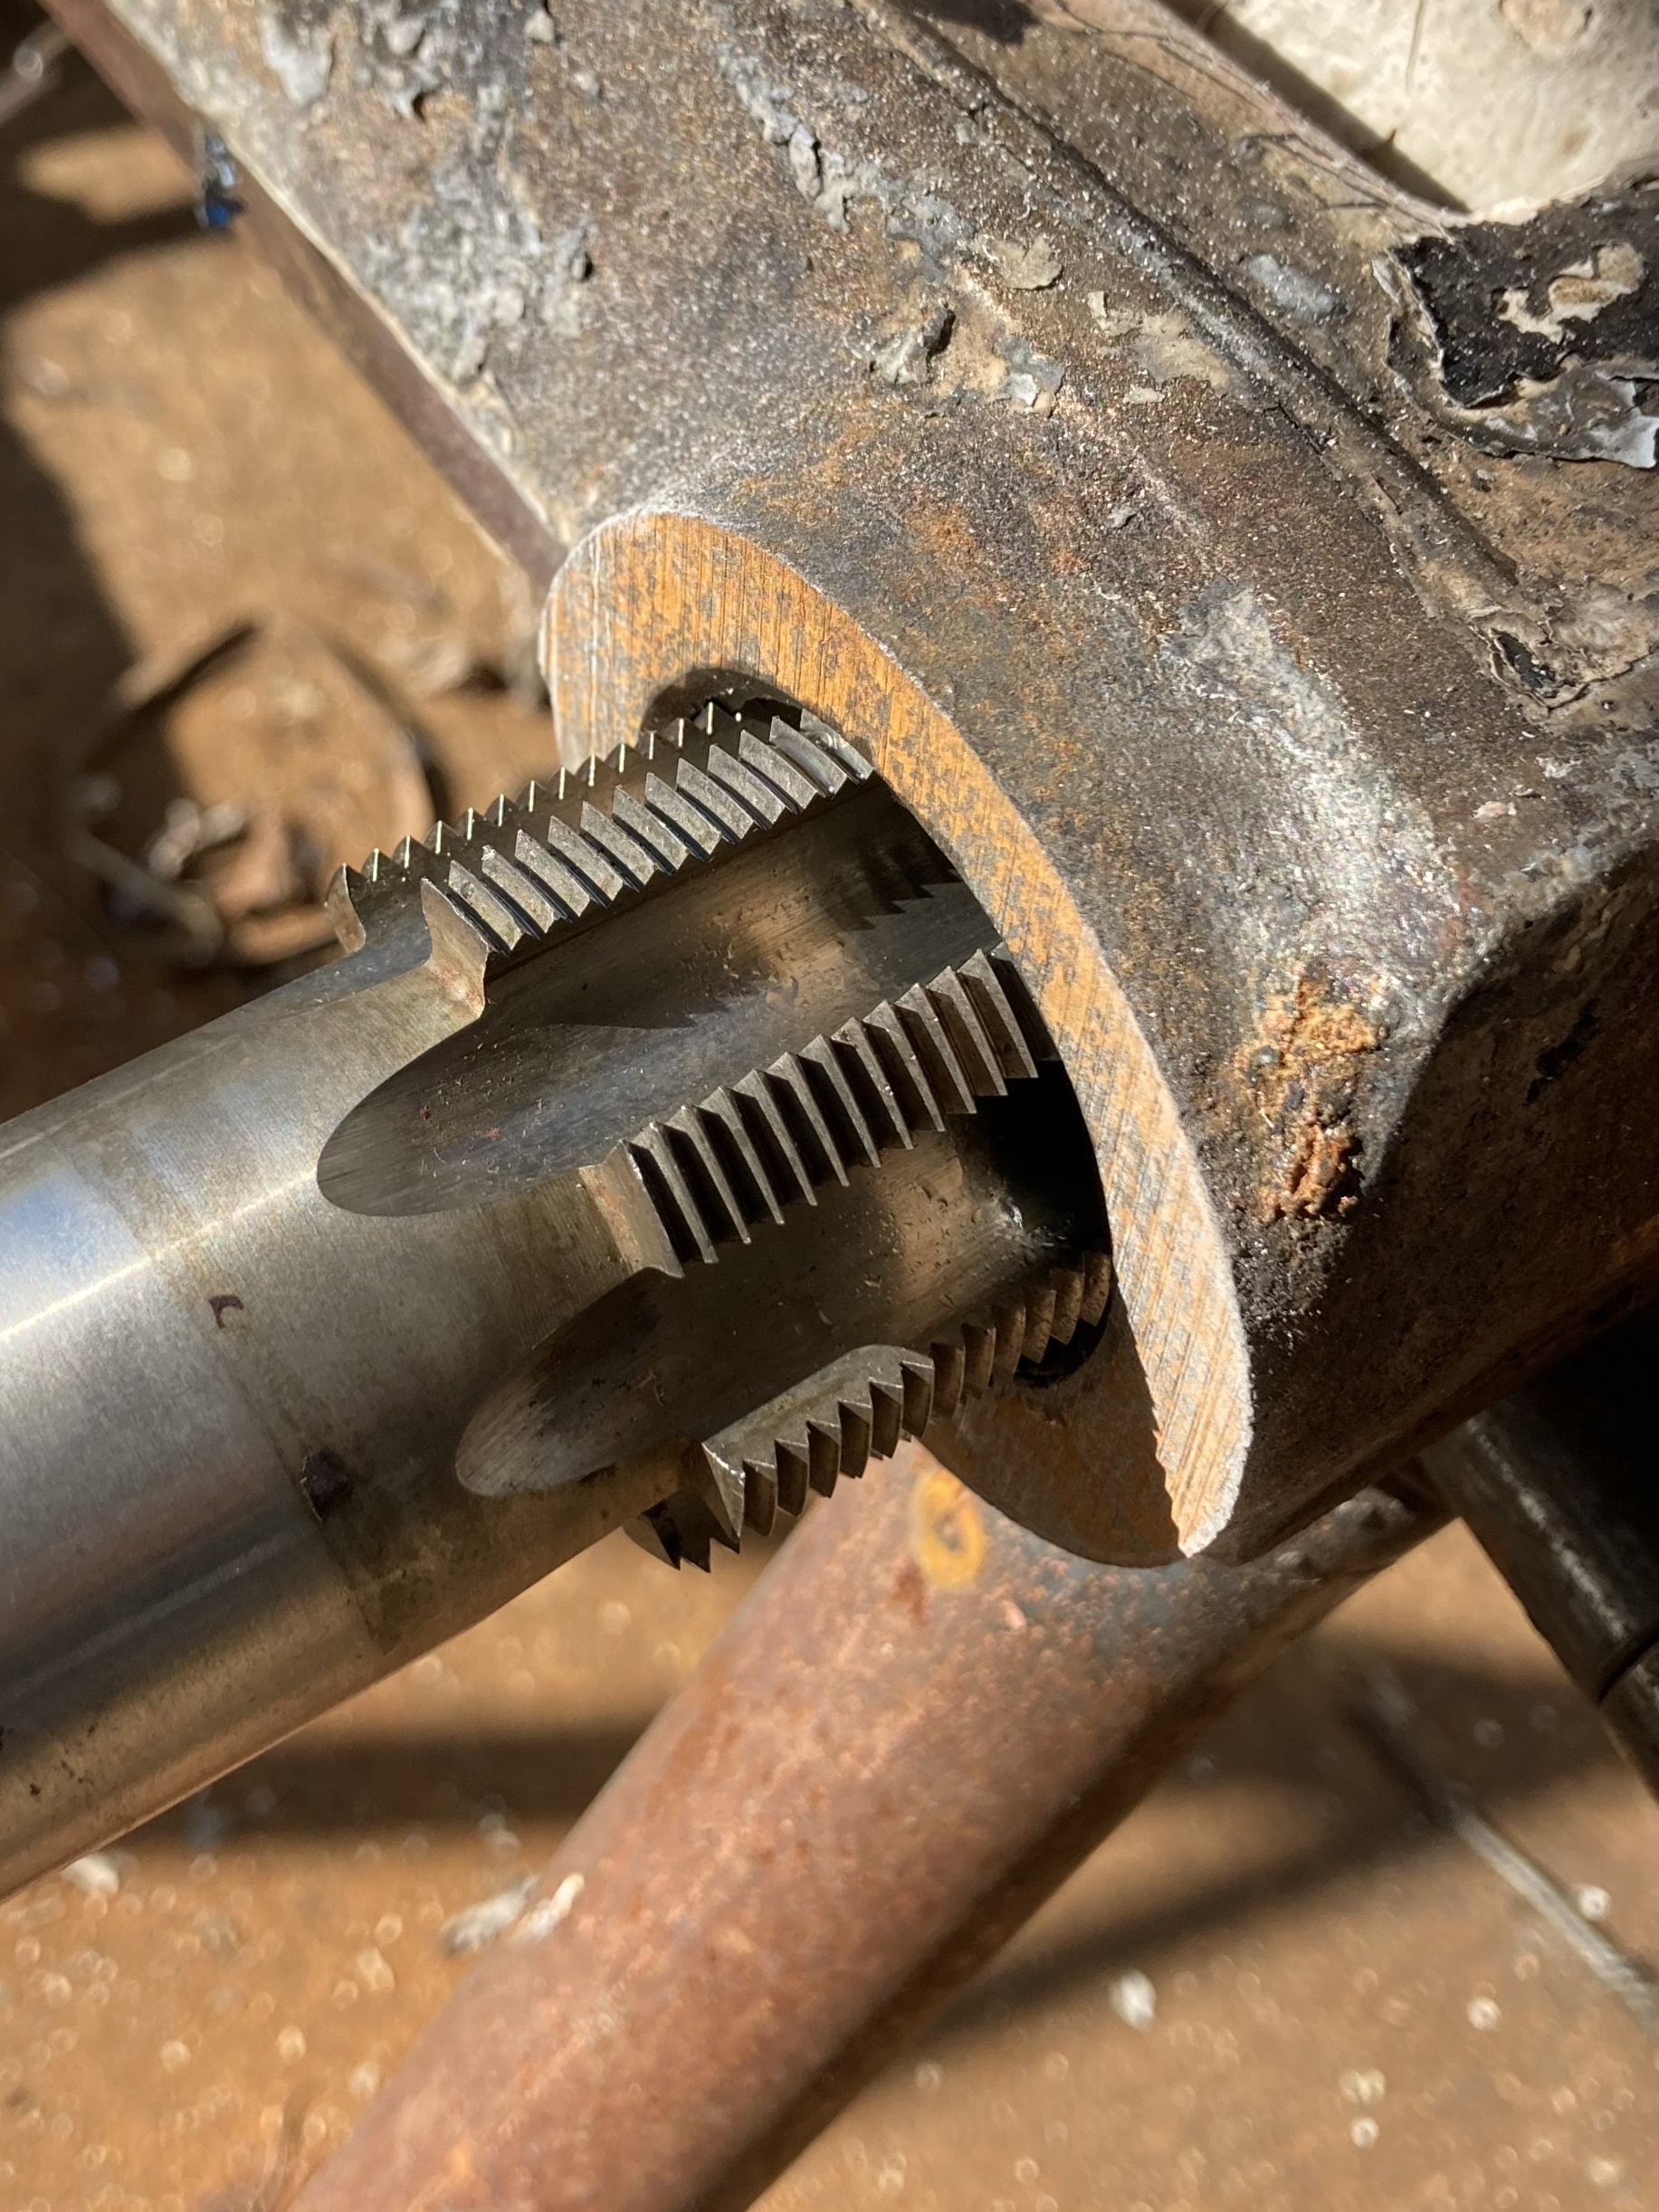
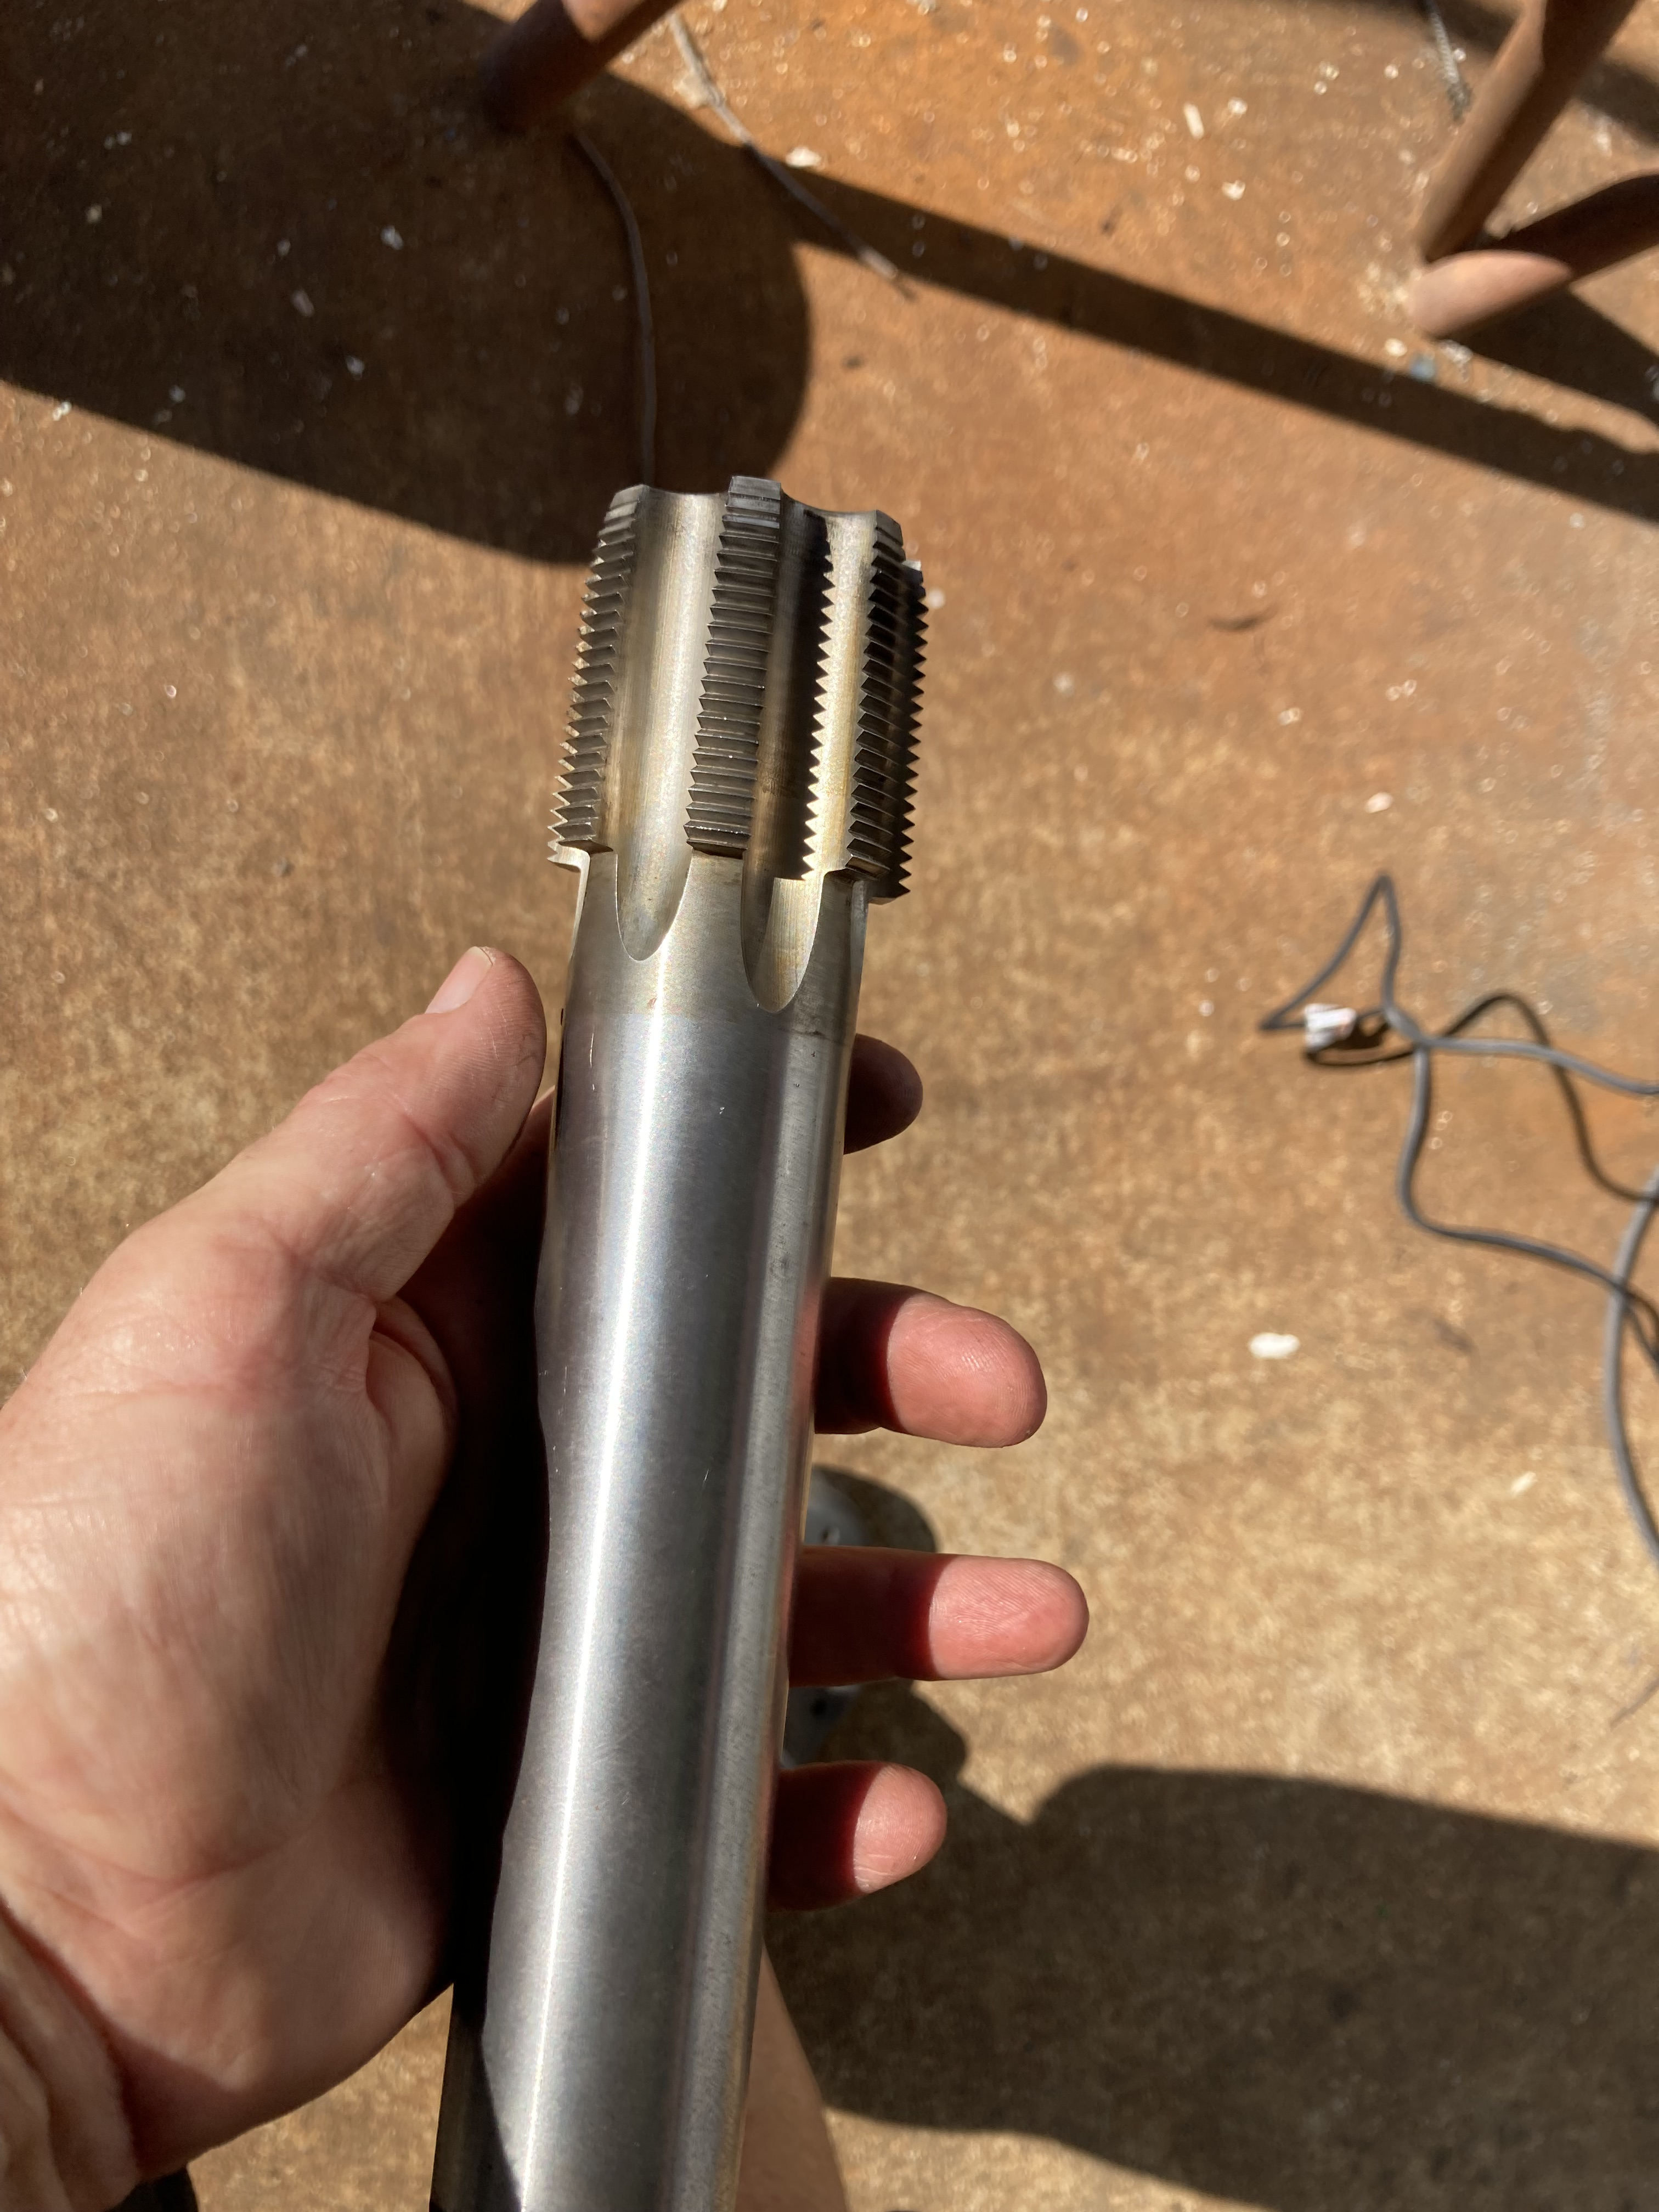
I took out the bushings and plugs and cleaned all the threads, right hand and LEFT hand - That left hand 1 1/2" NPT tap was hard to find!
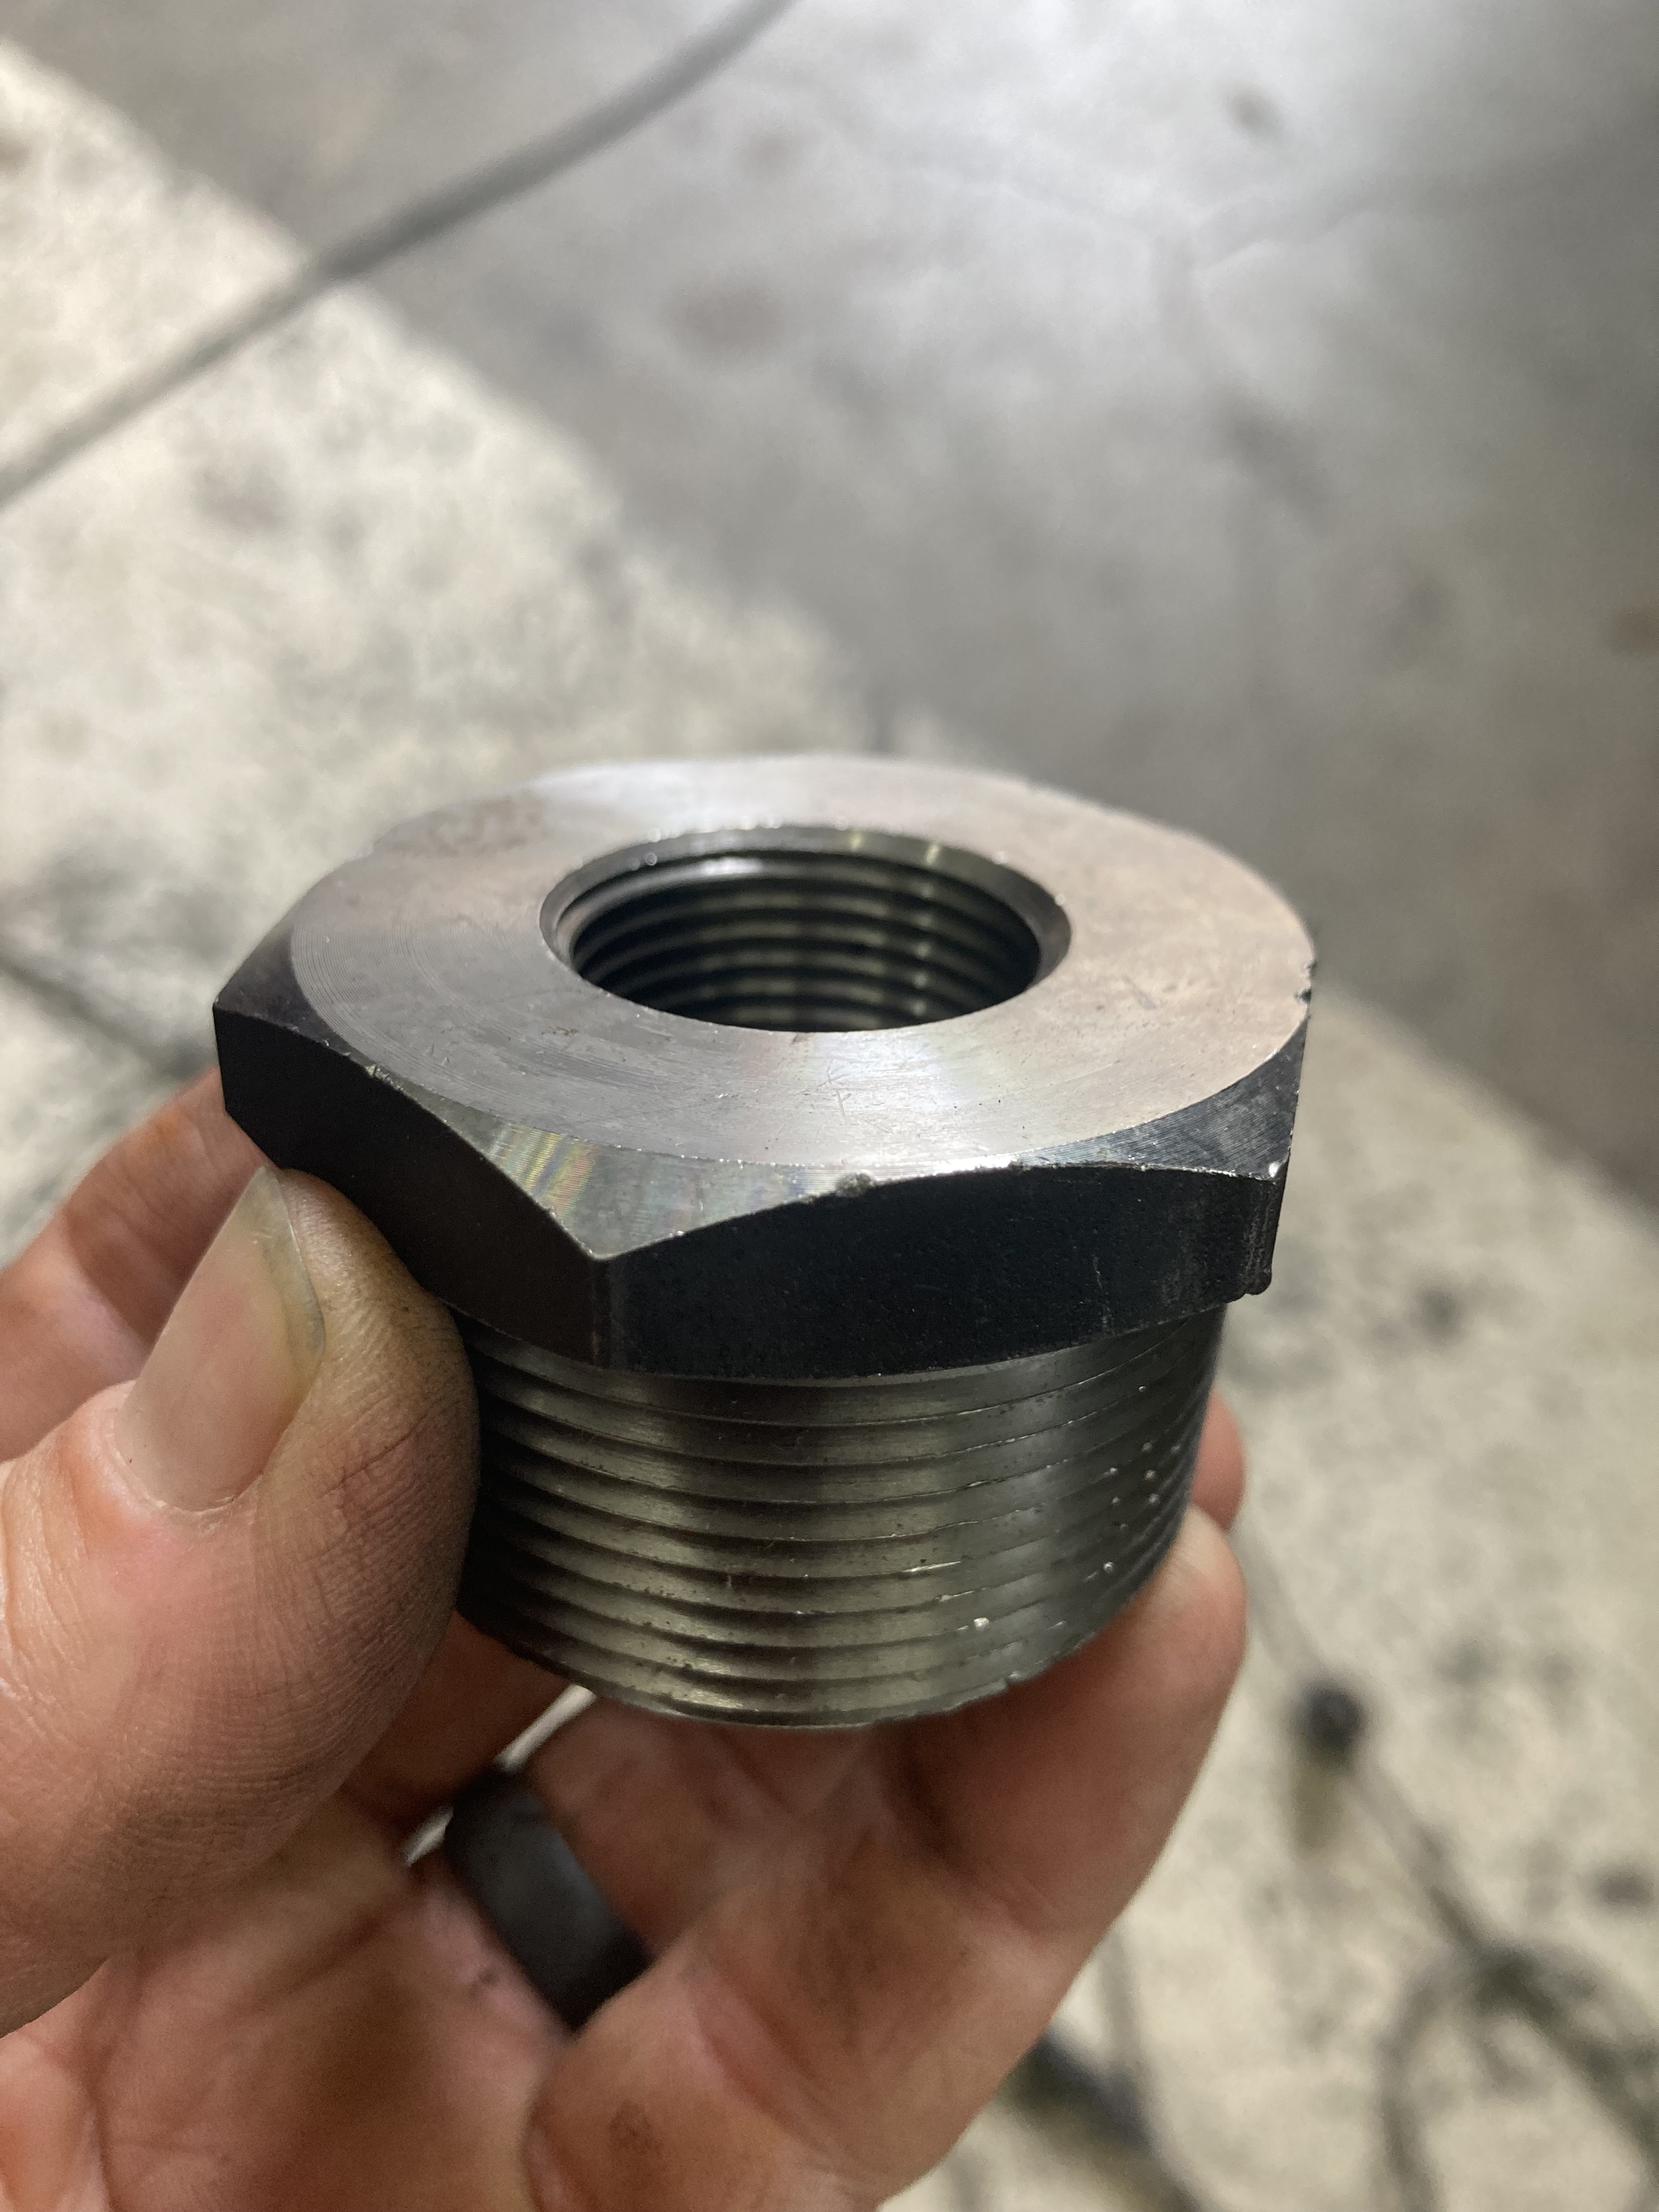
Put in new bushings and reinstalled the plugs. The rads will be powder coated so I used Hi-temp thread sealant, good for up to 400 degrees.

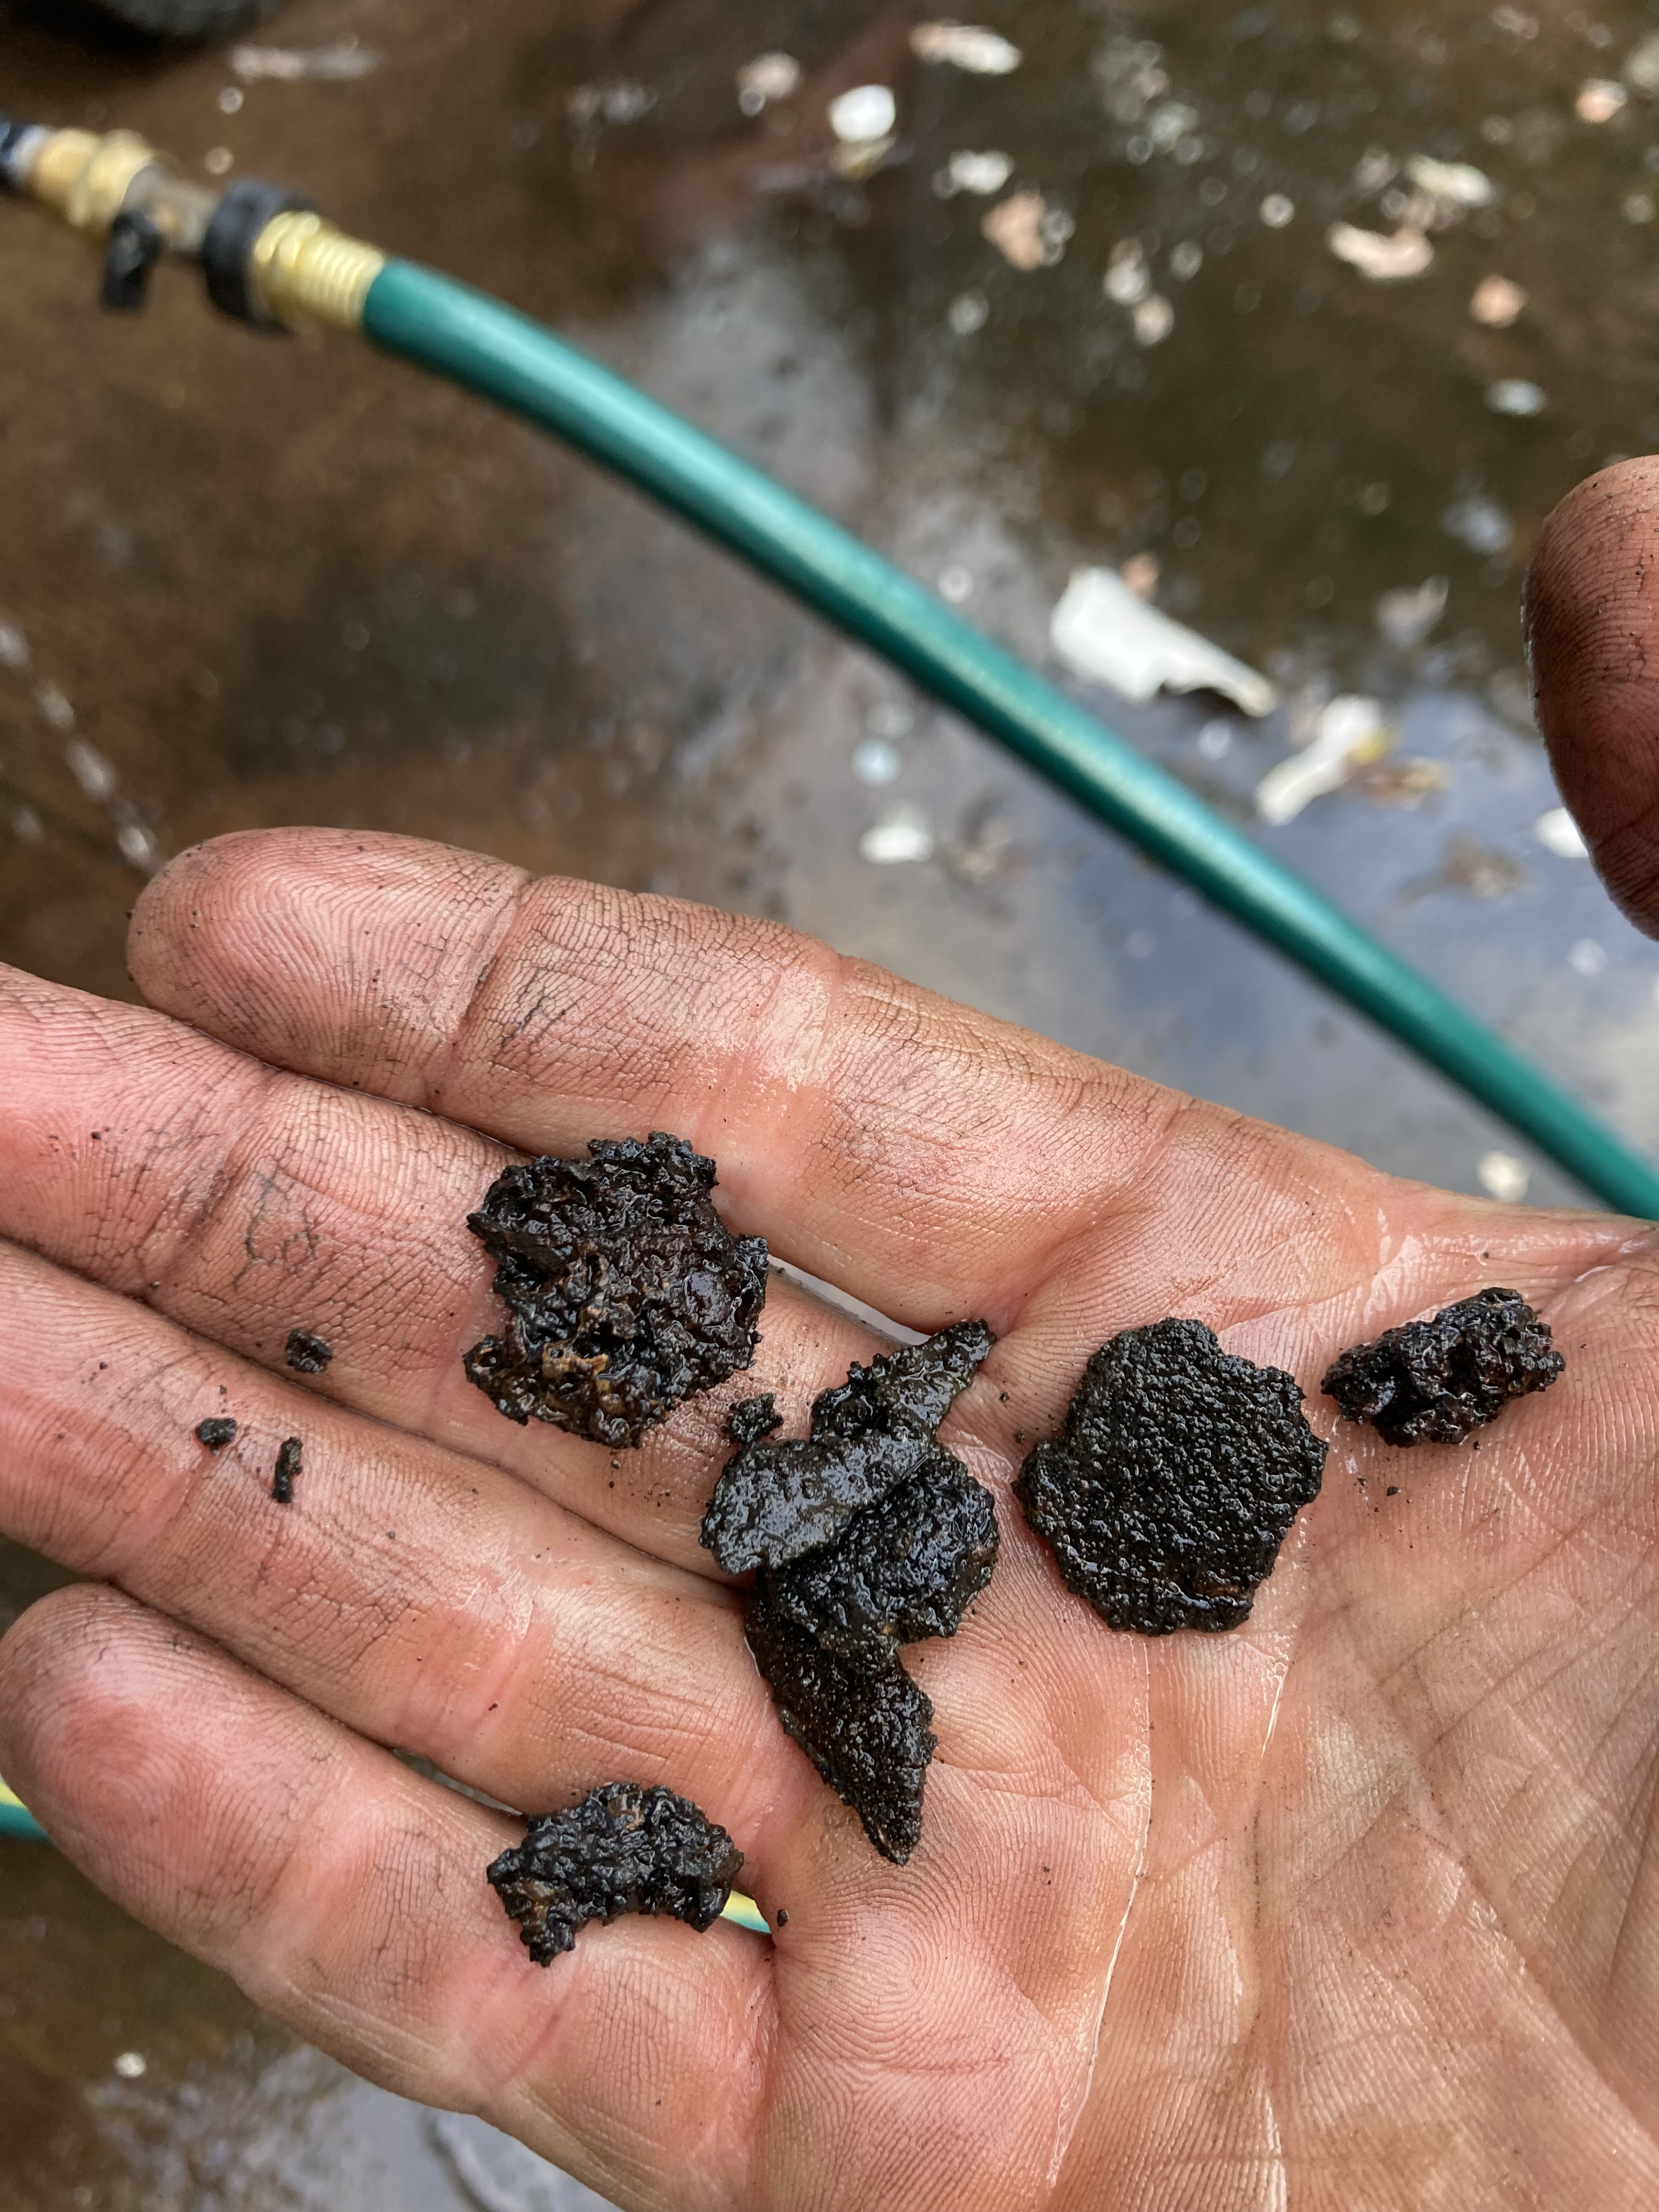
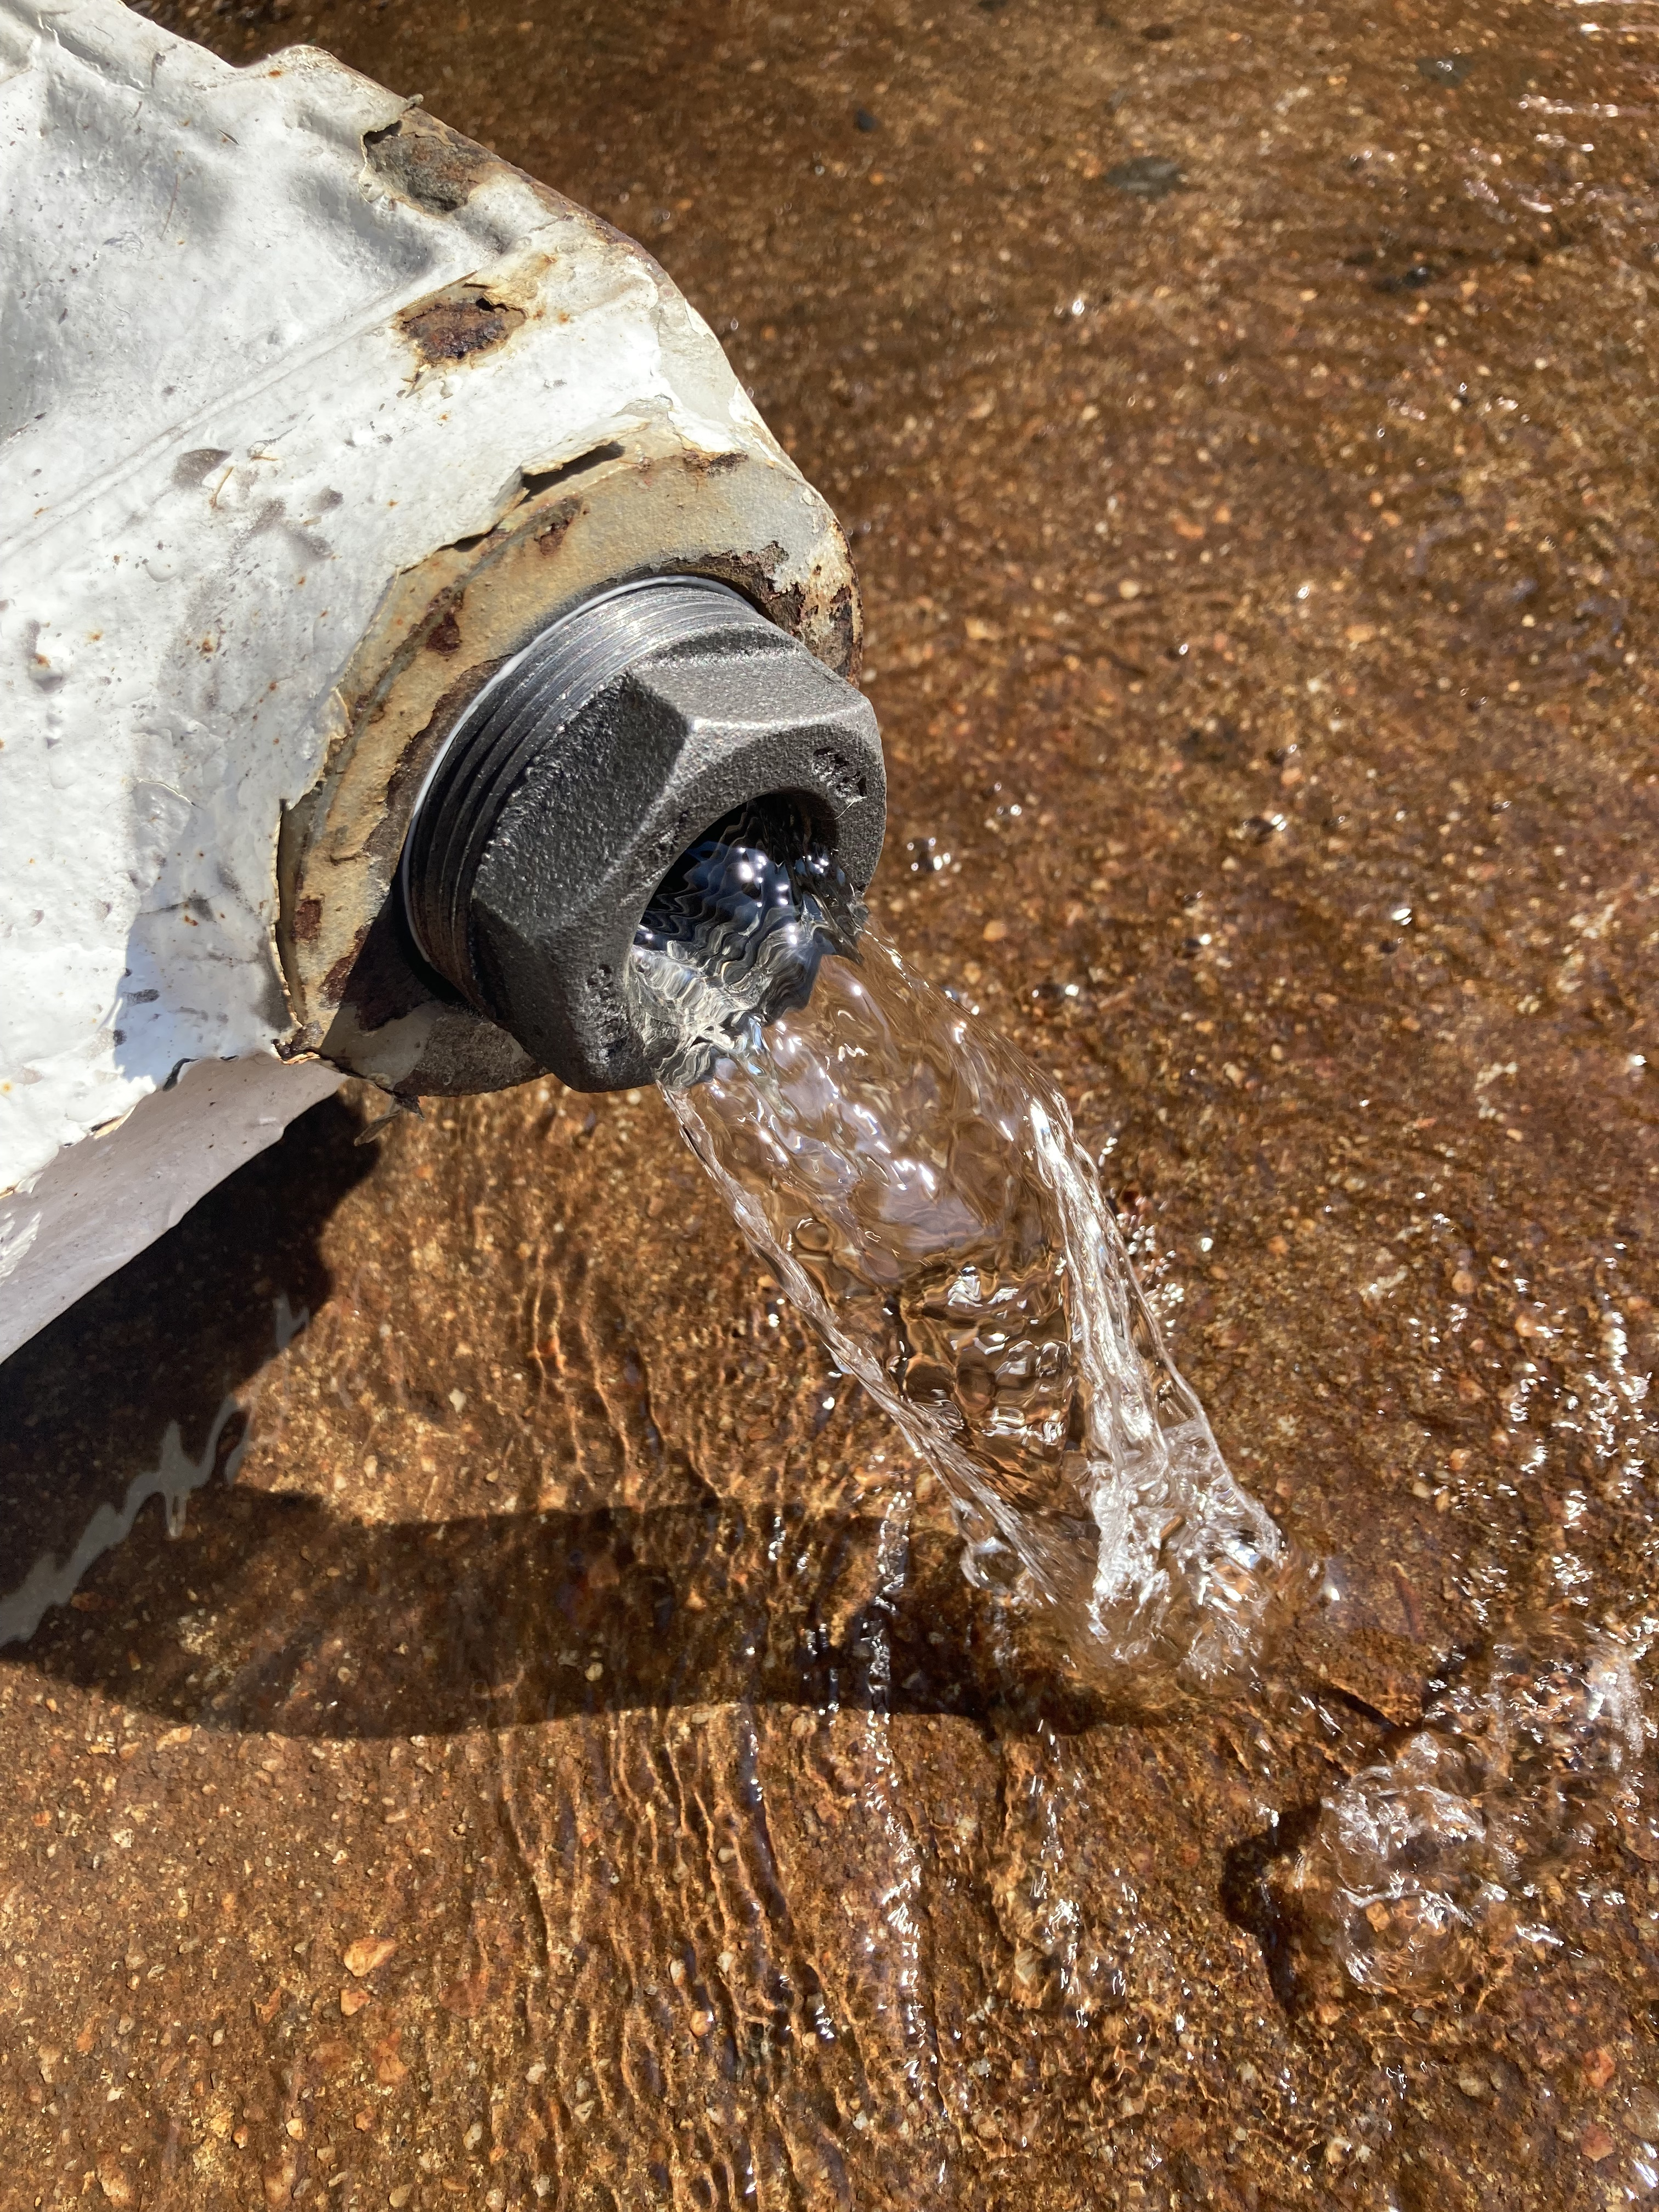
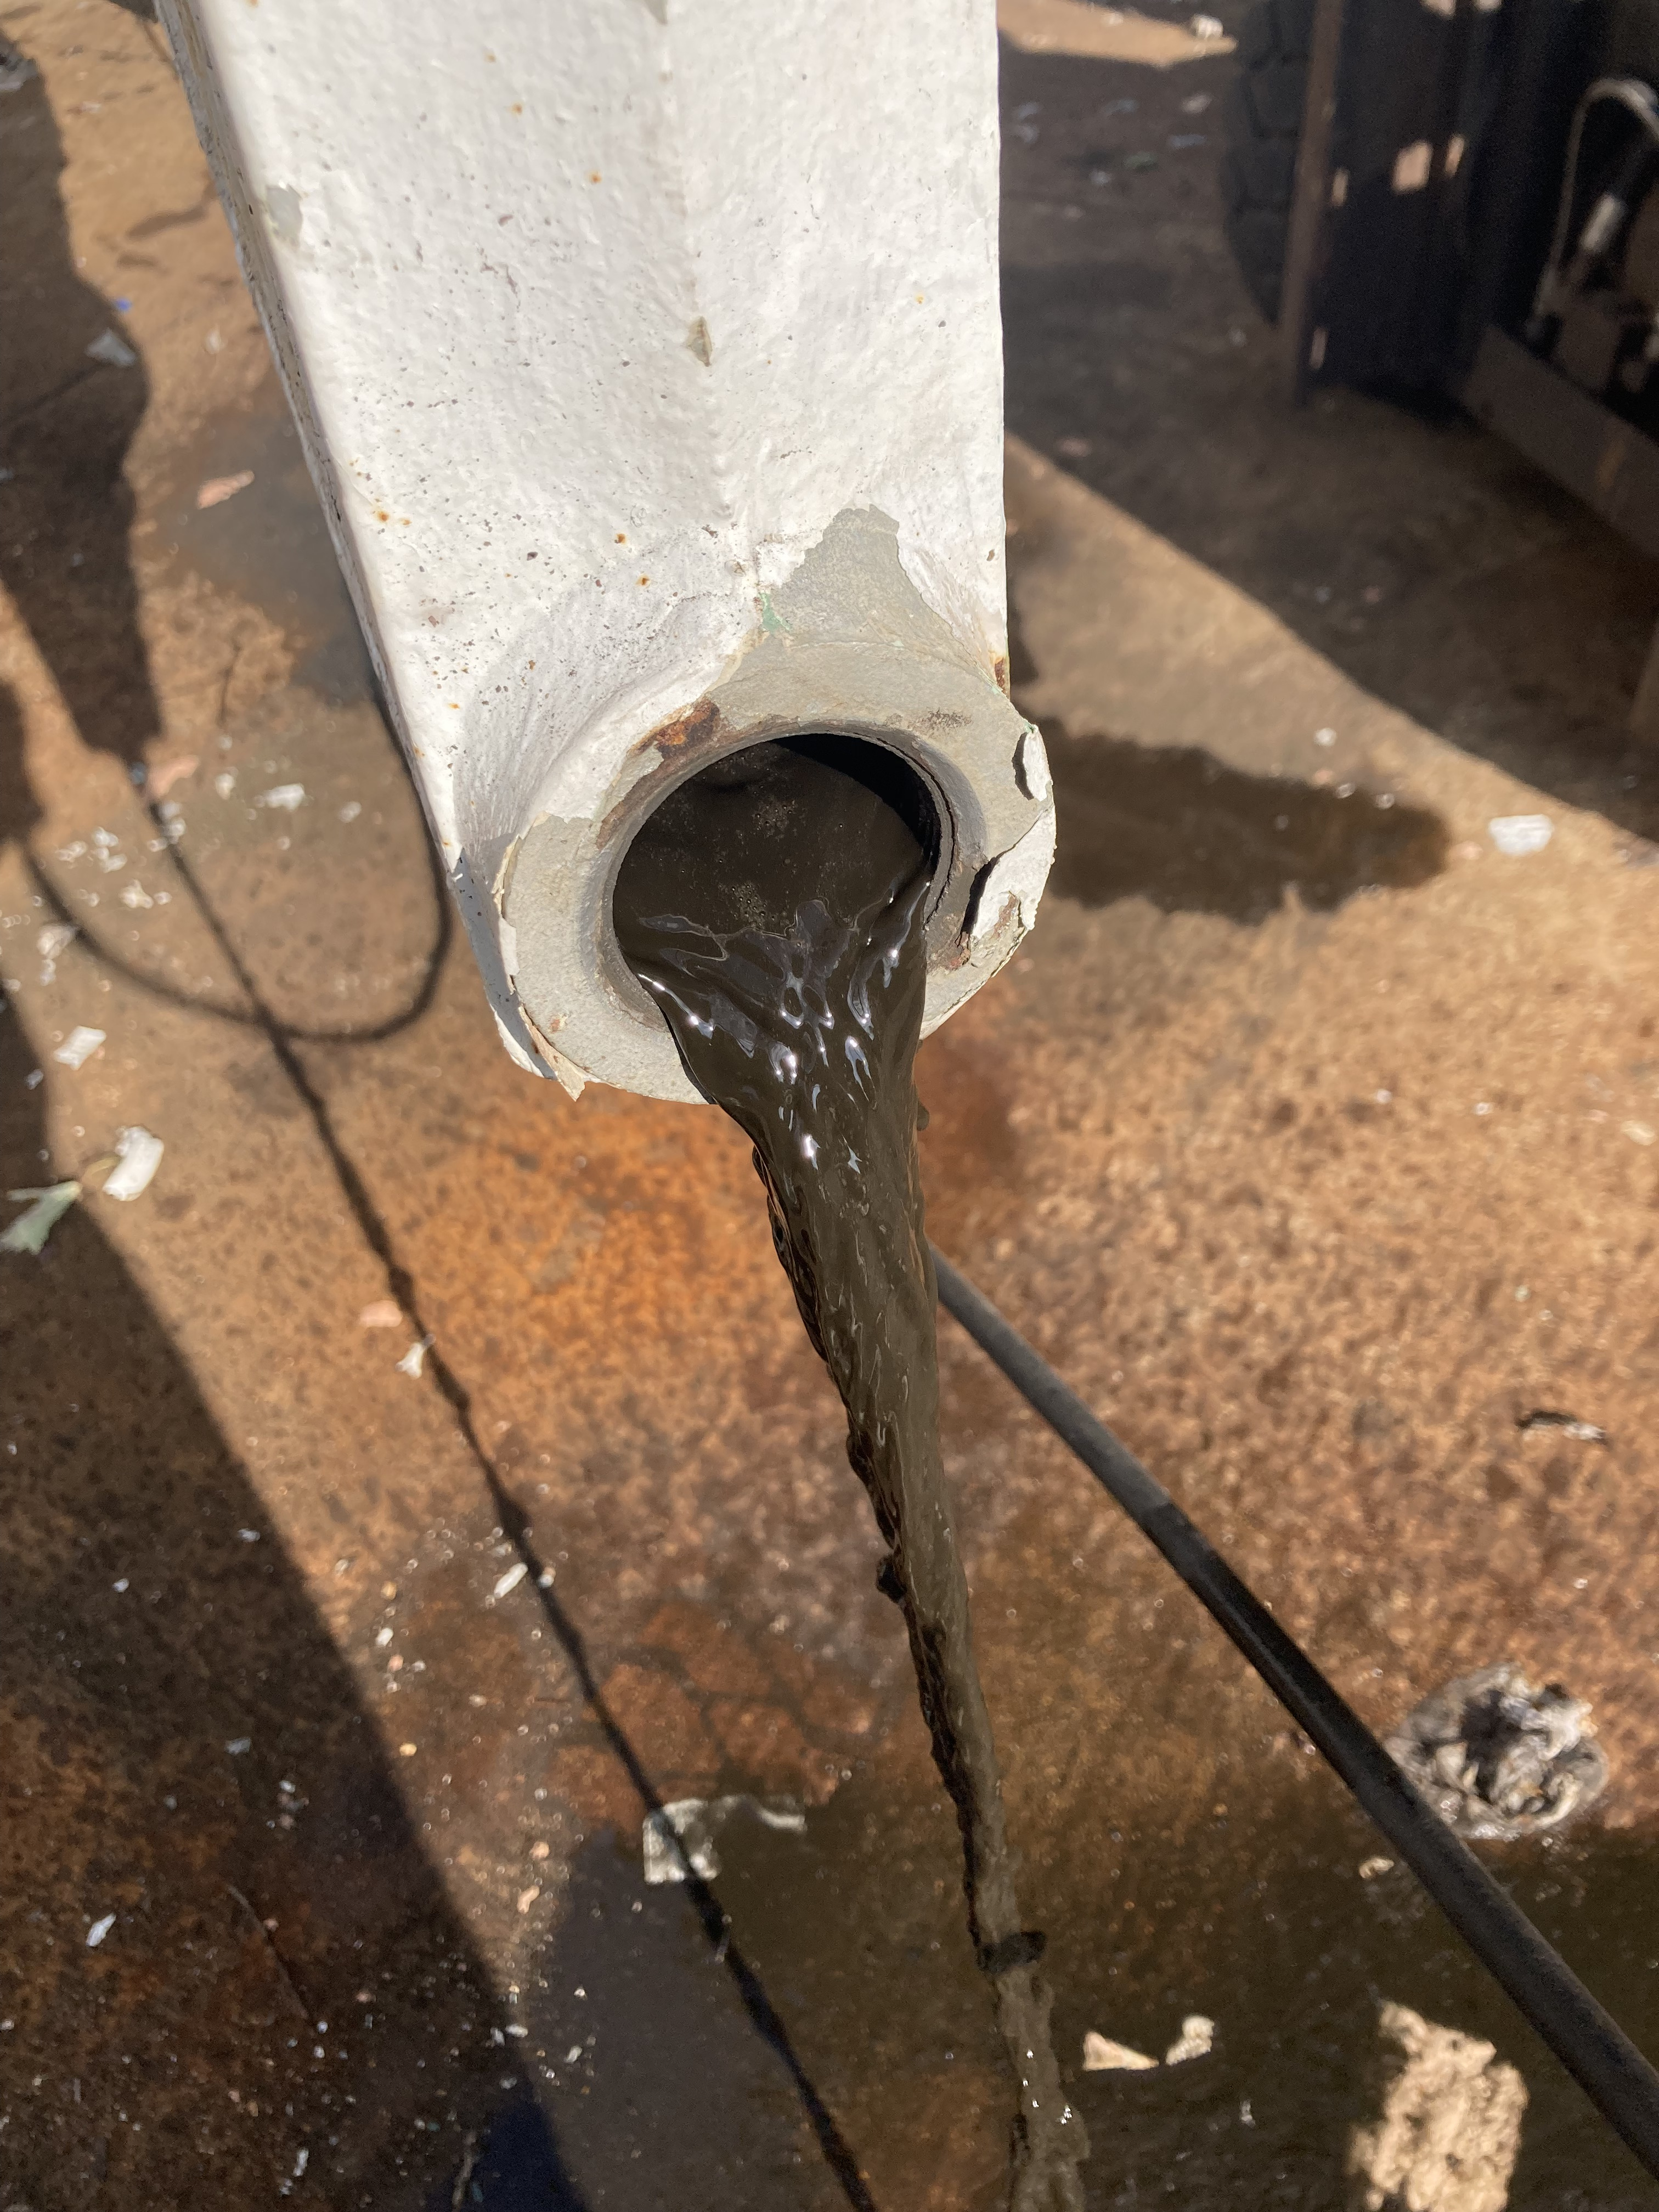
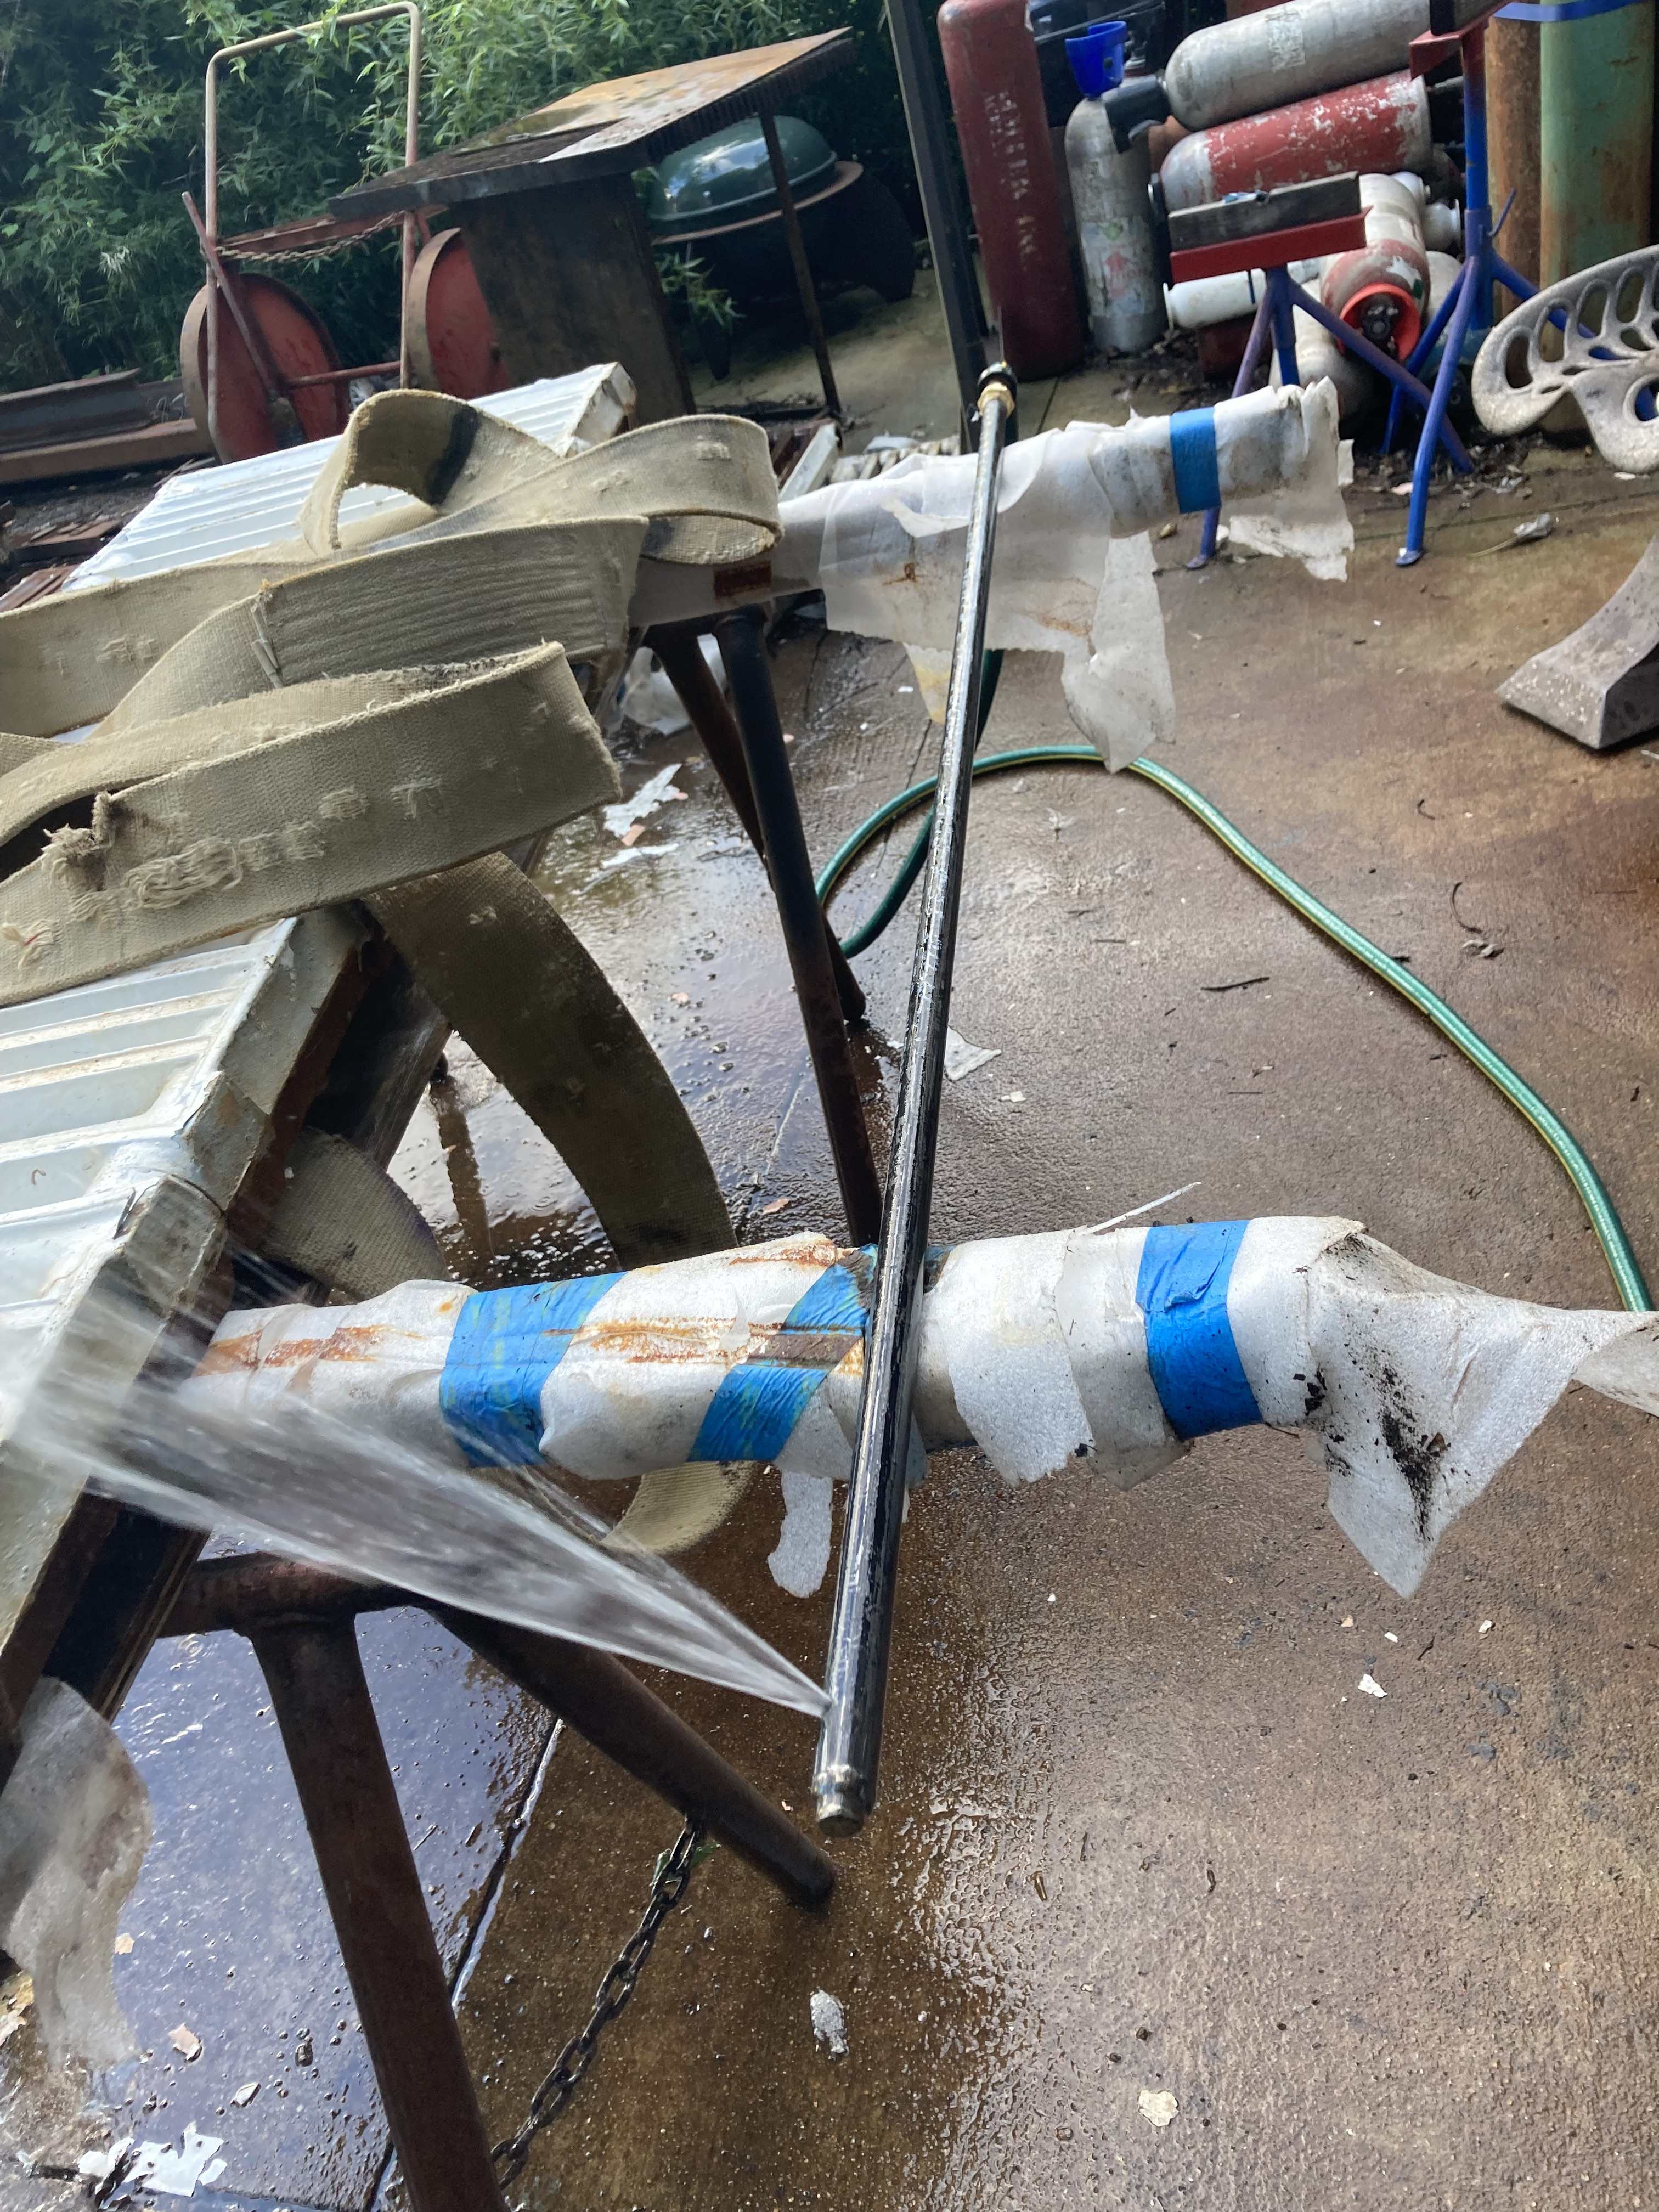
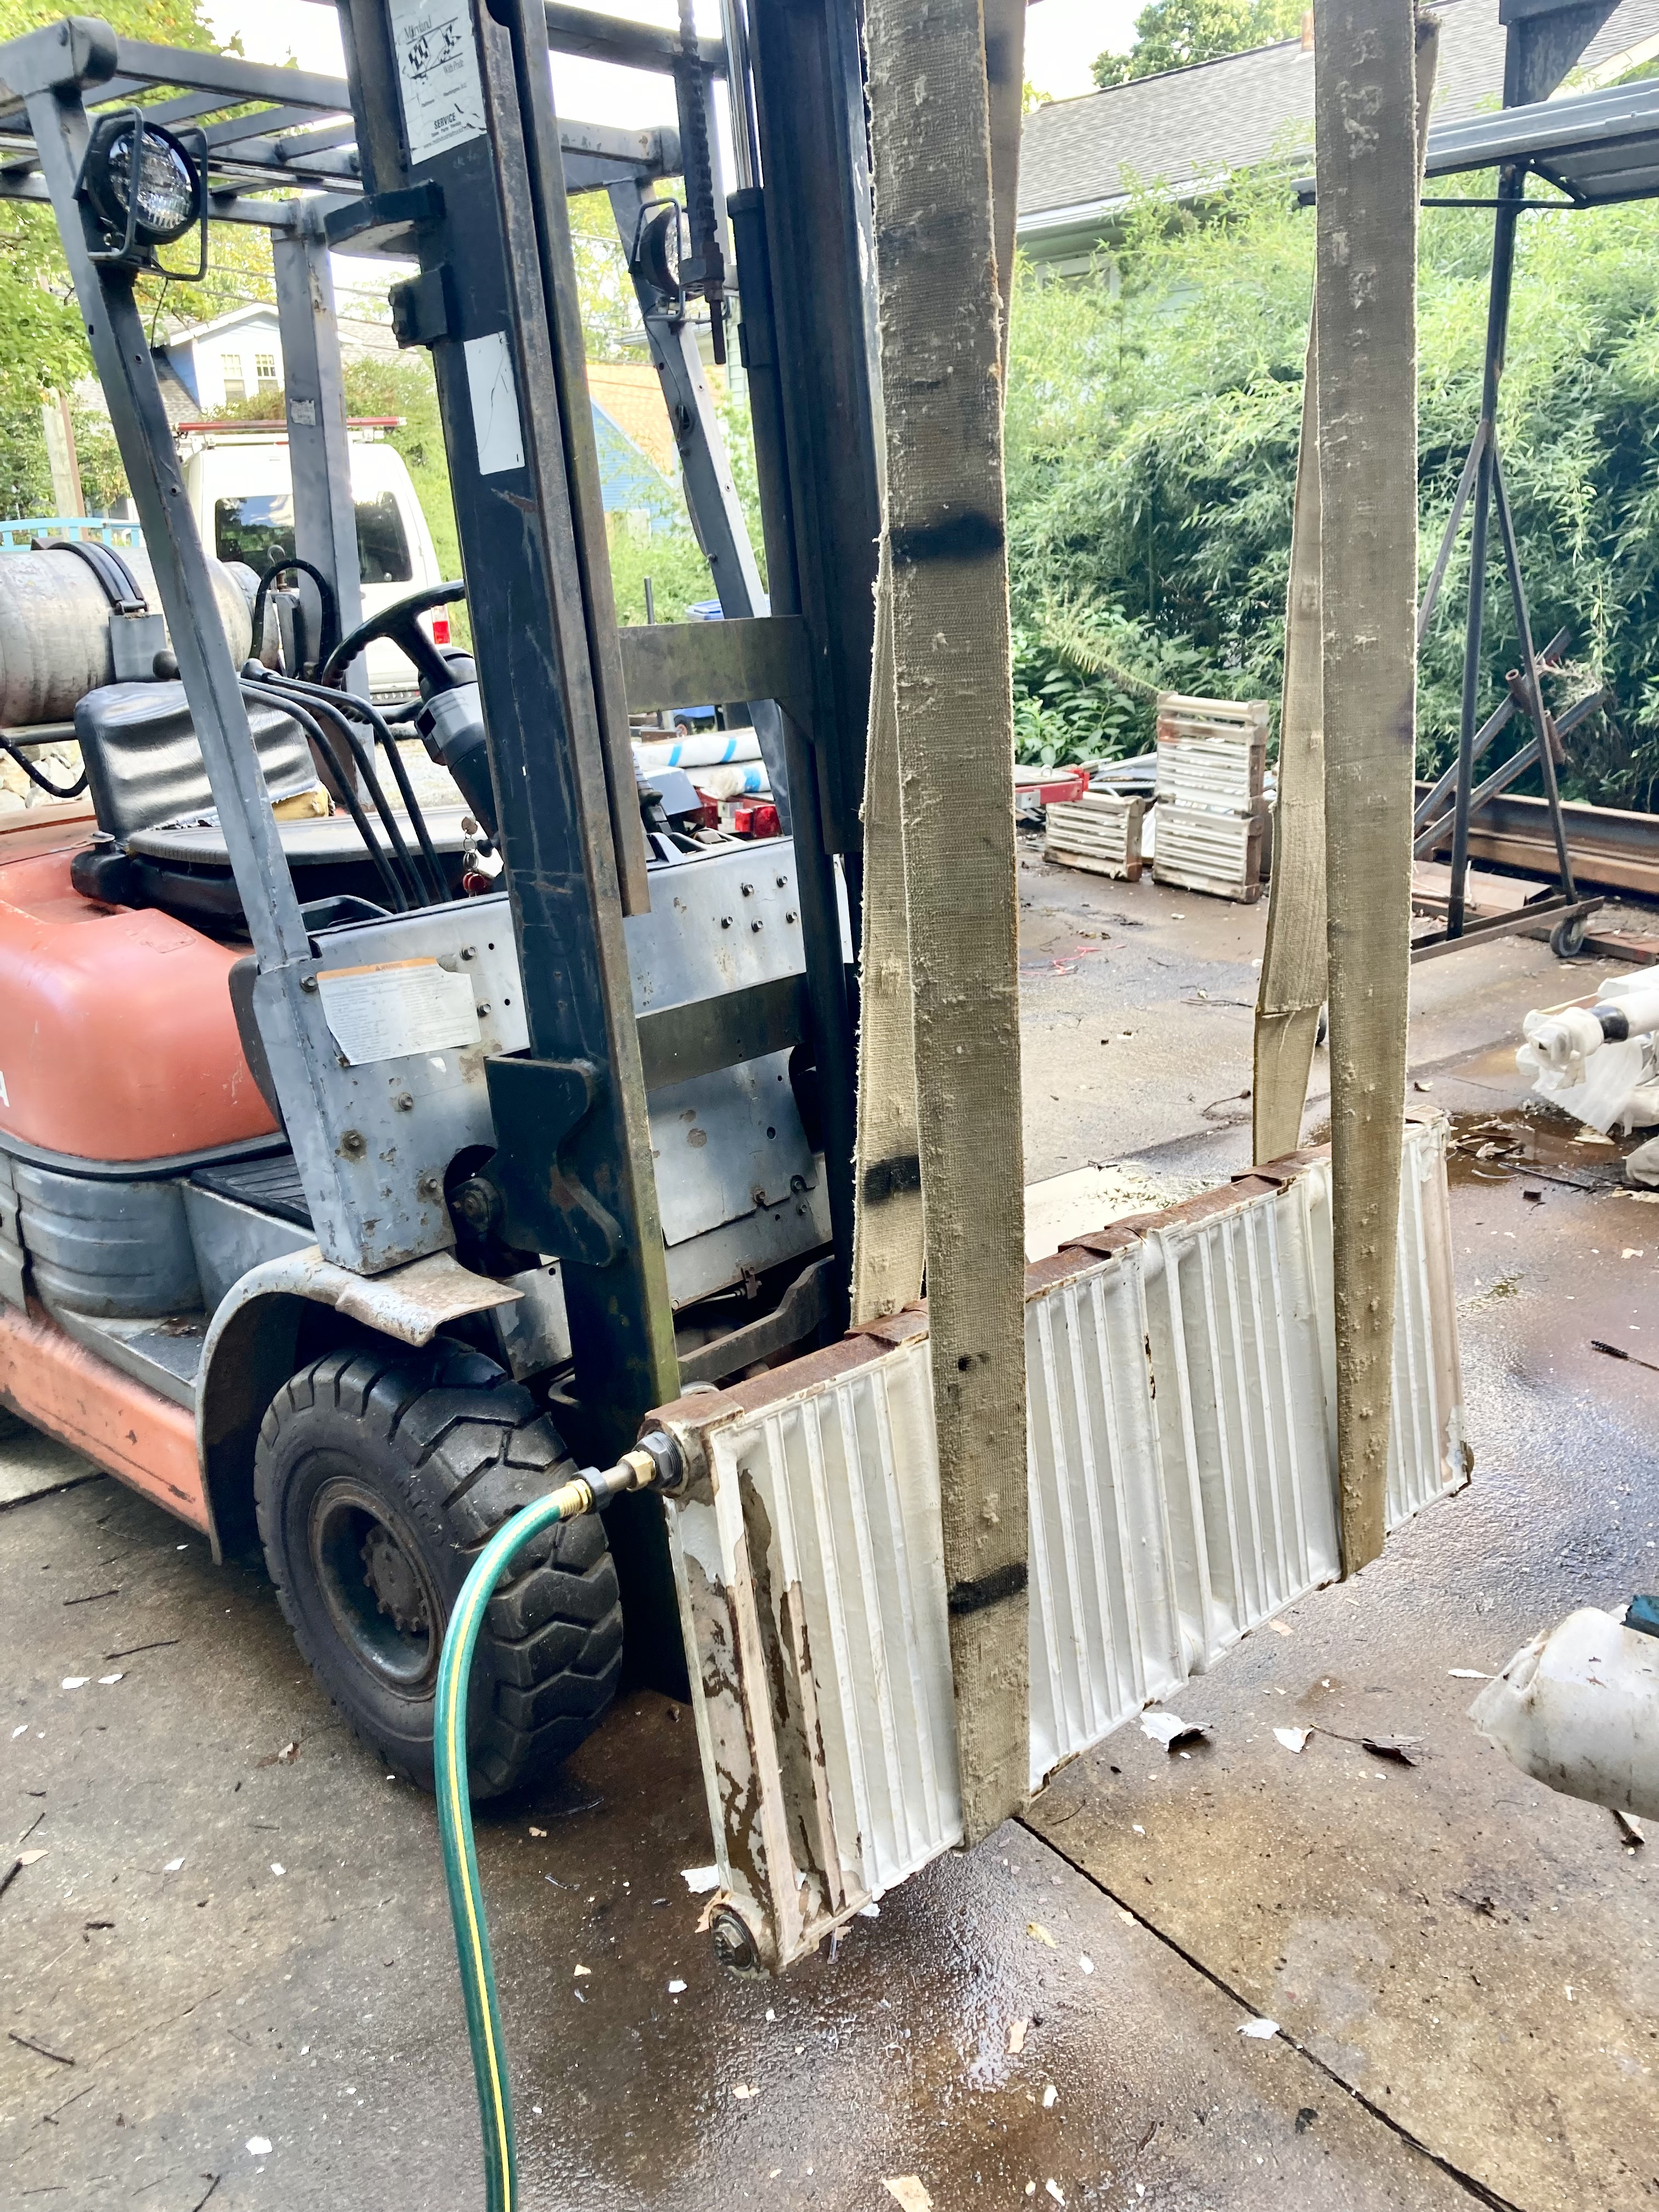
I gave them a good flush using this 90* spray wand I made to get around the corners. 100 years worth of crap came out. I flushed until the water came out clear:
Then I leak tested and luckily they all passed:
these rads were designed to be wall hung, but whoever installed them years ago just plopped them on the floor (LAME!). Back in the day, bolt on feet were available with the rads but they are nowhere to be found so I drew some up in Sketchup (an architecture/design CAD program). I based my drawing off of images from the original catalog:
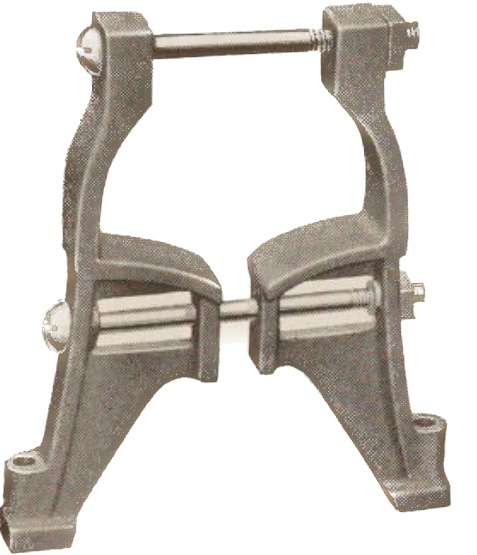


I am either going to have the feet sand cast in iron or CNC machined from steel. Either way, its going to be expensive, so I'm bracing myself for that. The feet can be installed upside down and be used as shelf brackets.
Right now the rads are all sealed up and palletized, ready to go to the powder coater. Handling them is a real chore, and hanging them for blasting and coating will also be a challenge.
Stay tuned for more progress and please do share your experience if you have ever done this!

Steve in MD
now i am refurbishing the rads, and what an interesting adventure (or ordeal) this is!
here's some pics of the process
I thought we would discard them but then I realized (in large part from reading this forum) that they are totally cool and worth saving.
The guys who removed them were rough and carried them flat (UGH) and lucky nothing broke.
Heres the 1925 catalog that features the rads. They are type 7-B on p17 : Thanks for the link, @Steamhead !!!
https://archive.org/details/americanpeerless00amer/page/16/mode/2up?view=theater
I took out the bushings and plugs and cleaned all the threads, right hand and LEFT hand - That left hand 1 1/2" NPT tap was hard to find!
Put in new bushings and reinstalled the plugs. The rads will be powder coated so I used Hi-temp thread sealant, good for up to 400 degrees.
I gave them a good flush using this 90* spray wand I made to get around the corners. 100 years worth of crap came out. I flushed until the water came out clear:
Then I leak tested and luckily they all passed:
these rads were designed to be wall hung, but whoever installed them years ago just plopped them on the floor (LAME!). Back in the day, bolt on feet were available with the rads but they are nowhere to be found so I drew some up in Sketchup (an architecture/design CAD program). I based my drawing off of images from the original catalog:
I am either going to have the feet sand cast in iron or CNC machined from steel. Either way, its going to be expensive, so I'm bracing myself for that. The feet can be installed upside down and be used as shelf brackets.
Right now the rads are all sealed up and palletized, ready to go to the powder coater. Handling them is a real chore, and hanging them for blasting and coating will also be a challenge.
Stay tuned for more progress and please do share your experience if you have ever done this!
Steve in MD


5
Comments
-
A lot of work and $$. Looks good so far.
Be sure to add a dirt separator with a magnetic function to protect the pumps, valves, boilers, etc.Bob "hot rod" Rohr
trainer for Caleffi NA
Living the hydronic dream2 -
I might be interested in some of those feet.
Baltimore, MD, USA
Steam, Vapor & Hot-Water Heating Specialists
Oil & Gas Burner Service
Consulting1 -
Why not wall mount brackets? A little cleaner I feel. Btw cool and dedicated
Resto project.2 -
The high temp thread sealant was a major mistake.
 0
0 -
Never seize!0
-
Yeah that was my first choice for sure.tim smith said:Why not wall mount brackets? A little cleaner I feel. Btw cool and dedicated
Resto project.
but many factors conspired to make it just too complicated and finicky.
the feet will give much more flexibility at install plus, they double as shlef brackets when installed upside down on top! 0
0 -
Can you 3D print those legs?
Maybe a glass/ nylon composite? Then you could send the program around and folks could print them locally. Online printers also now.Bob "hot rod" Rohr
trainer for Caleffi NA
Living the hydronic dream0 -
I have the 3d print there in hand.hot_rod said:Can you 3D print those legs? Maybe a glass/ nylon composite? Then you could send the program around and folks could print them locally. Online printers also now.I explored 3d metal printing its just too pricey.And my local university’s advanced fab lab is not responsive so, machining it is1 -
What about a plasma or laser cut the first shape, cnc the recess?Bob "hot rod" Rohr
trainer for Caleffi NA
Living the hydronic dream0


Categories
- All Categories
- 87.7K THE MAIN WALL
- 3.3K A-C, Heat Pumps & Refrigeration
- 59 Biomass
- 430 Carbon Monoxide Awareness
- 128 Chimneys & Flues
- 2.2K Domestic Hot Water
- 5.9K Gas Heating
- 121 Geothermal
- 170 Indoor-Air Quality
- 3.8K Oil Heating
- 79 Pipe Deterioration
- 1.1K Plumbing
- 6.6K Radiant Heating
- 396 Solar
- 16K Strictly Steam
- 3.5K Thermostats and Controls
- 56 Water Quality
- 51 Industry Classes
- 51 Job Opportunities
- 17 Recall Announcements