How drain boiler for repair?
Comments
-
The paste is just a heat sink. Putting it on the iron fitting will just make the iron fitting soak up more heat. You can collapse the copper nipple in with a big pair of channelocks if you have to to free it up but i would just remove the male adapter and replace it with a copper coupler and piece of copper pipe to get the needed length.
If it was cherry that part was far more than hot enough, need to move the torch around some.
0 -
@mattmia2 ”The paste is just a heat sink. Putting it on the iron fitting will just make the iron fitting soak up more heat.”
Oh, makes sense. But I would want to put heat paste on the tee’s joints, right? It would protect them from coming loose, but wouldn’t that act as a heat sink too?
Channel locks, squeeze to collapse nipple: WDITOTATFTT! (Why Didn’t I Think of That and Thanks for the Tip!)
0 -
As you sure there isn't any water in the tube as you try to heat it. Even a trickle, fast drip will prevent the tube from getting hot all around.
Jam a few slice of Wonder 🍞 Bread up the tube to temporarily stop a small flow. That's why they call it Wonder bread.
Bob "hot rod" Rohr
trainer for Caleffi NA
Living the hydronic dream 1
1 -
or use a shop vac to suck the remaining water out
0 -
Or both!
0 -
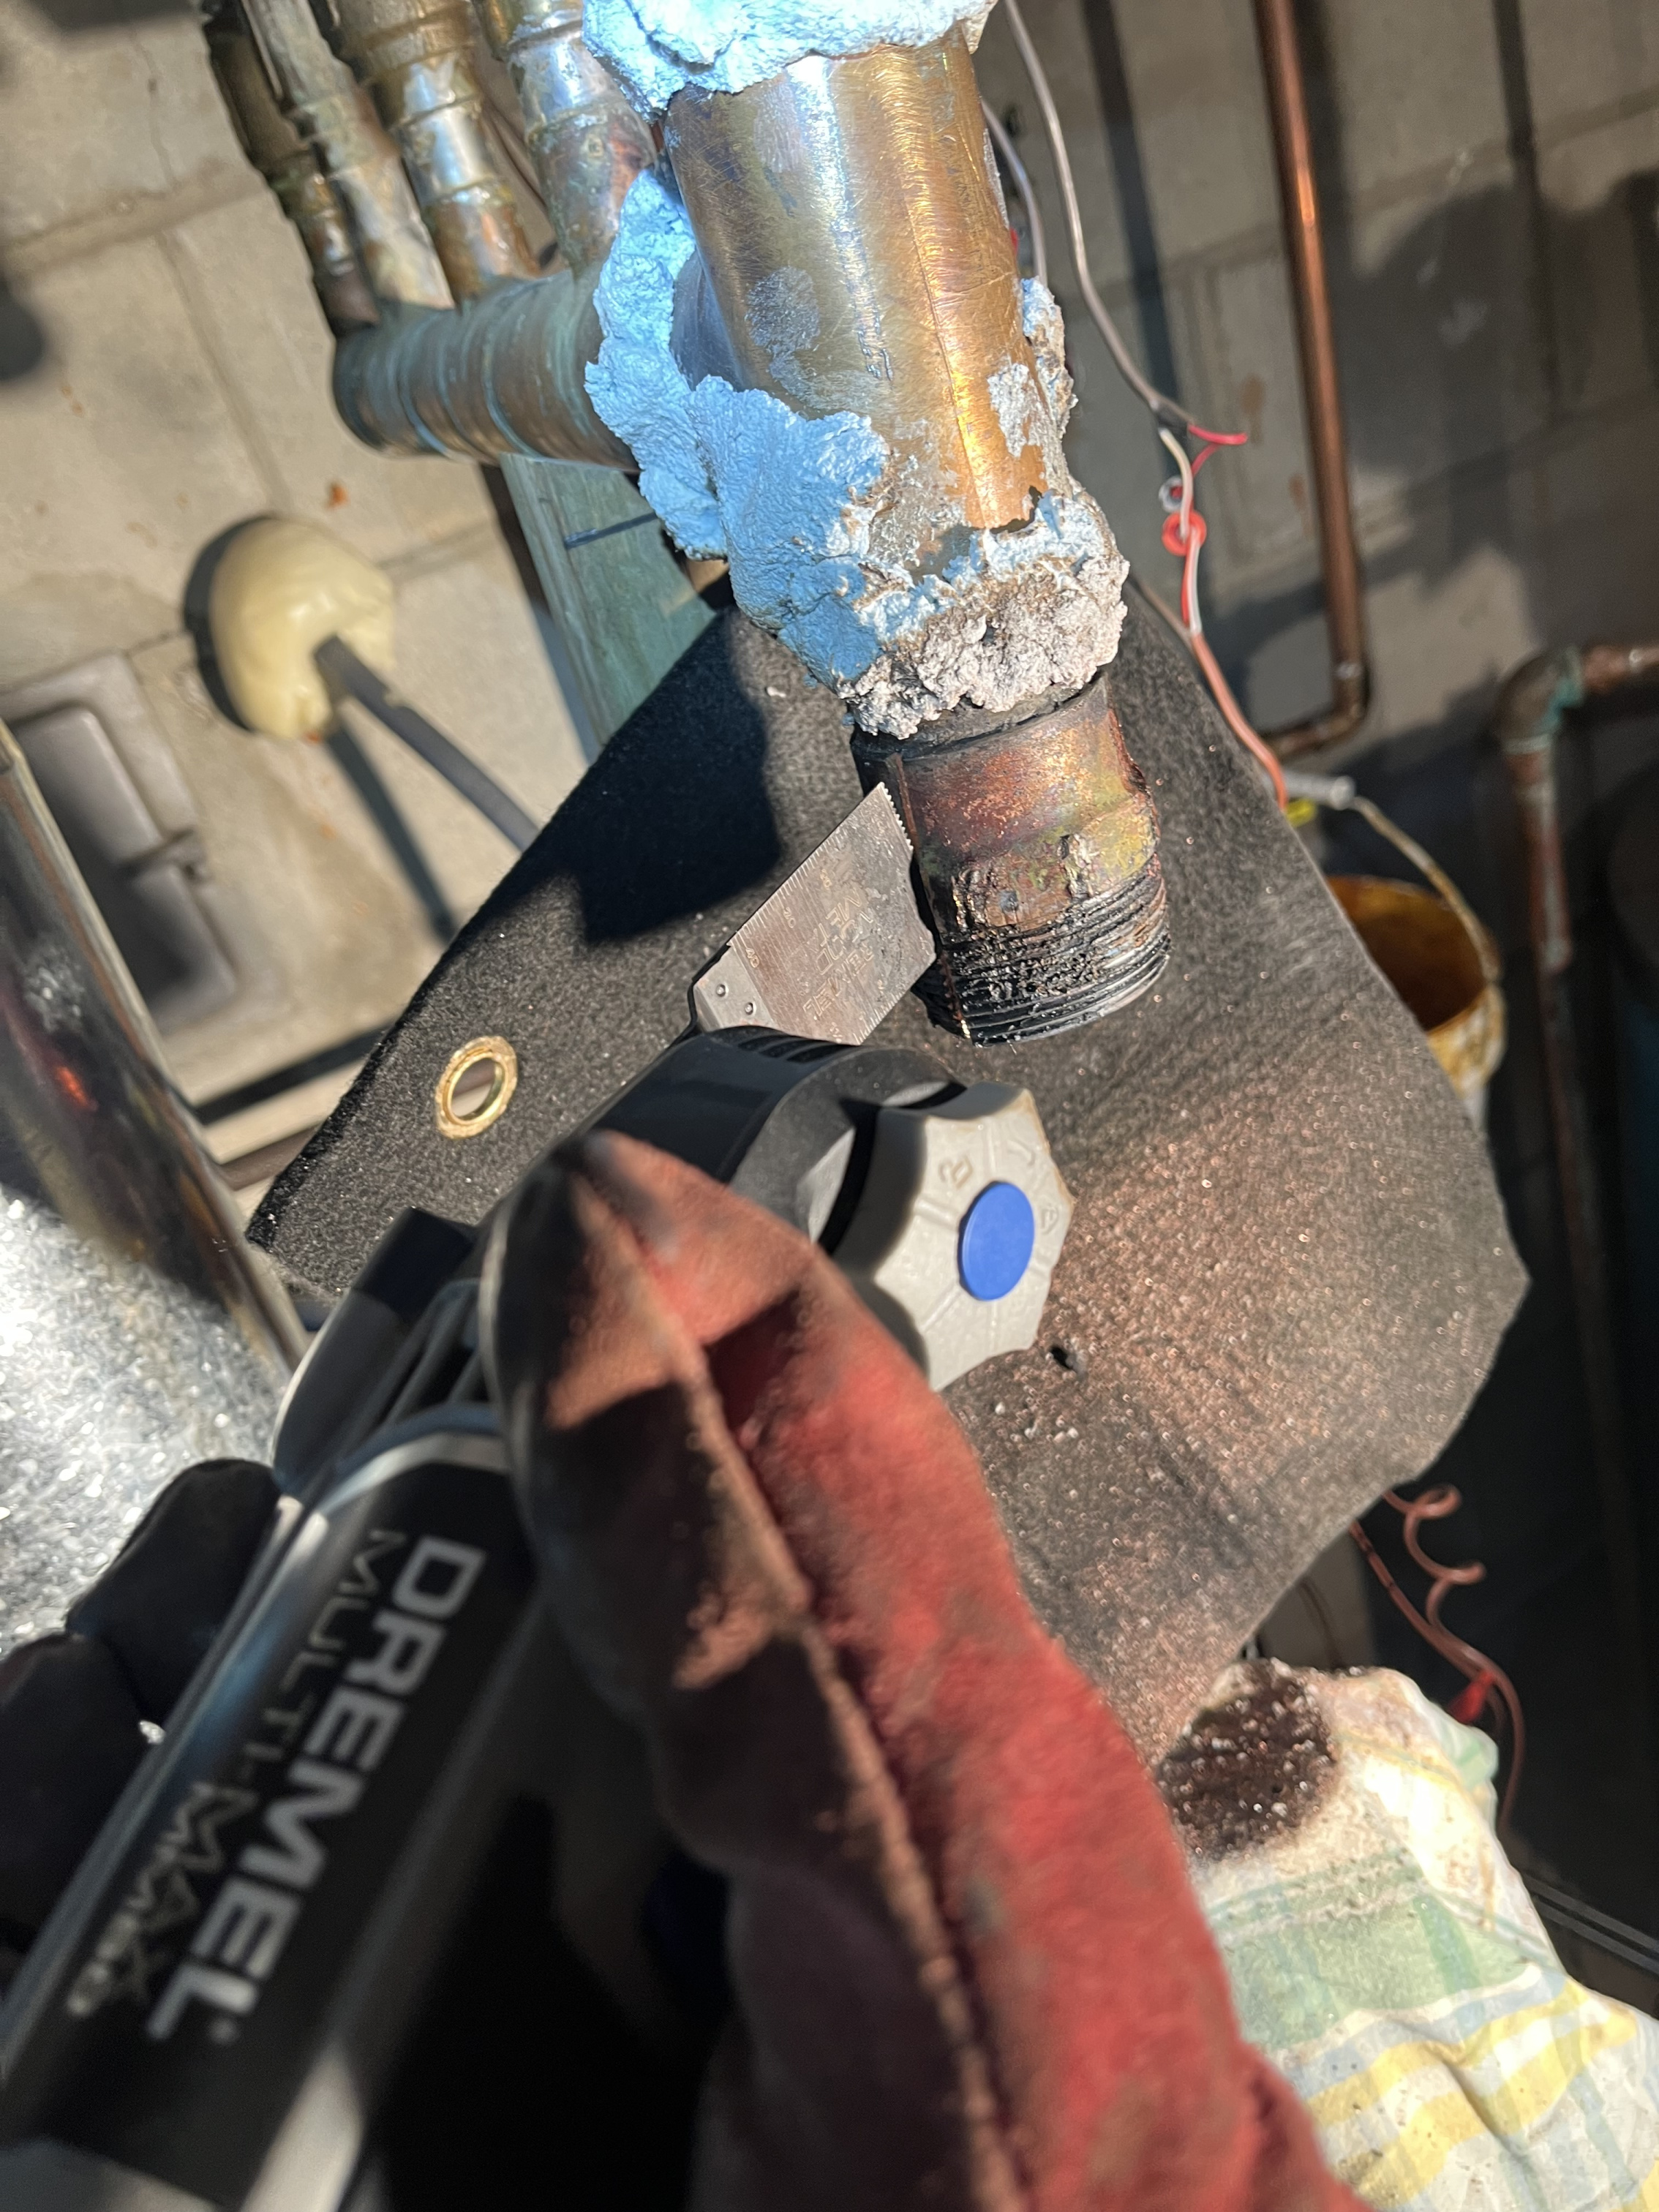
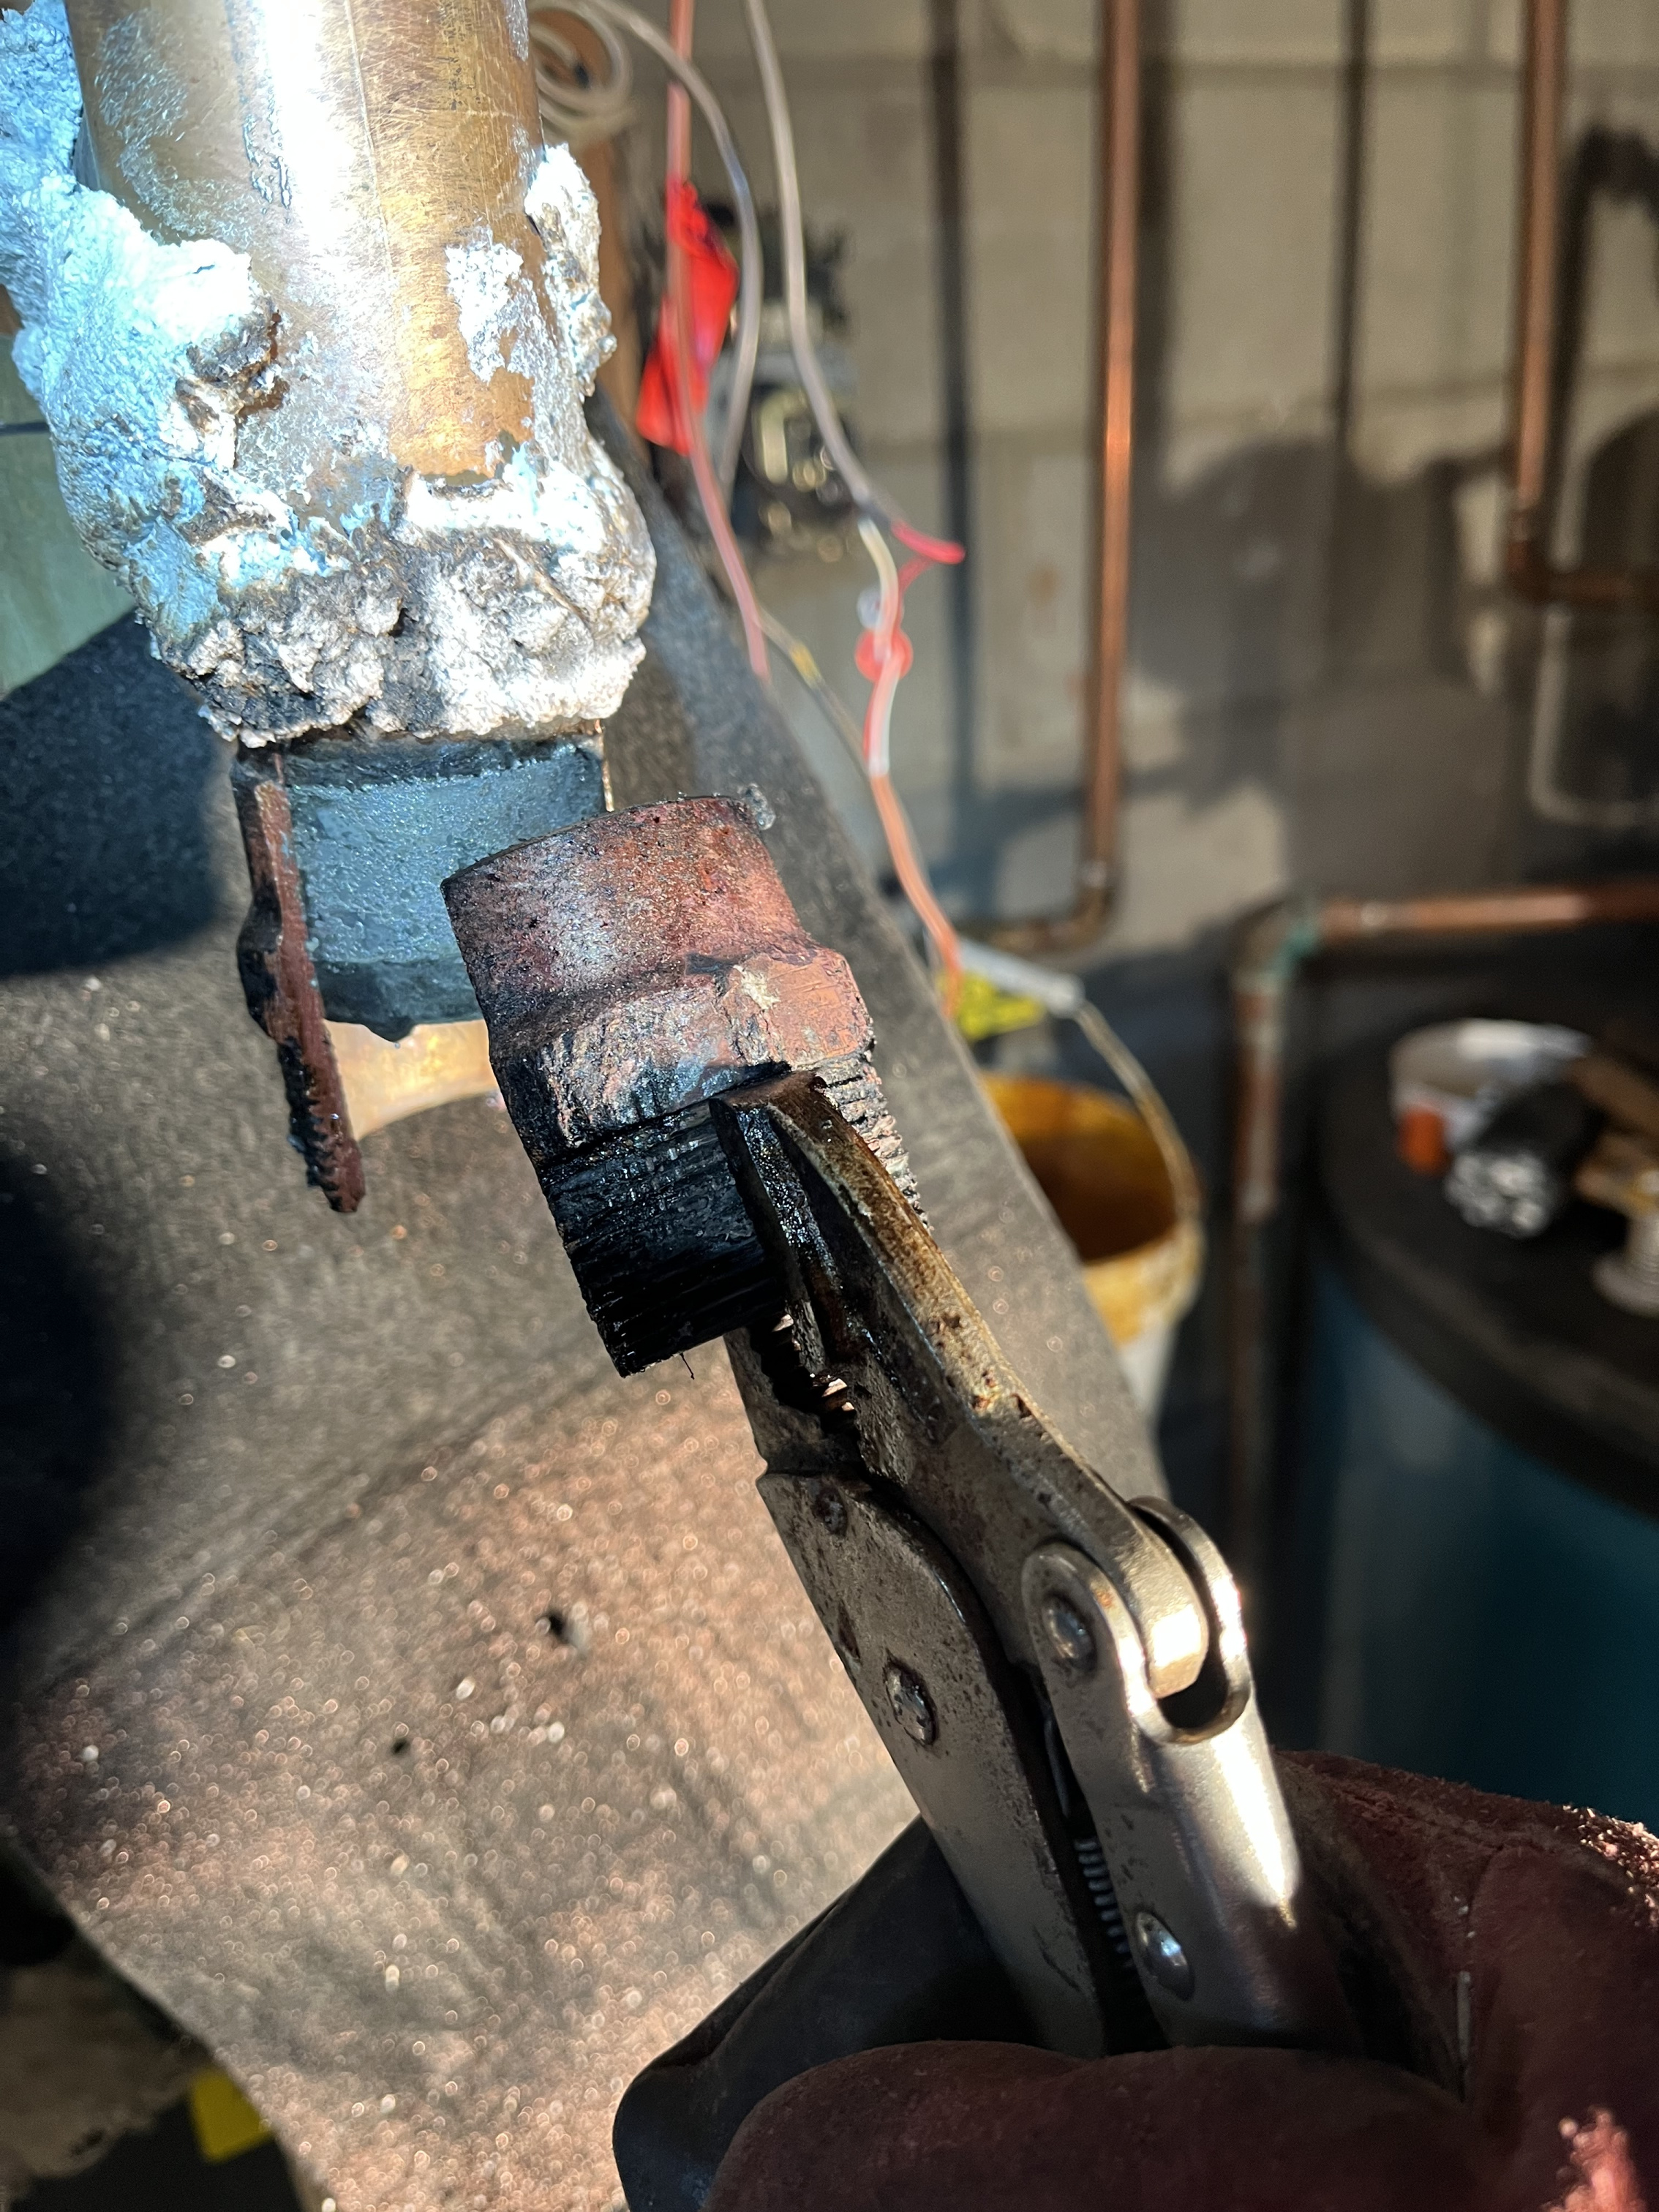
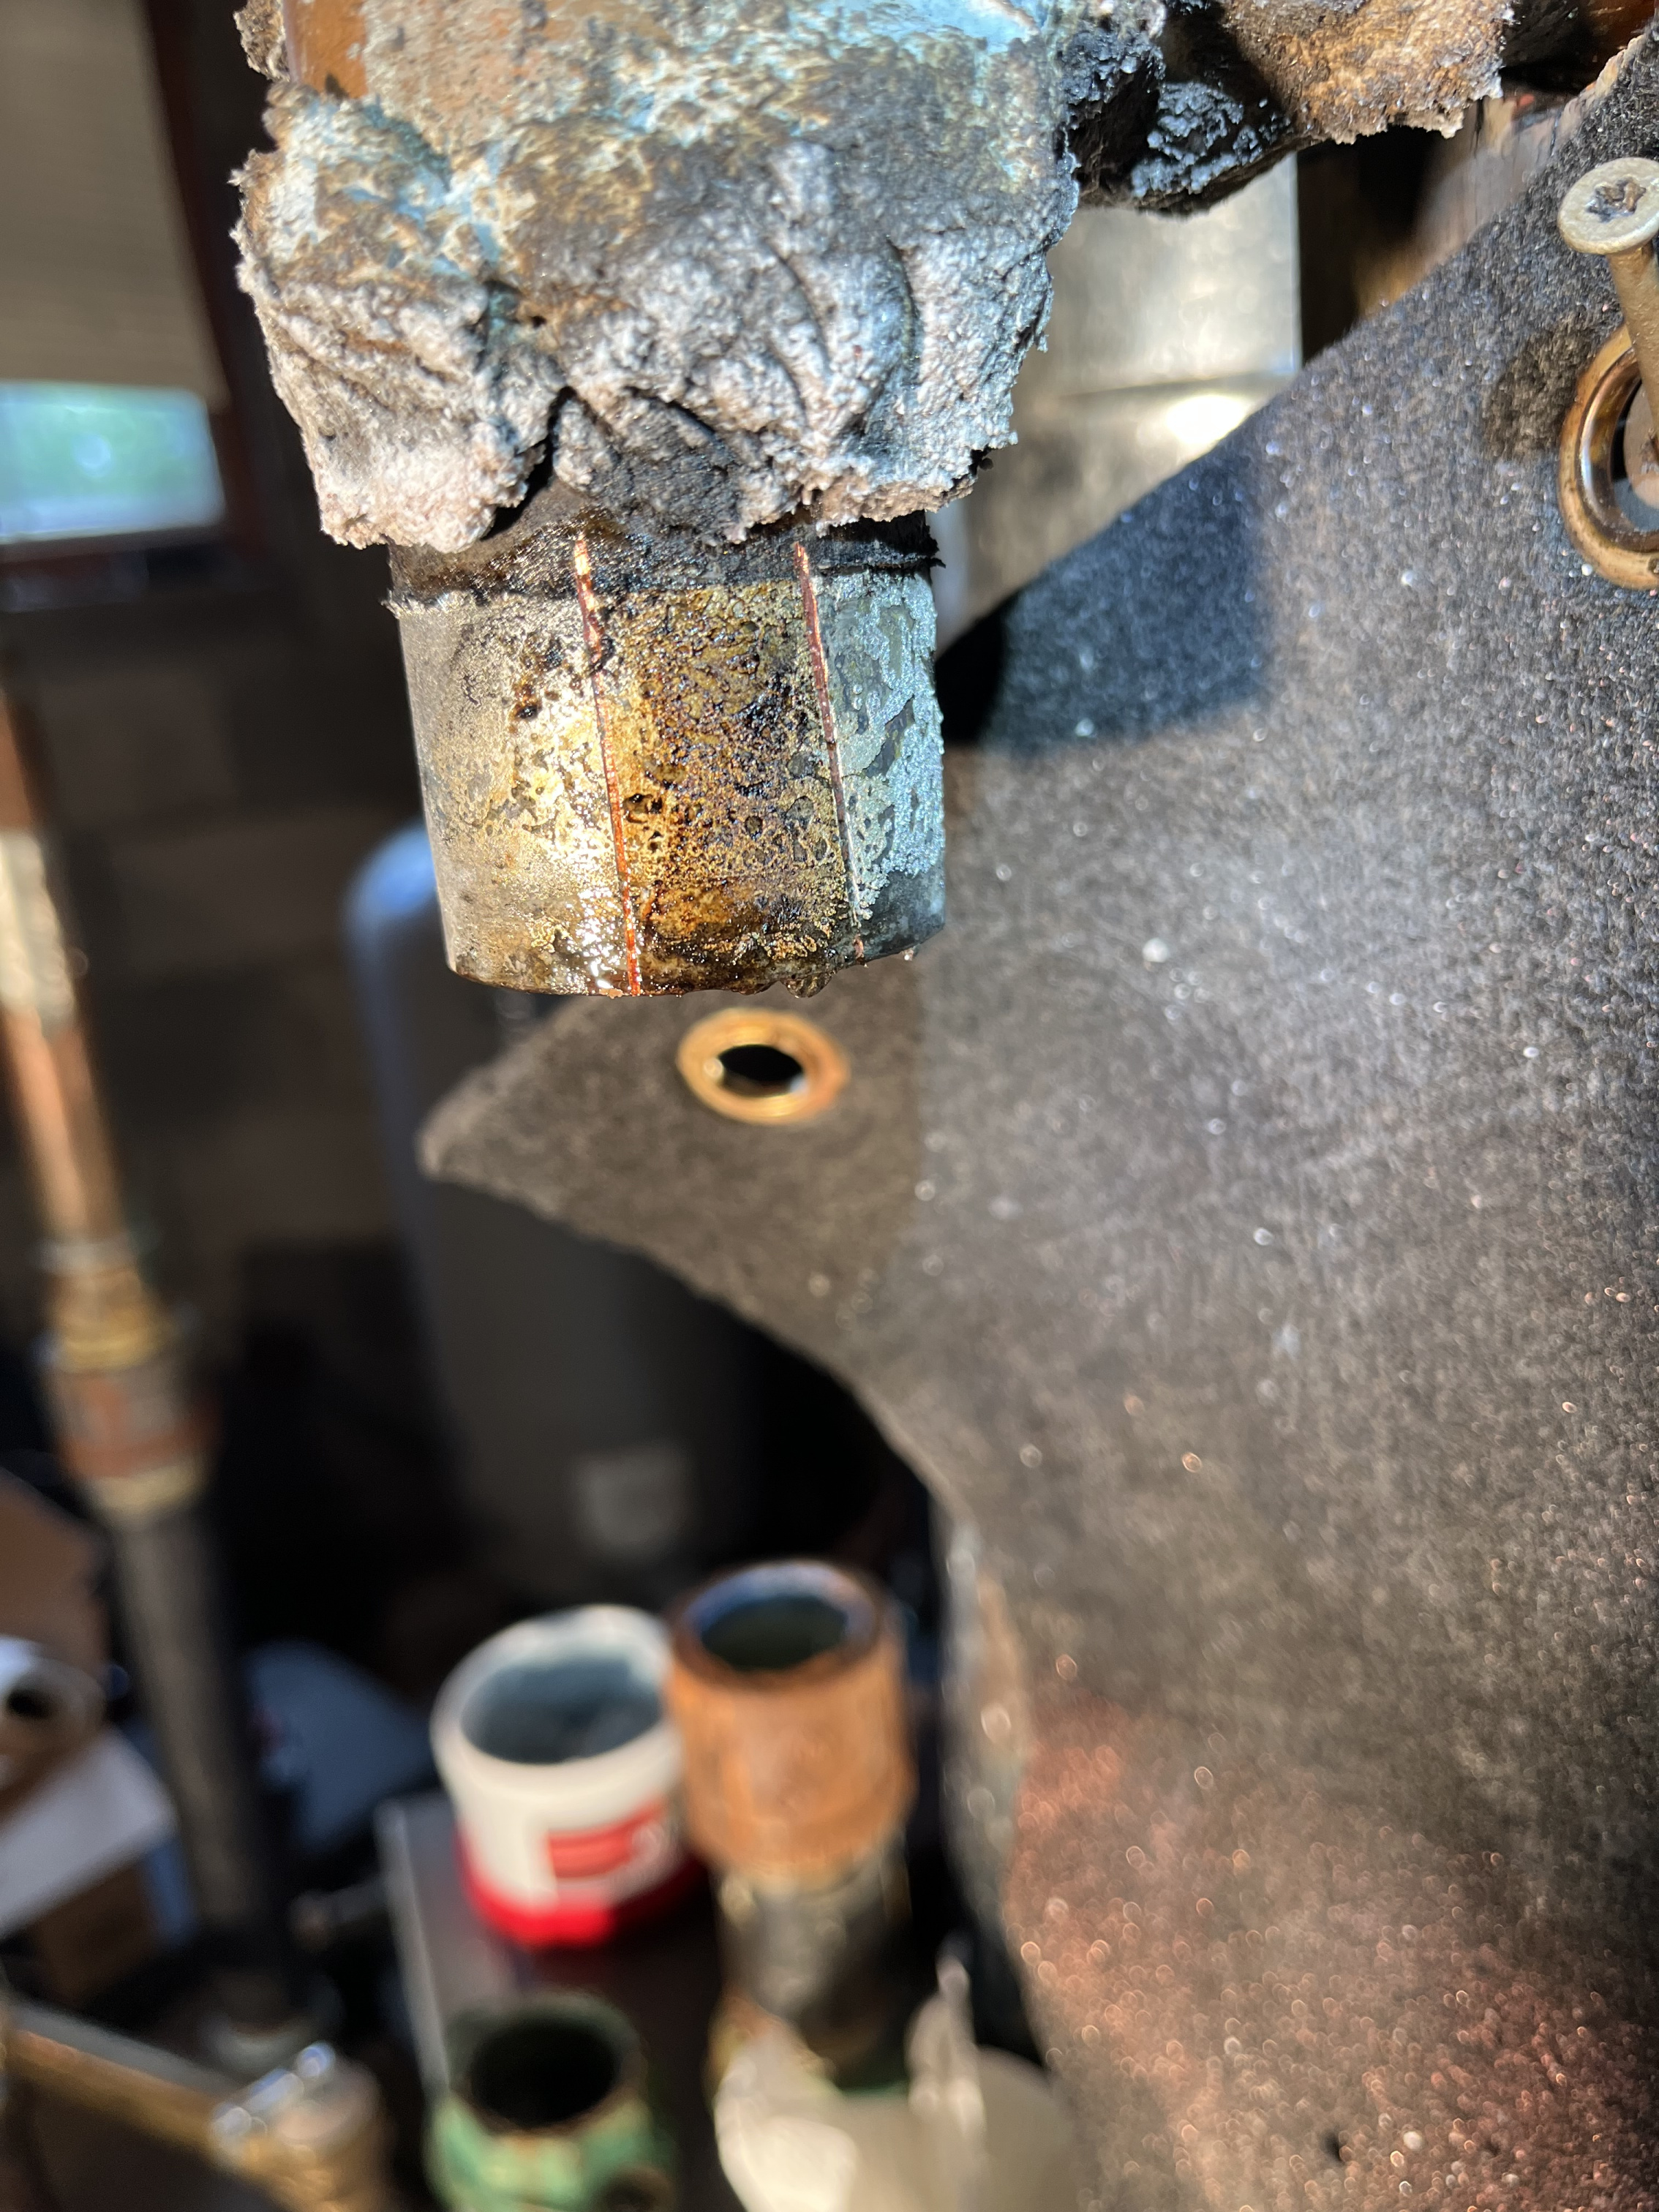
TL;DR: I basically would like to know if the very shallow cuts in the short nipple shown in the first photo below would cause a leak if I soldered a new 1-1/2” adaptor on. (Straight desoldering didn’t work but @mattmia2’s suggestion did: “If it isn't coming off, I'd file the 2 sides until you file through the copper to the solder and heat it up and peel it off. Be careful not to heat it so much that you start bending the pipe.” I did that and I did overcut, but just a little….) I figure solder would fill those furrows up? I really don’t want to have to remove that small nipple from the tee! If you can let me know soon and ignore the rest of this that’d be great, because now that I have the stubborn adaptor off I’d like to go ahead and put things back together. (The globby stuff is heat paste. I recount the full drama after the photo, for other diy’ers who might face the same problem.)

So, last we left off I got some good advice about how to remove the darn 1-1/2”adaptor that’s got a slow leak. Finally I took a deep breath (and an Adderall and a multivitamin and Xanax— just kidding, only coffee) and plowed in.
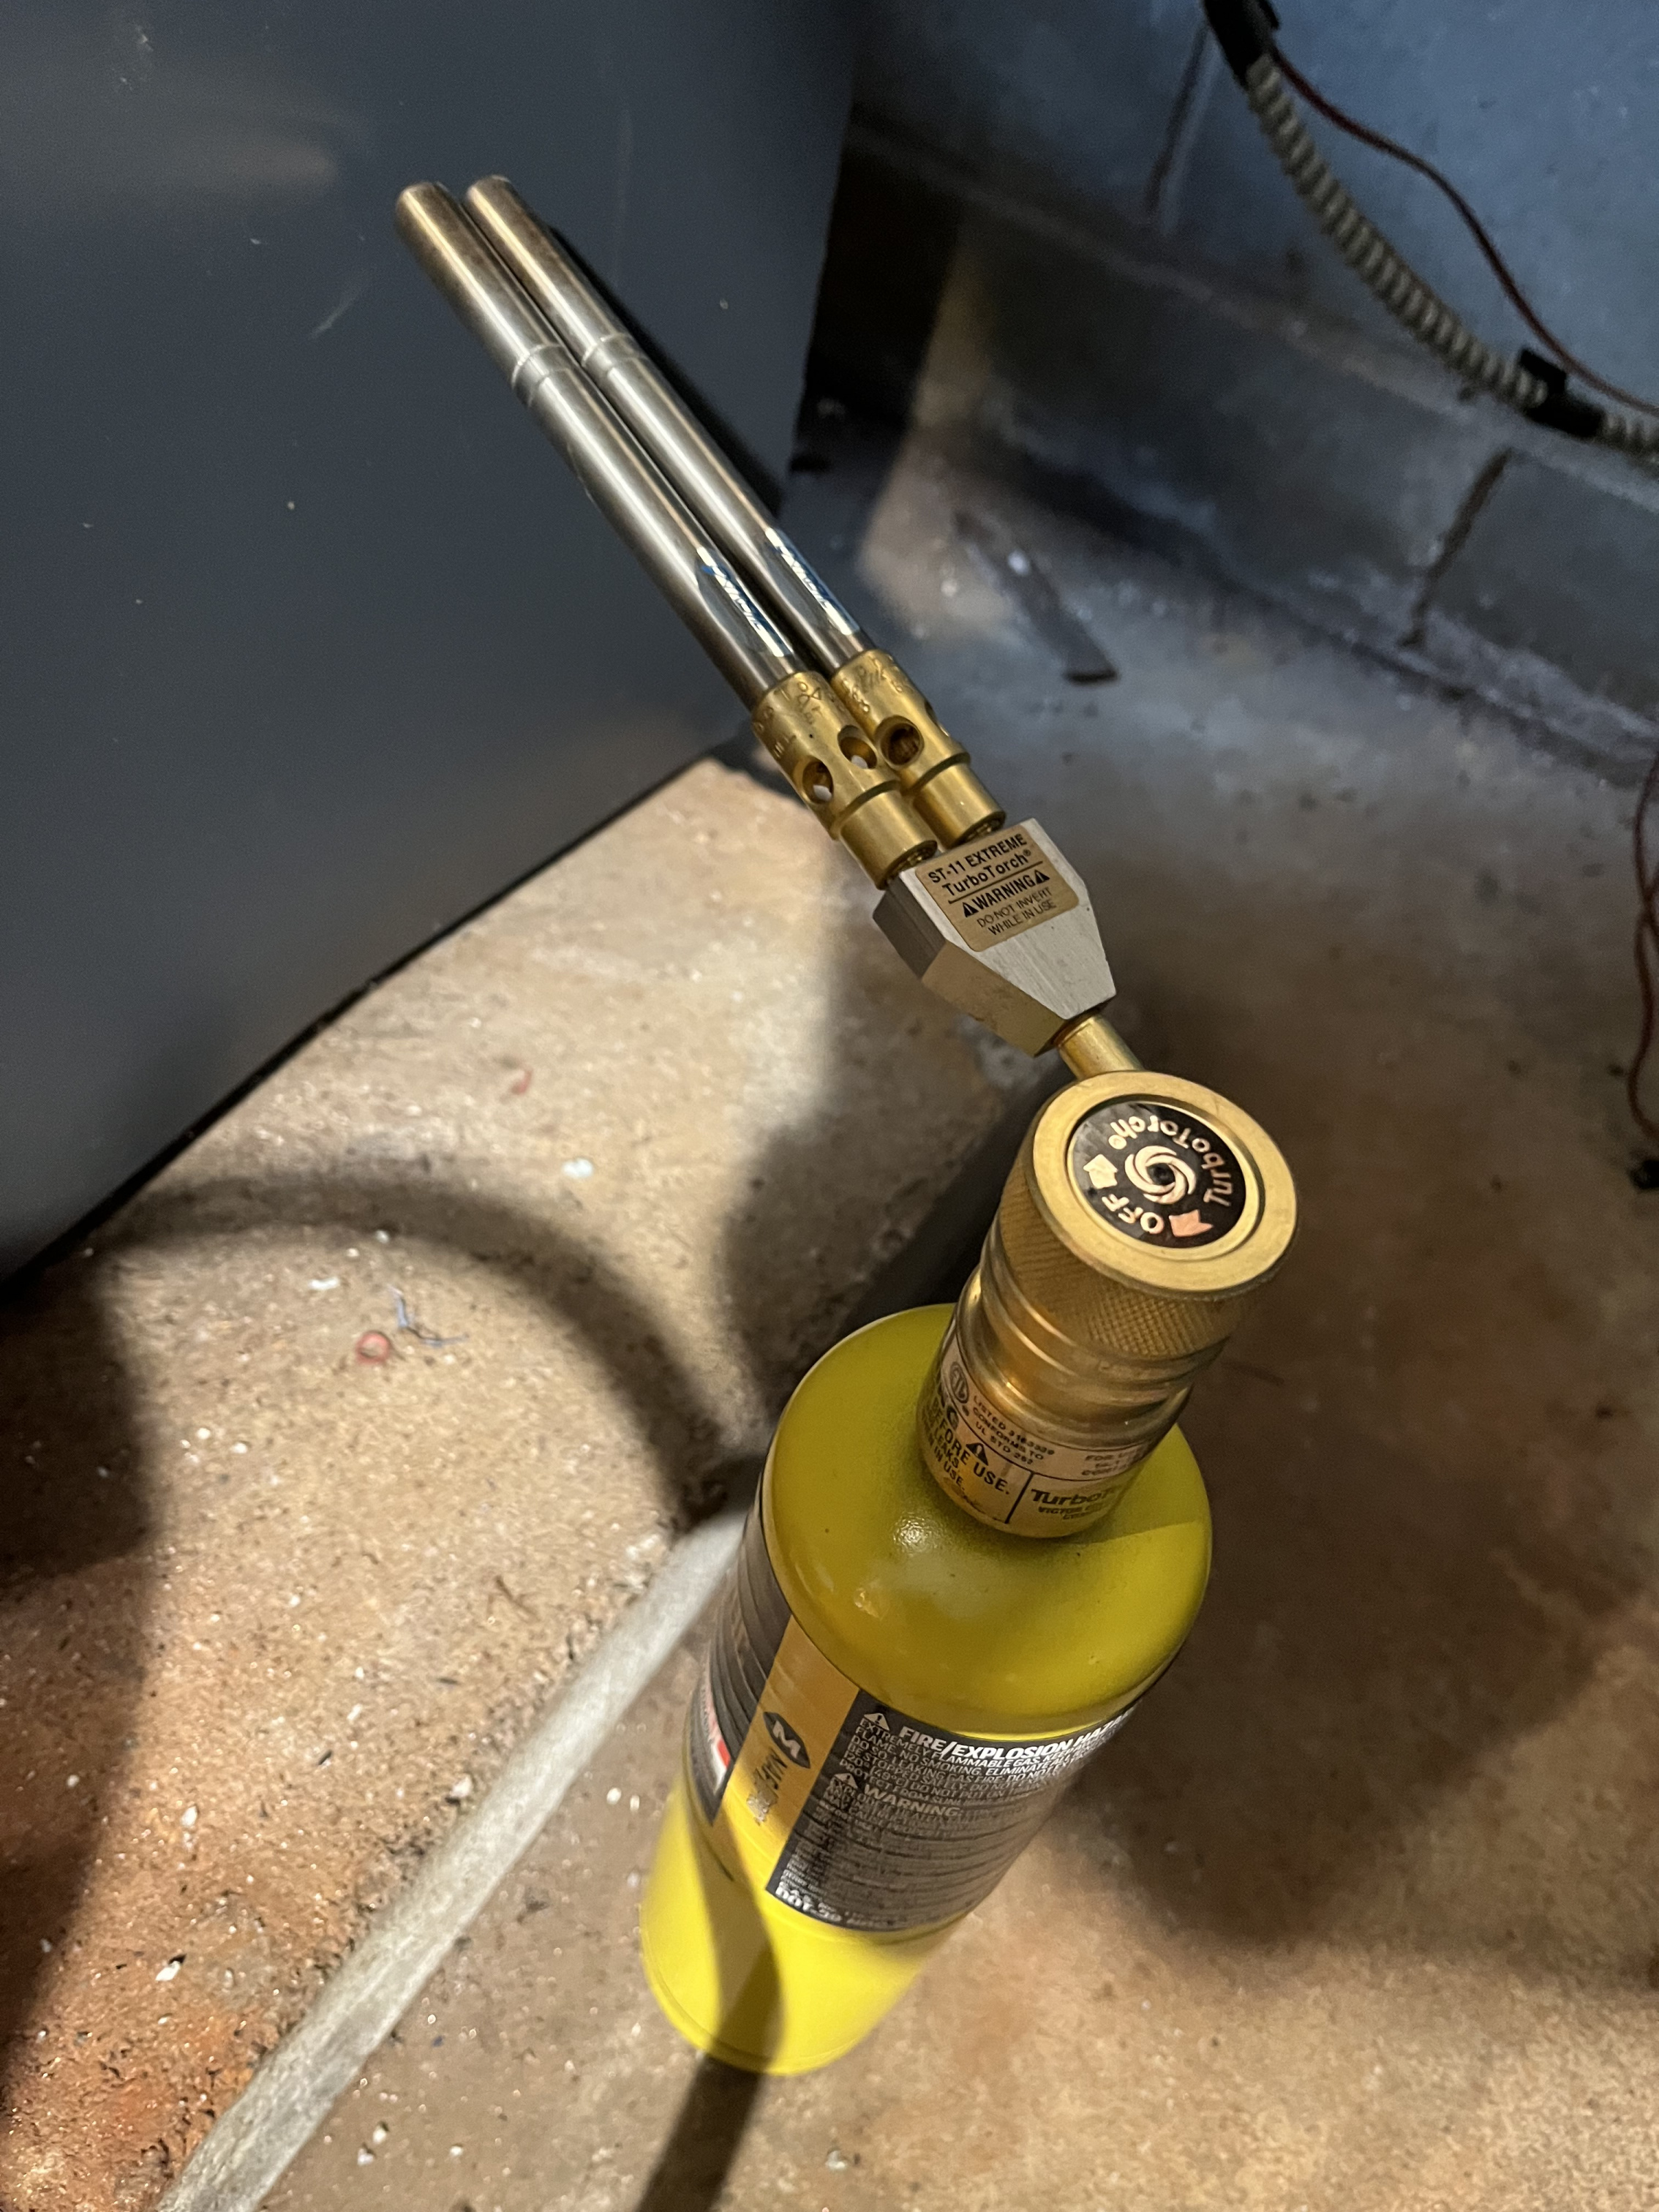
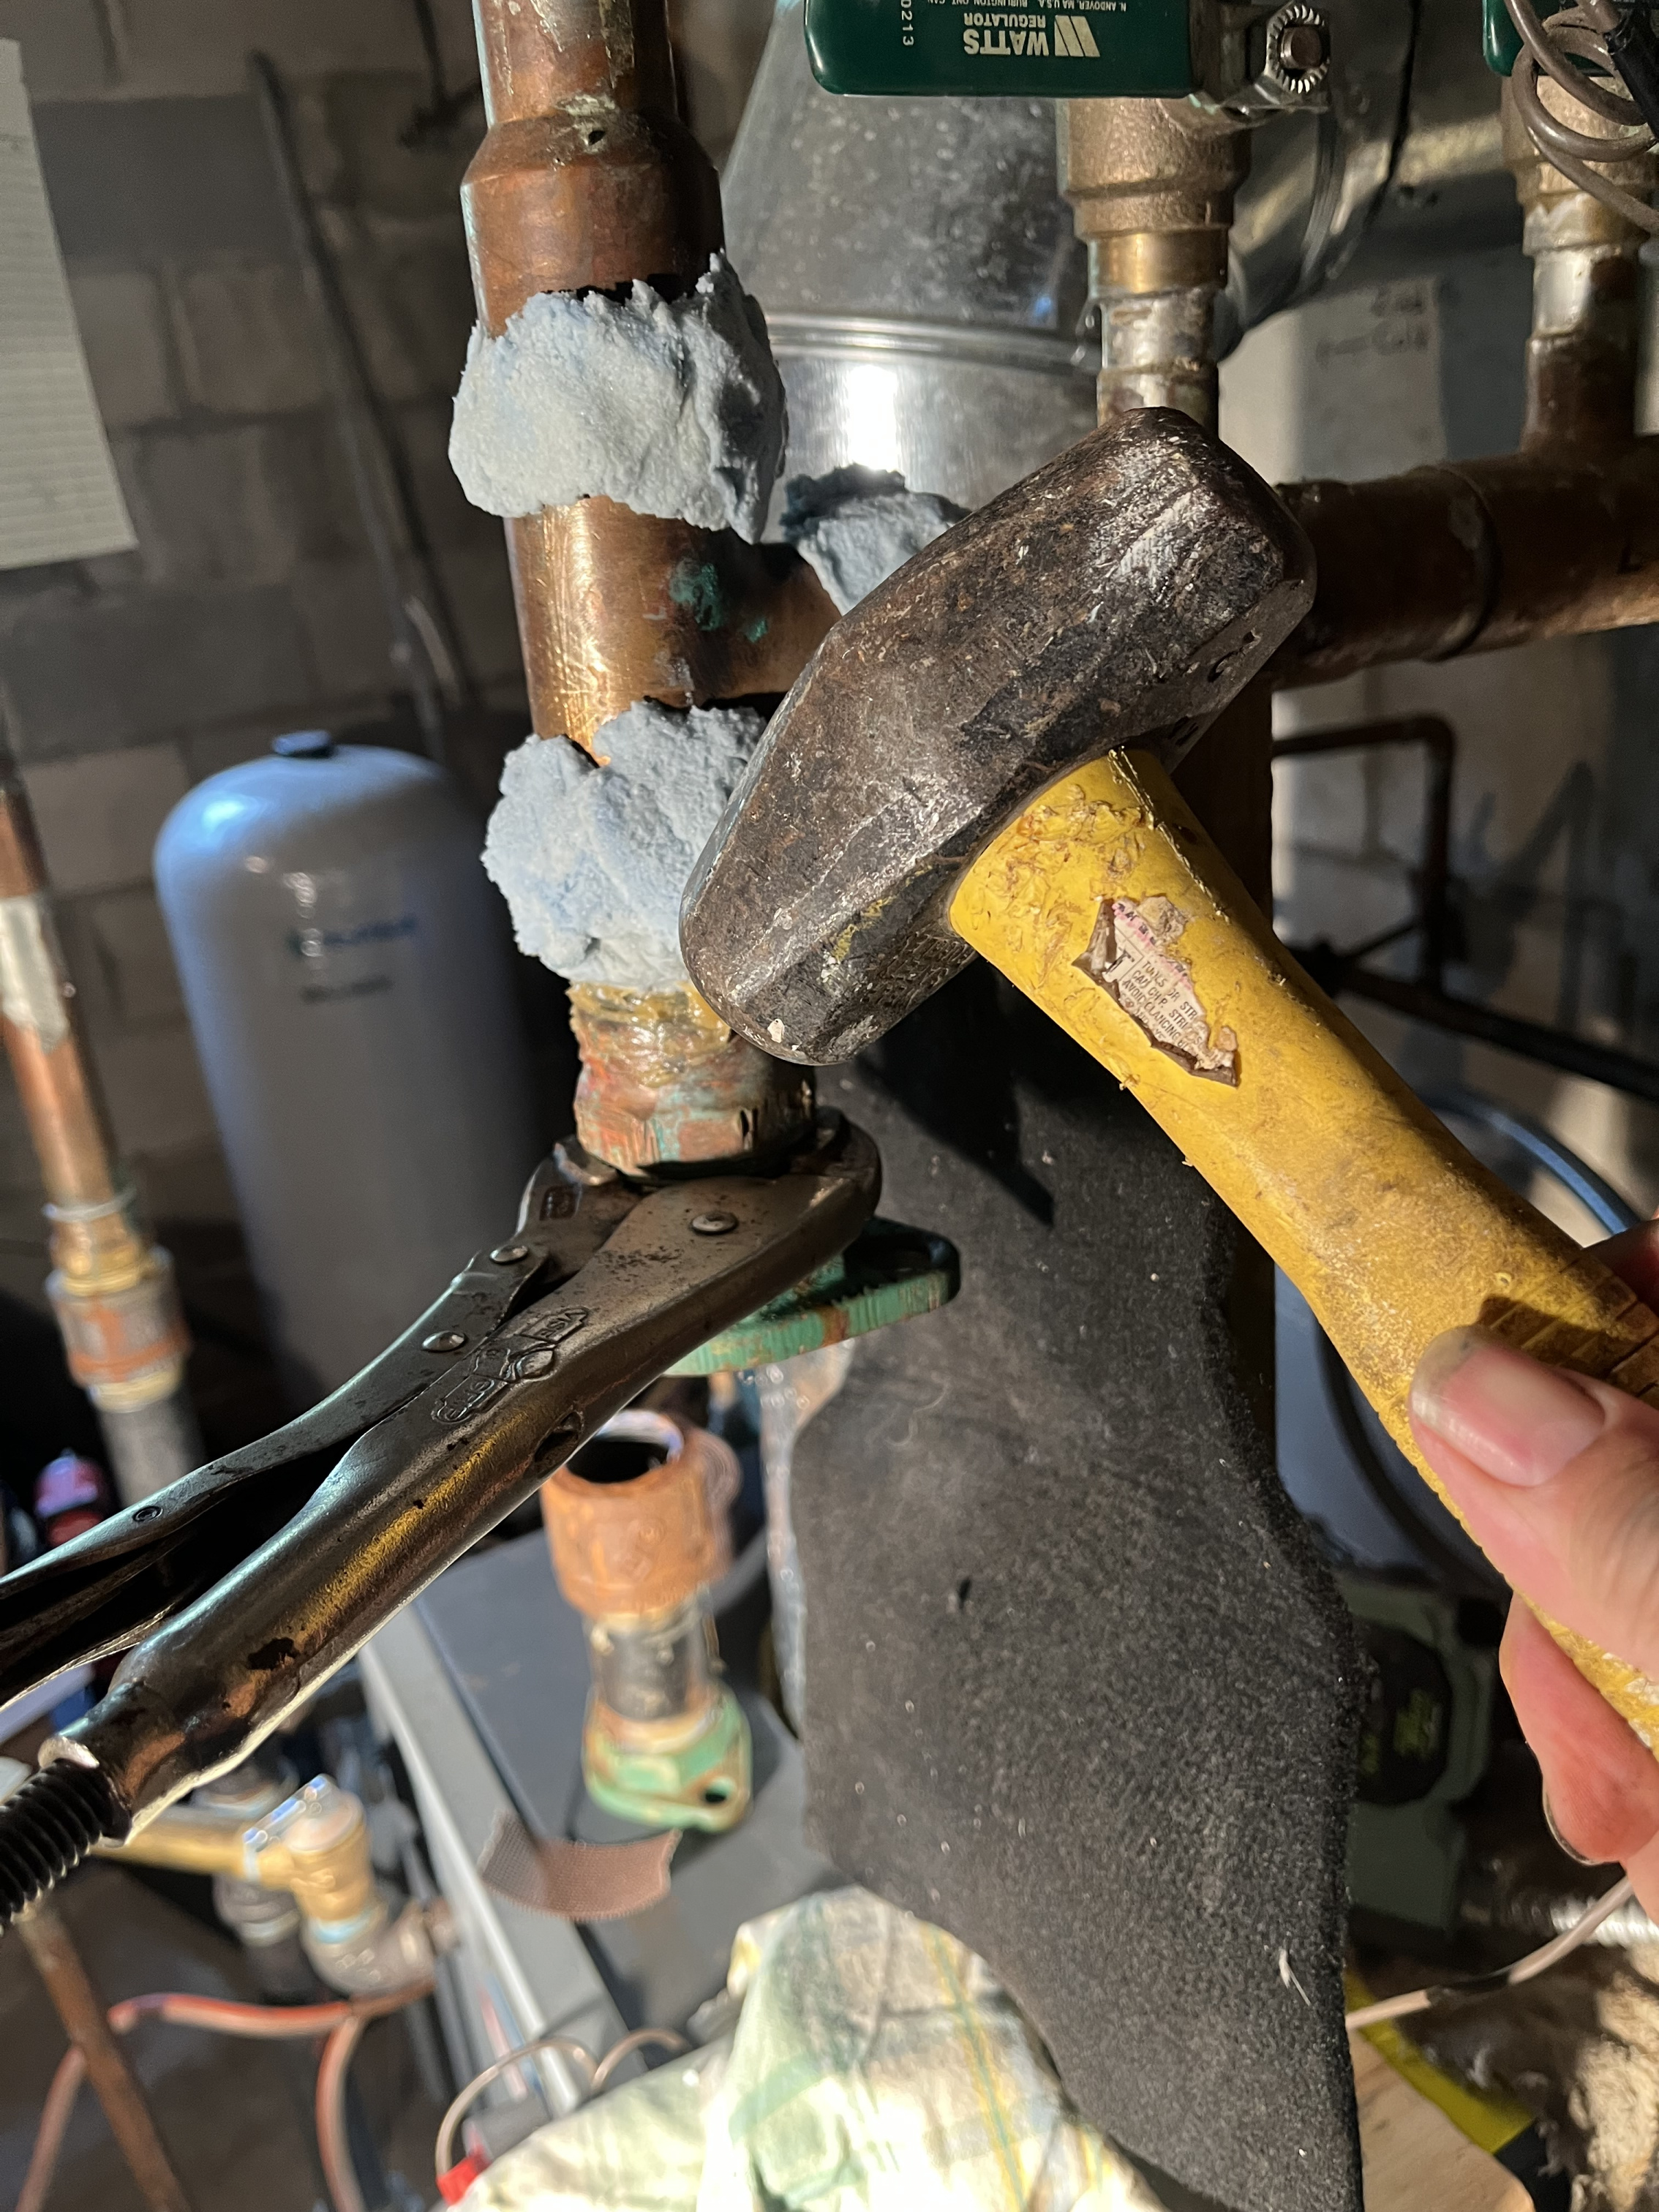
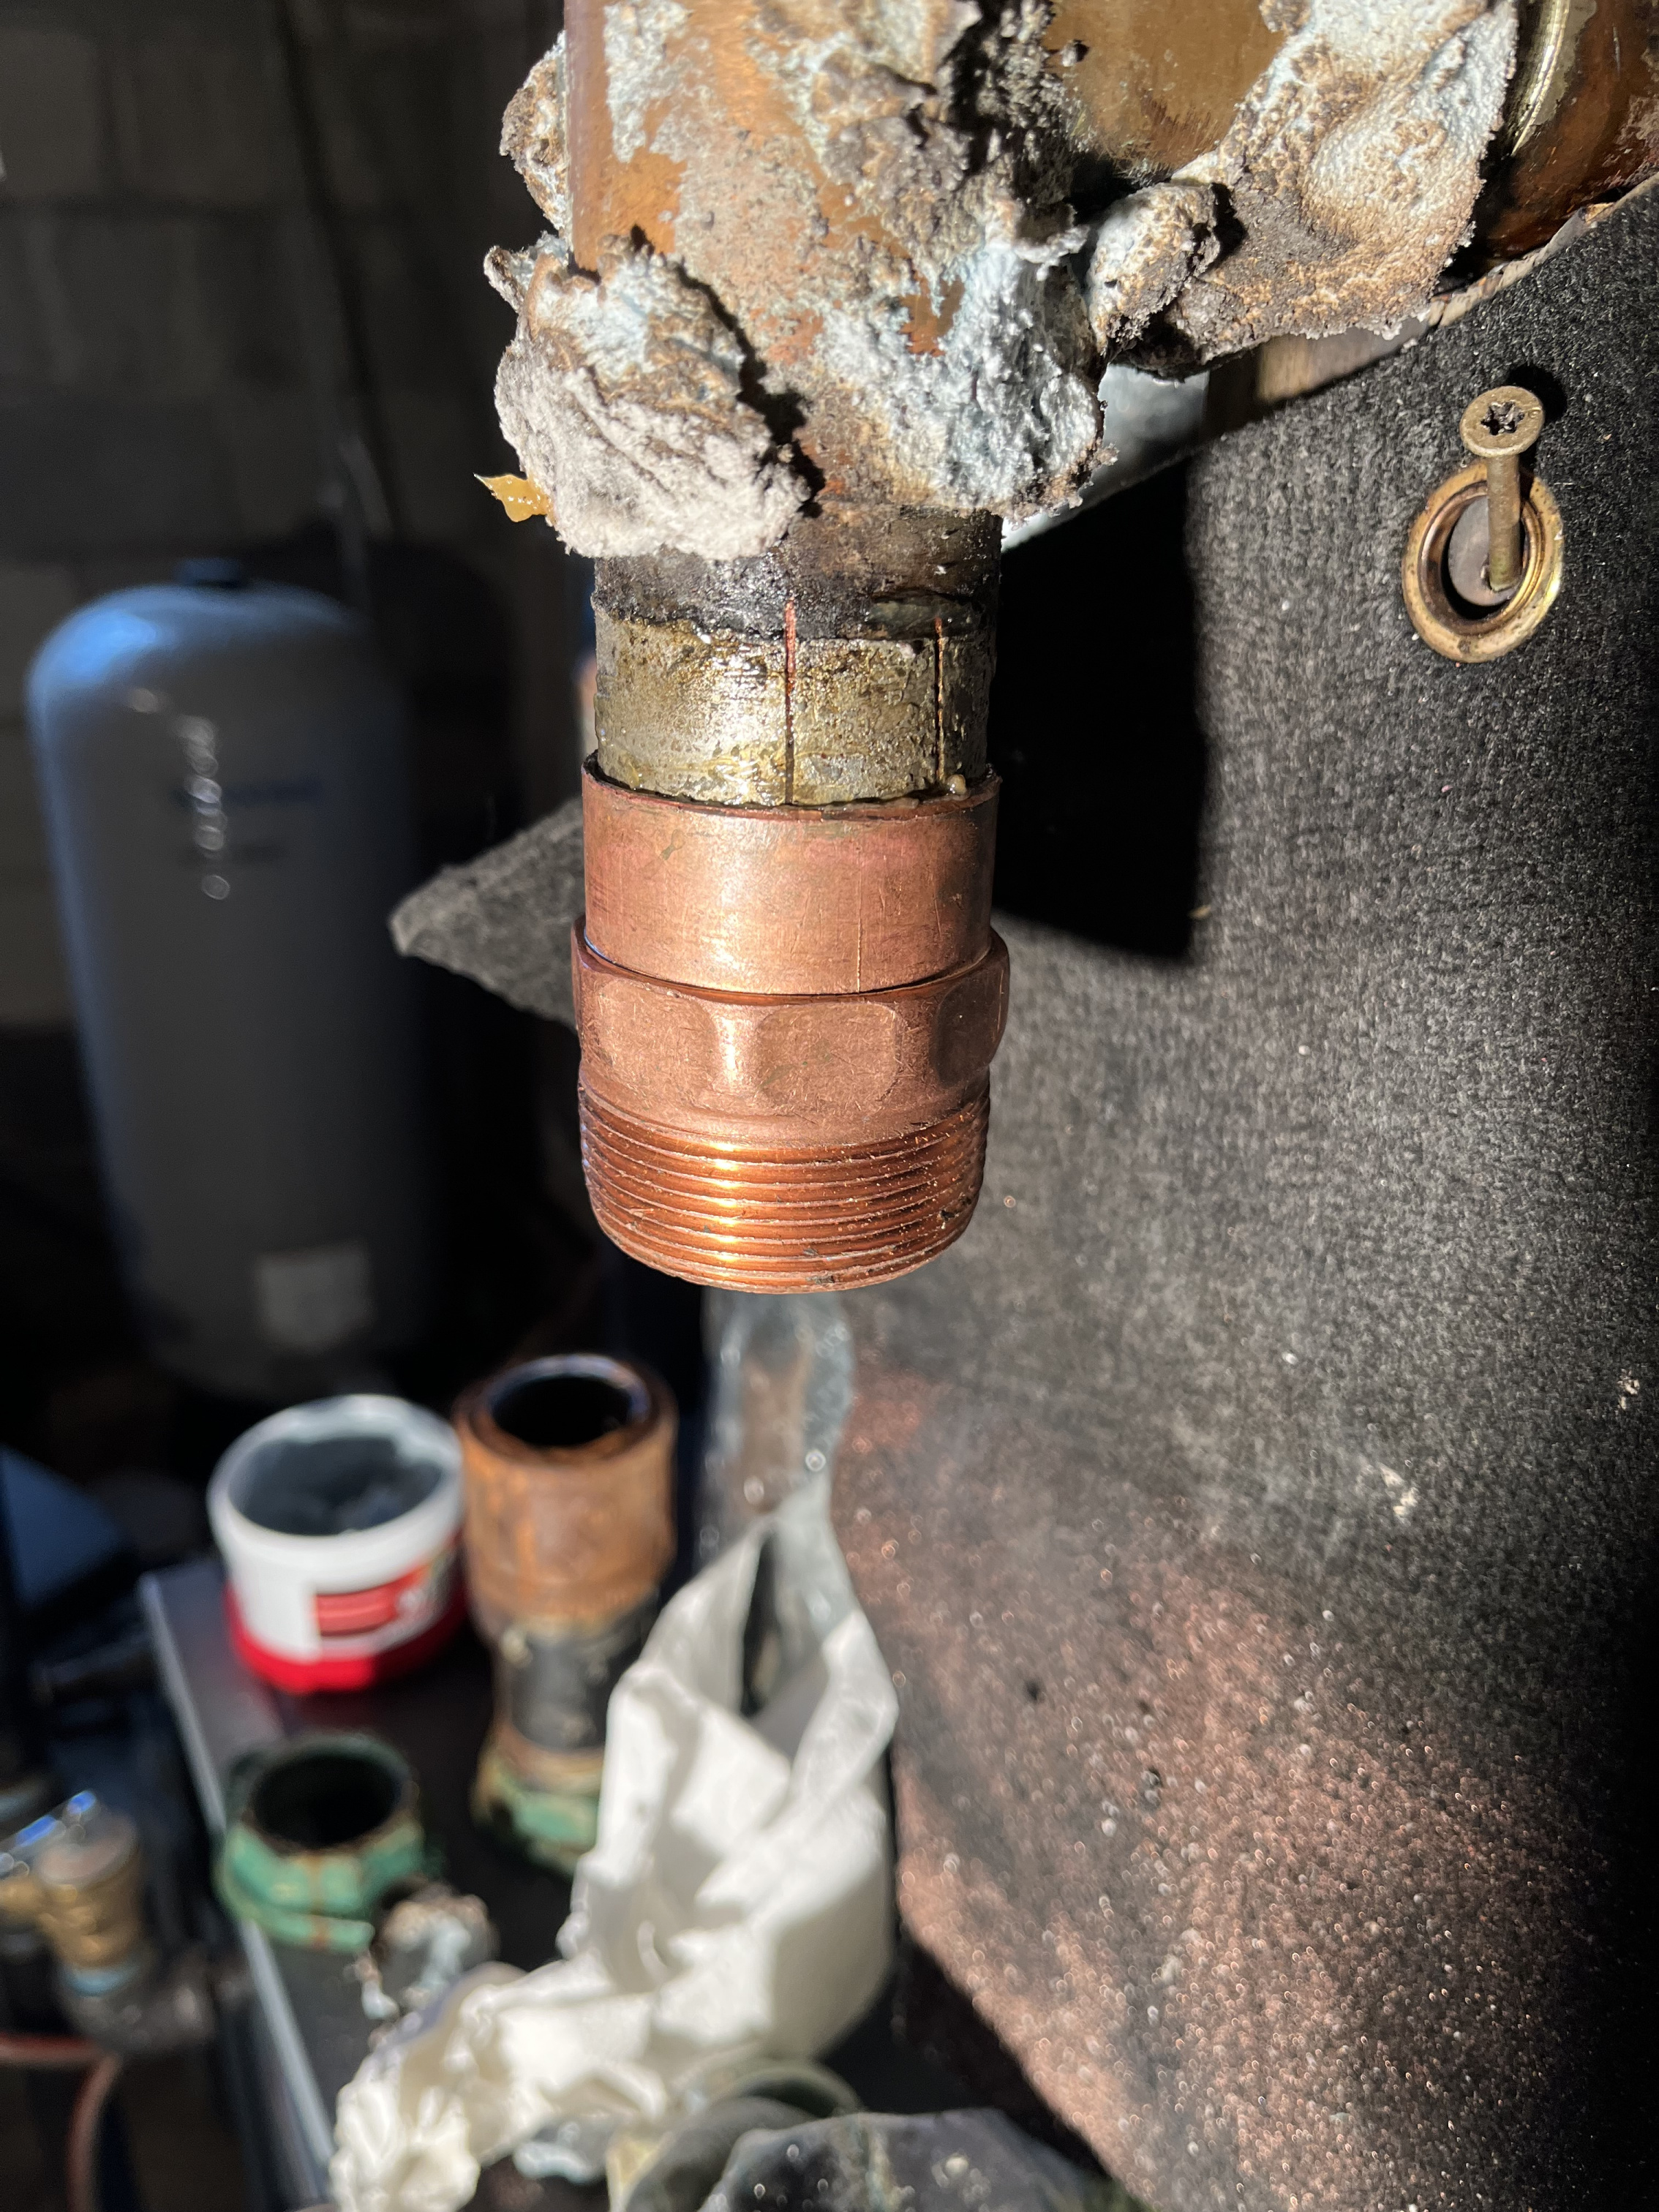
I decided to buy the Turbo Torch STK-11 double barrel tip, which they say is good for soldering 1-1/2” to 6”. I tried desoldering with no luck (even though no luck I show photos of the attempt below). Nothing budged after both twisting and hammering down.So I decided to go to Plan B, suggested by @mattmia2, see above. That worked! (See photos). As you can see I cut a bit into the nipple, and I ask about that above. The adaptor dry-fits on only about halfway by hand, and what solder that’s there doesn’t seem to want to melt anymore, but I figure I’ll sand and wire brush and put an old coupler on the adaptor and bang it on with a hammer.
I am going to put isolator flange valves around the circulator as @EdTheHeaterMan and @hot_rod suggested, but not a sweat one on top (which was hot_rod’s good suggestion) because space is tight and the sweat valves are a bit longer and I thought it all might not fit, though I might have been wrong.
Here’s the torch tip:
The next stuff didn’t work. But I was paranoid about overheating. I now think, because cutting and peeling worked so well, with straight desoldering it might have come off if I had kept at it, making sure not to go cherry red. I was afraid of “welding” the fittings together, but now I wonder if that’s a myth, even with this hotter tip.
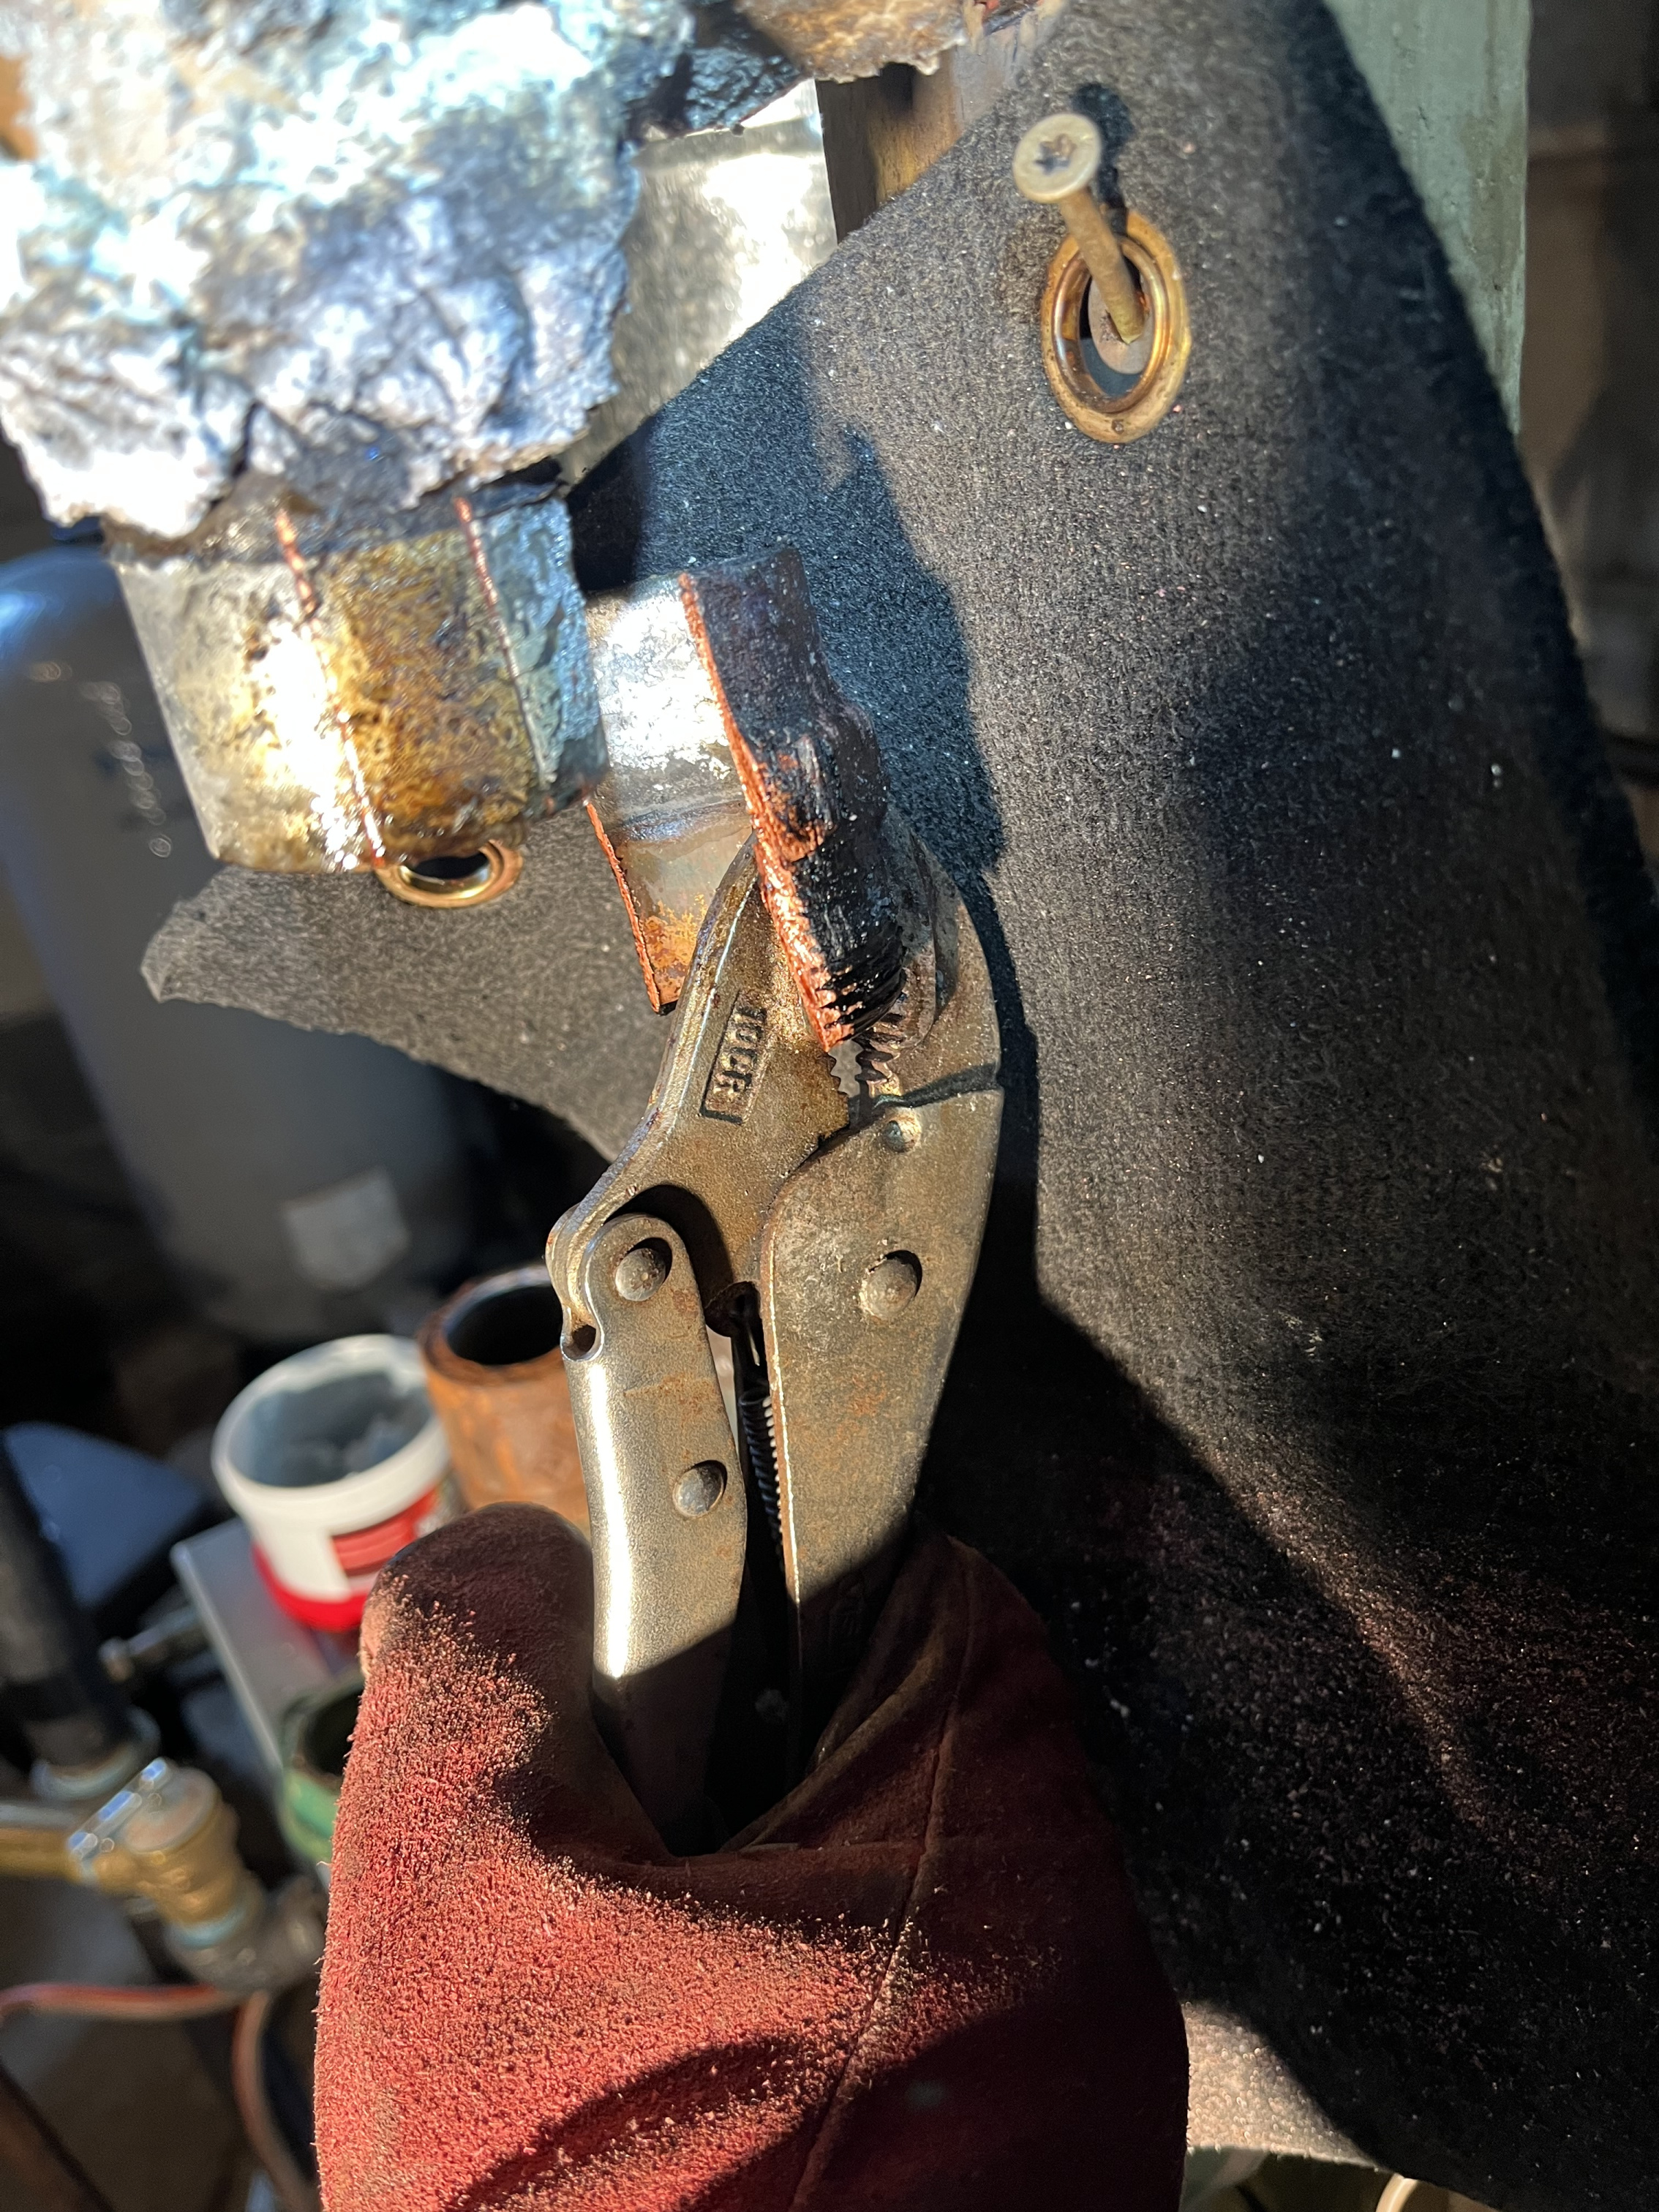
The following did work, except for my little cuts into the nipple. The peeling-off photos are after heat of course. First, cutting with the multitool or whatever it’s called:
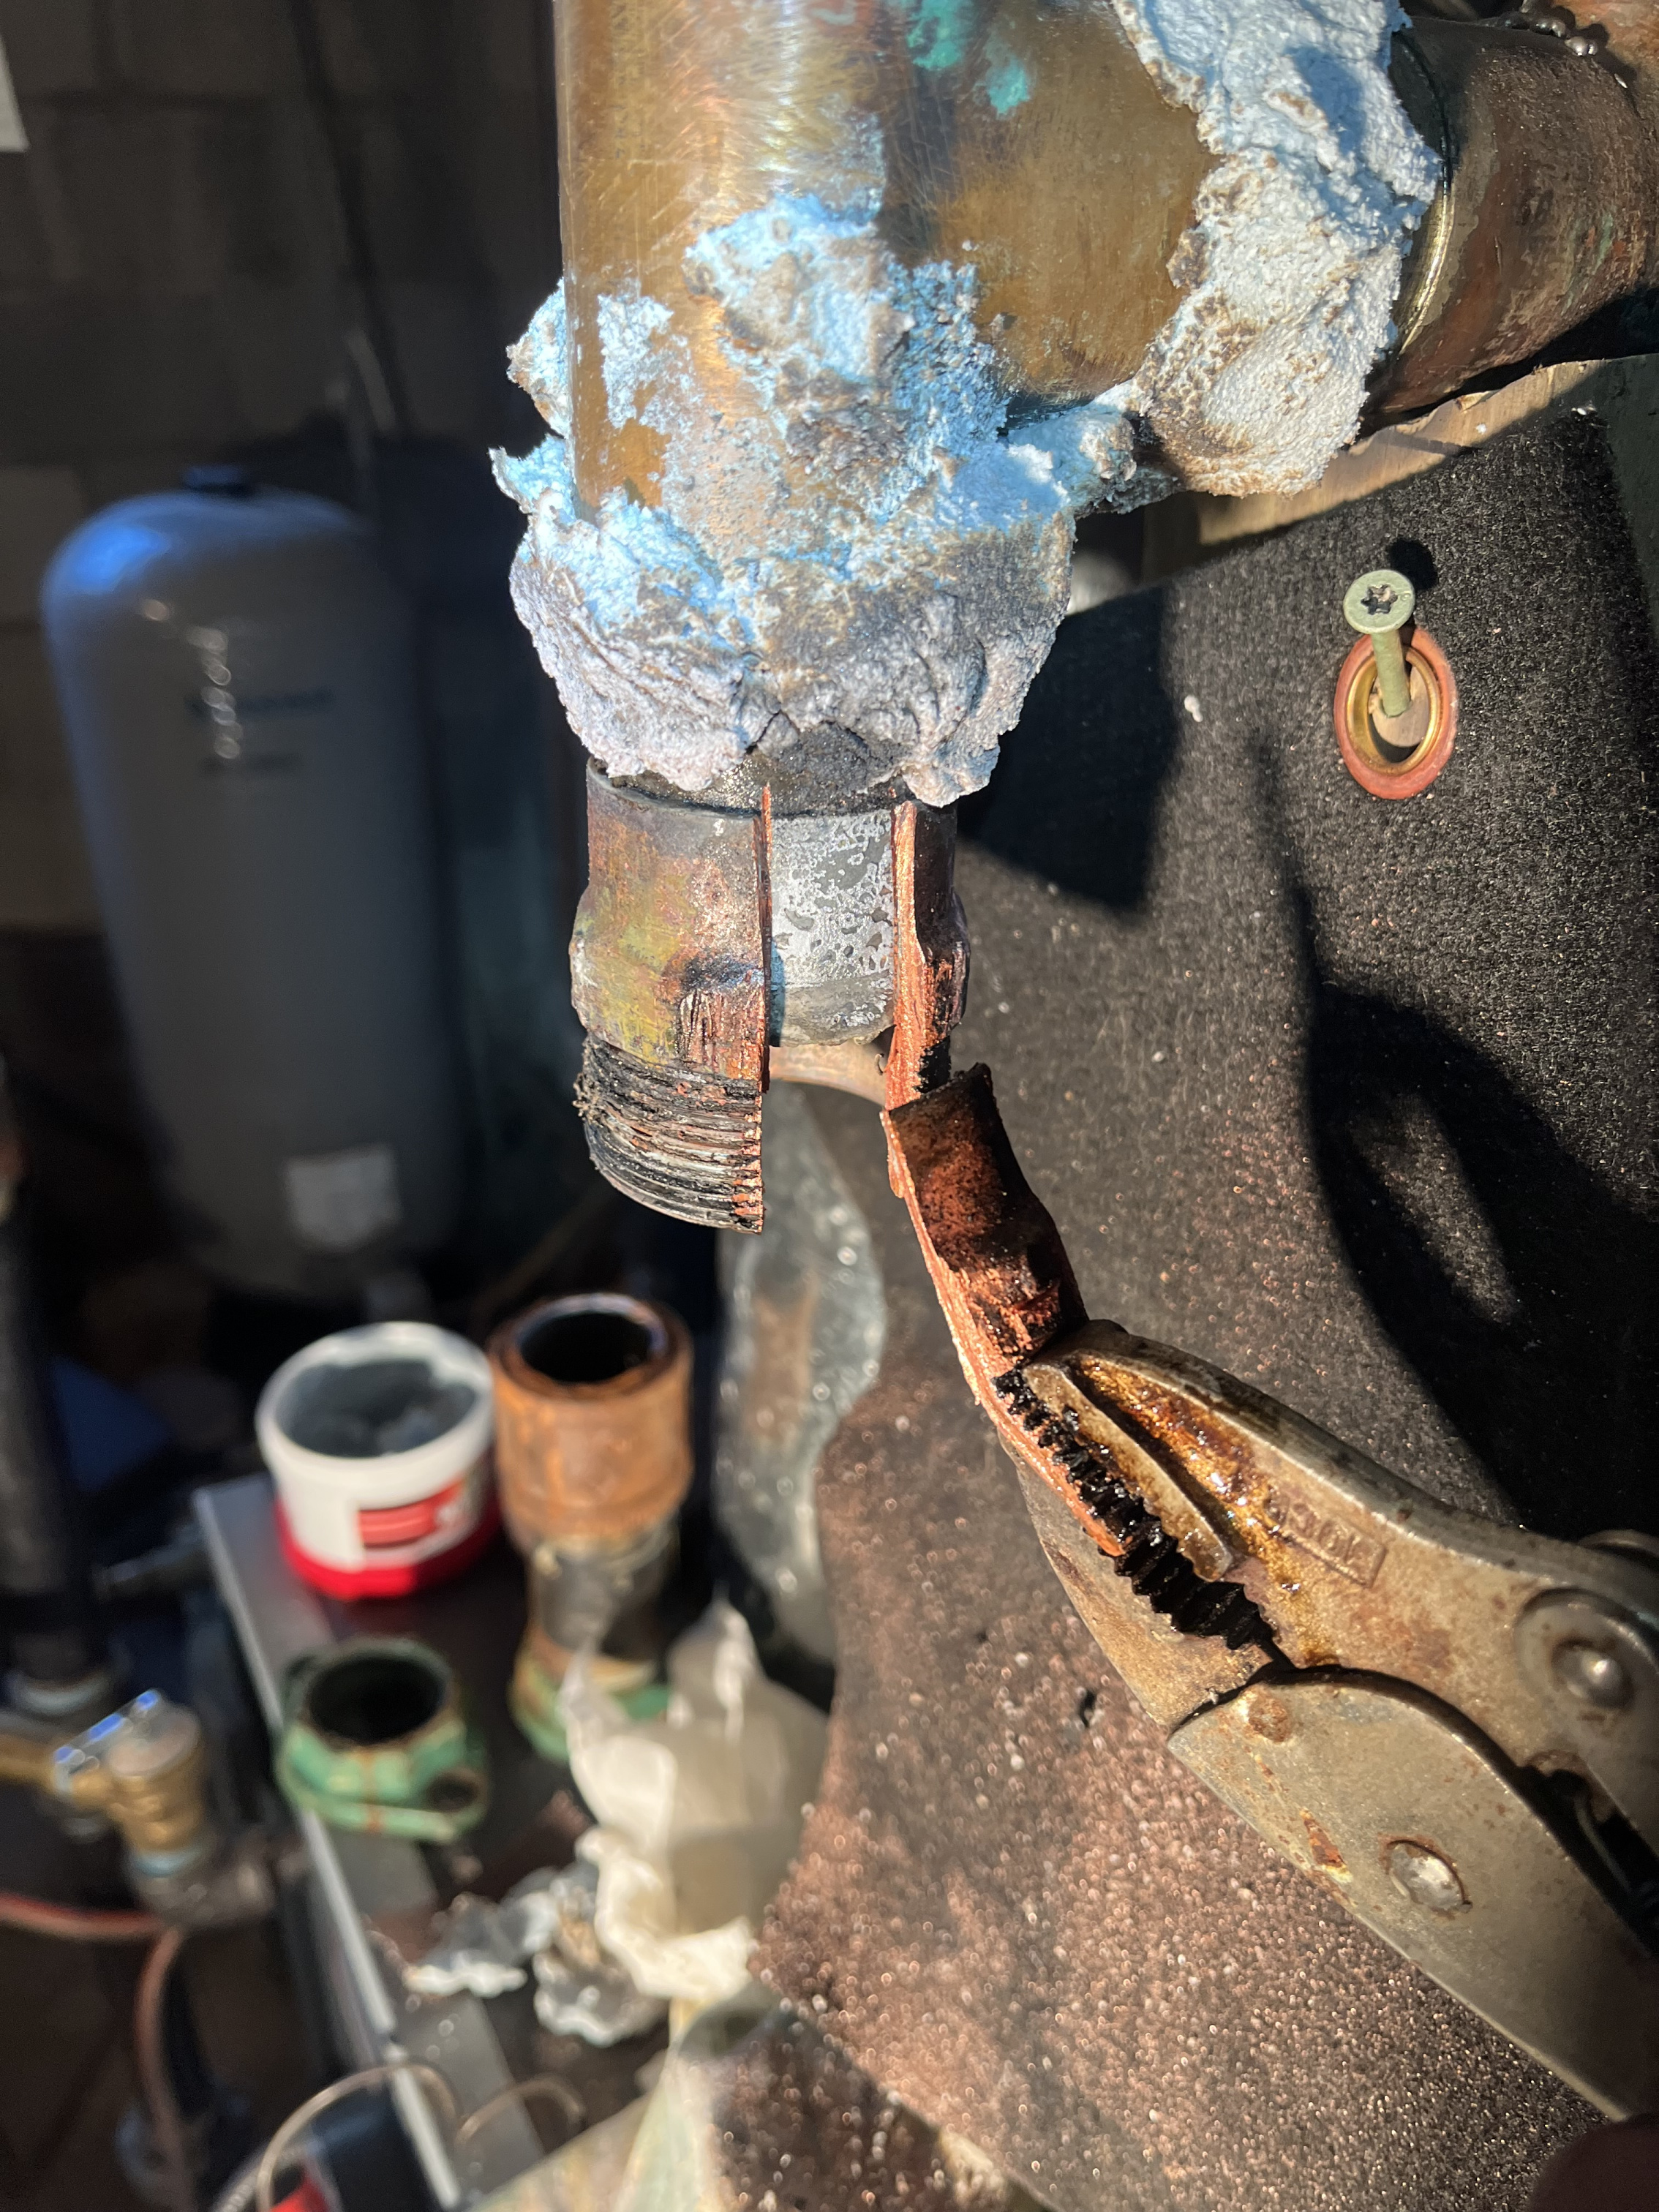
This is as far as it goes hand tight, but hopefully I can hammer it the rest of the way:
 0
0 -
0
-
Oops, this post is an accident. Please see the previous one.
0 -
you can file the old solder with a bigish flat file until it will slip on. although not ideal, the solder will fill the slots. make sure you clean and flux in the slots so the solder will flow in them.
0 -
You want to polish that pipe with grit cloth or plumbers roll. or even sand paper for that matter. You want to get the copper pipe with the two cut lines in it as clean as possible, paint it with flux and use a 50/50 solder so you do not need too much heat. That way the copper nipple in the tee above will not get loose or get de-soldered (un-soldered/un-sweat). The 50/50 blend solder with lead is approved for that solder joint because it is not drinking water. It will flow easier on the 1-1/4" copper and fill those tiny voids you made with the cutting blade.
Edward Young Retired
After you make that expensive repair and you still have the same problem, What will you check next?
1 -
the more important part about 50/50 is that it has a lower melting point than lead free solder so there is a bigger window between when the solder melts and when the flux burns away. that is helpful for someone without much experience with heat control.
 1
1 -
Good luck. Put new heat paste on the other joints, of course, but the way that fitting didn't want to break loose, I don't think you have to worry much.
0


Categories
- All Categories
- 87.6K THE MAIN WALL
- 3.3K A-C, Heat Pumps & Refrigeration
- 59 Biomass
- 429 Carbon Monoxide Awareness
- 124 Chimneys & Flues
- 2.2K Domestic Hot Water
- 5.9K Gas Heating
- 119 Geothermal
- 168 Indoor-Air Quality
- 3.8K Oil Heating
- 78 Pipe Deterioration
- 1K Plumbing
- 6.6K Radiant Heating
- 394 Solar
- 15.9K Strictly Steam
- 3.5K Thermostats and Controls
- 56 Water Quality
- 50 Industry Classes
- 50 Job Opportunities
- 18 Recall Announcements