Welcome! Here are the website rules, as well as some tips for using this forum.
Click here to Find a Contractor in your area.
If our community has helped you, please consider making a contribution to support this website. Thanks!
VXT Water Feeder Service Kit Install

Making a post to document my VXT water feeder service kit install, since when I had tried to look up information on it previously the only thing I could find was the following youtube video from Silent Steam Team (which is indeed a very good video)
https://www.youtube.com/watch?v=gZc_wQgqhaI&list=WL&index=18
I had a local plumbing company come by last year to do some service (the same company that installed the boiler in fact). I had asked the office about servicing the water feeder. I was assured the technician would have any parts necessary etc… When the tech arrived and I asked about servicing the water feeder, they said they never install any service kits, they just push the button to check its still working normally.
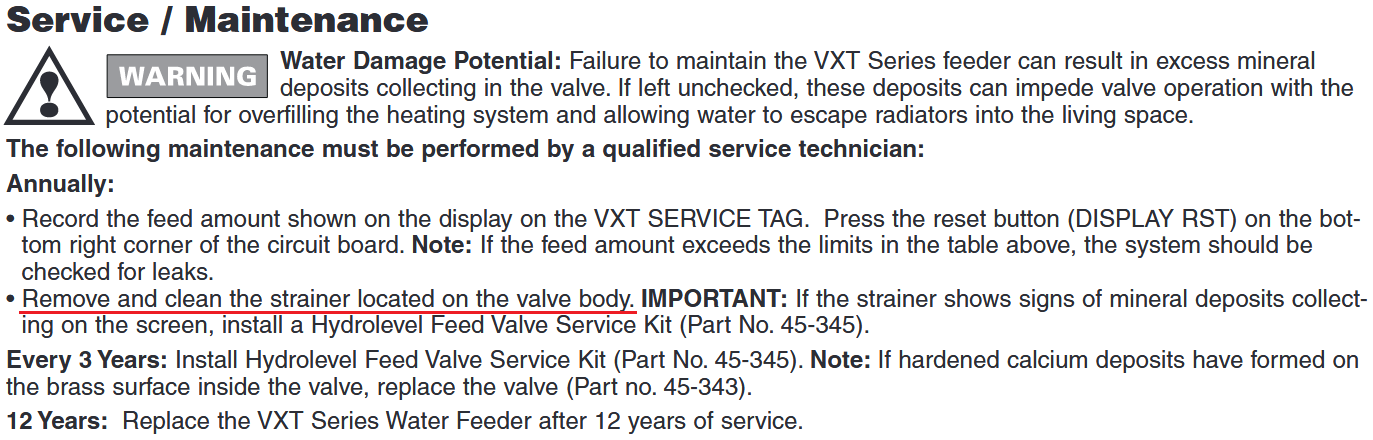
I found this very unsatisfying, when the manual for the water feeder says to clean the filter annually, and install a service kit every 3 years.
So I bought a service kit from supply house last year, but never got around to installing it in the middle of the season.
Finally installed it yesterday. Previously when feeding water, after stopping (i.e. releasing manual feed button) it would take about 5-10 seconds sounding like the valve was gradually closing to stop water flow. After installing the service kit, the valve sounds like it shuts almost immediately.
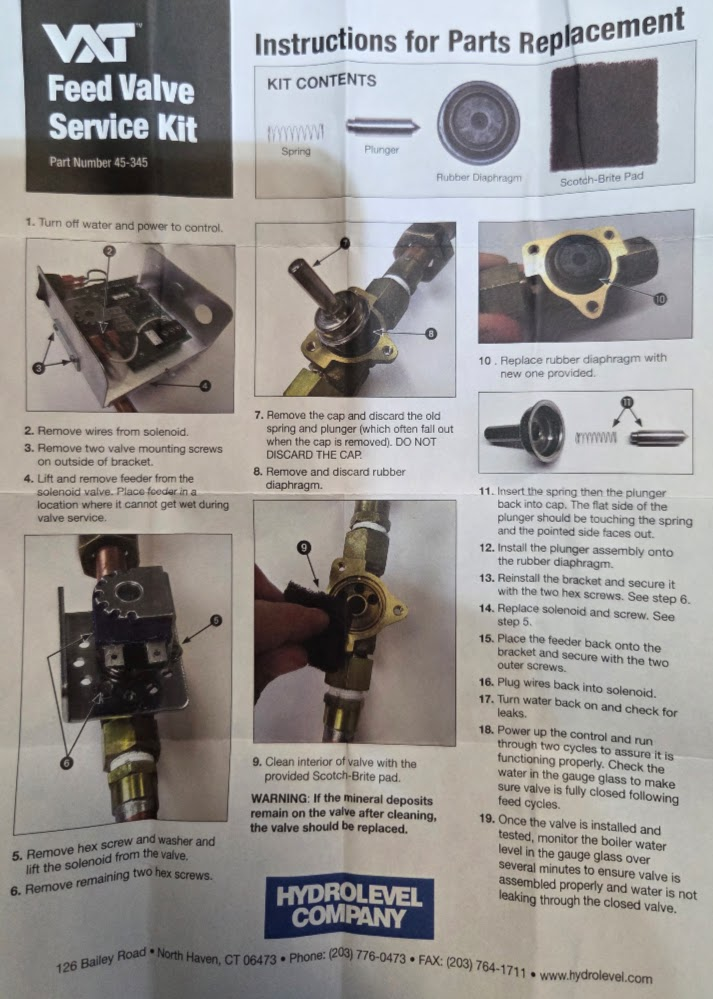
To start with, here are the instructions for the service kit:
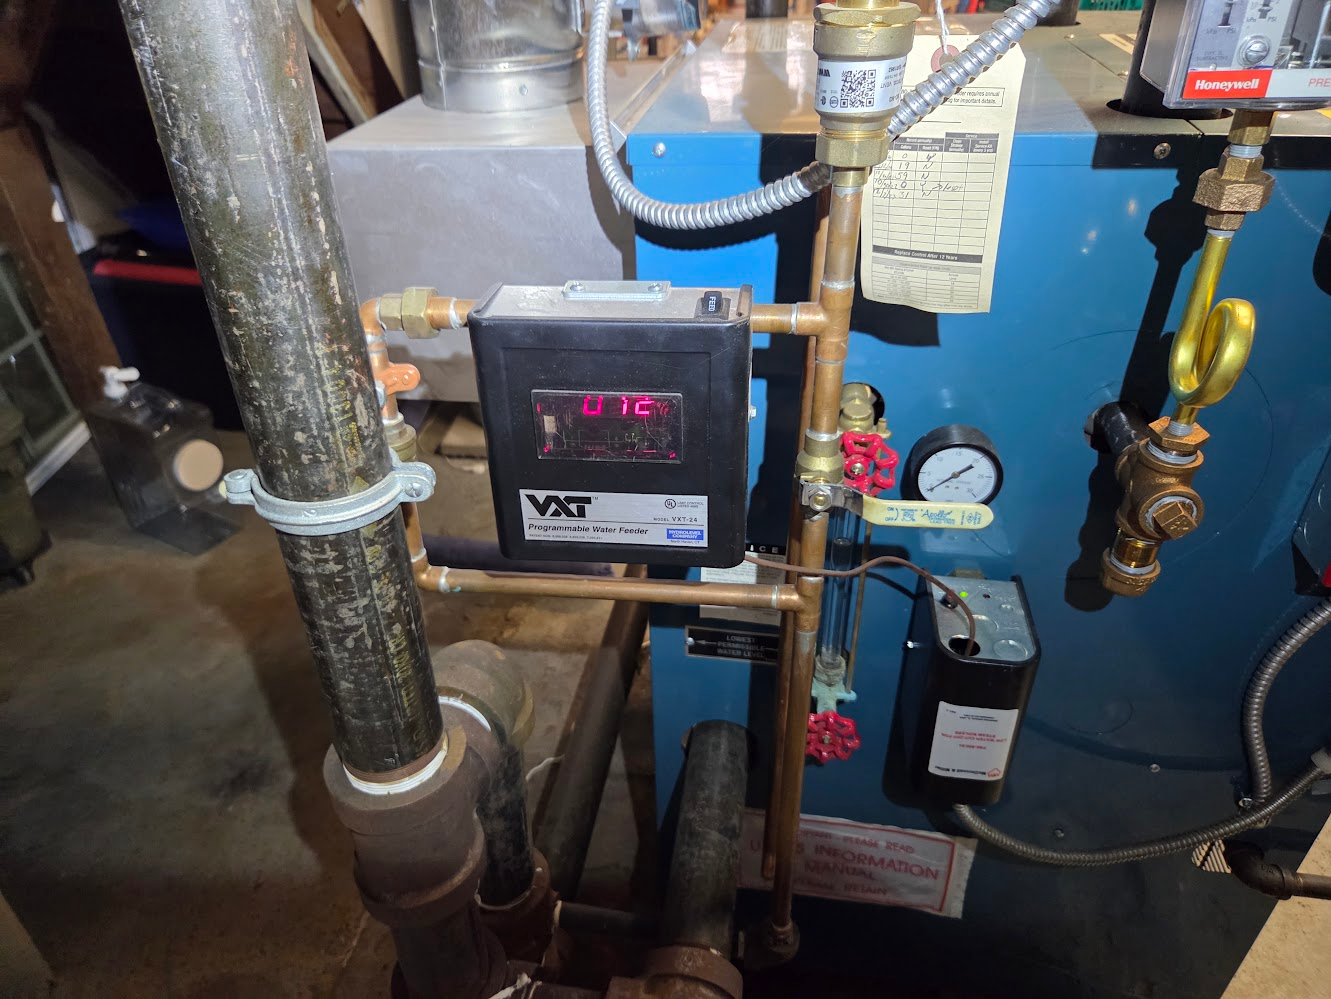
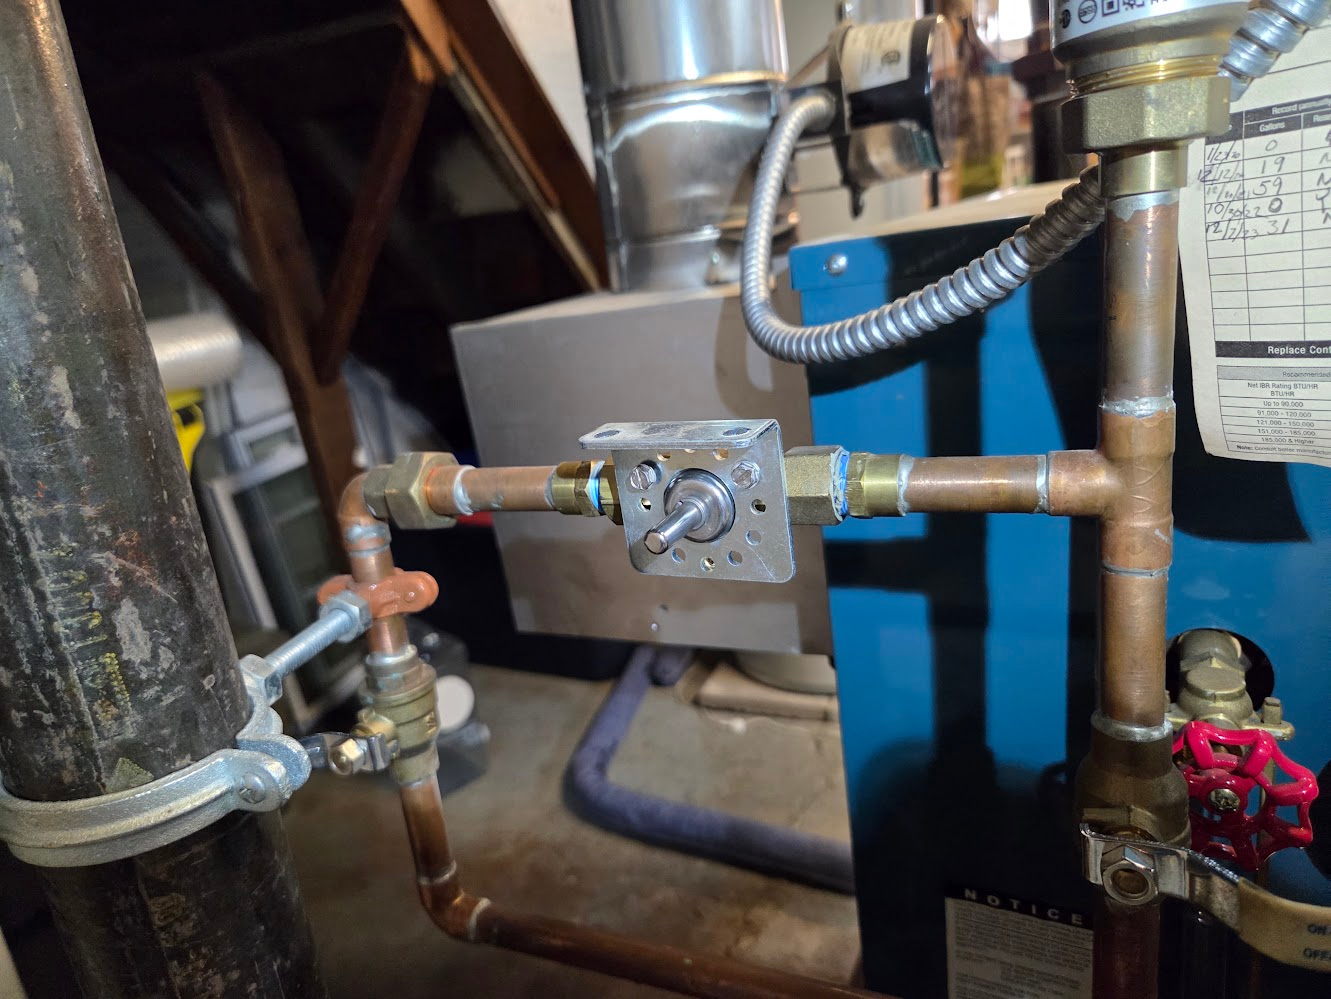
My water feeder: (There is another valve above just out of frame, which is shut to cut off water supply for service)
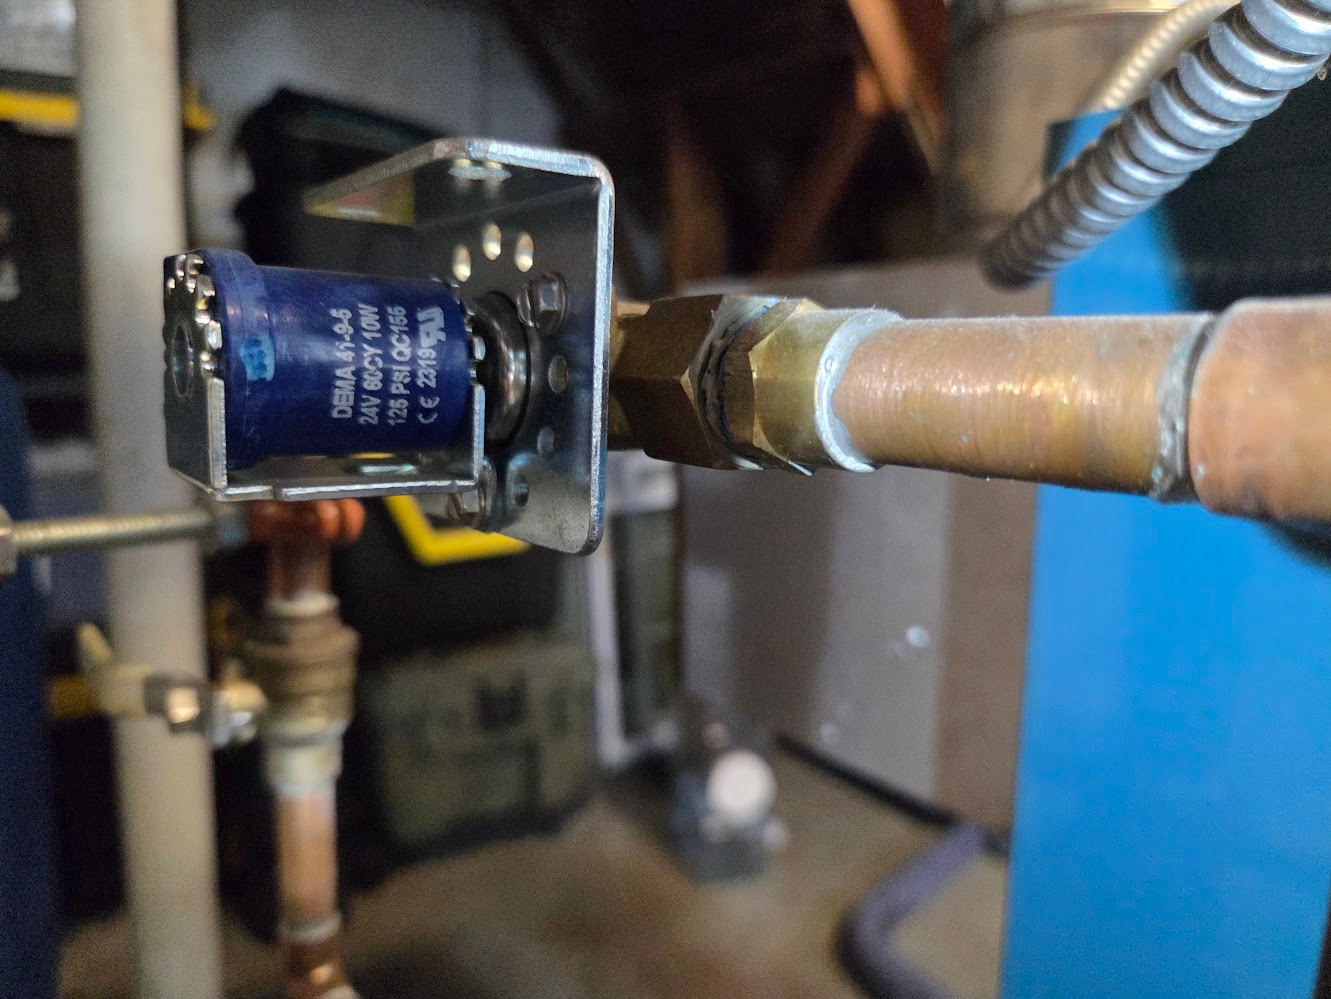
VXT housing & electronics removed:
Plunger cap removed:
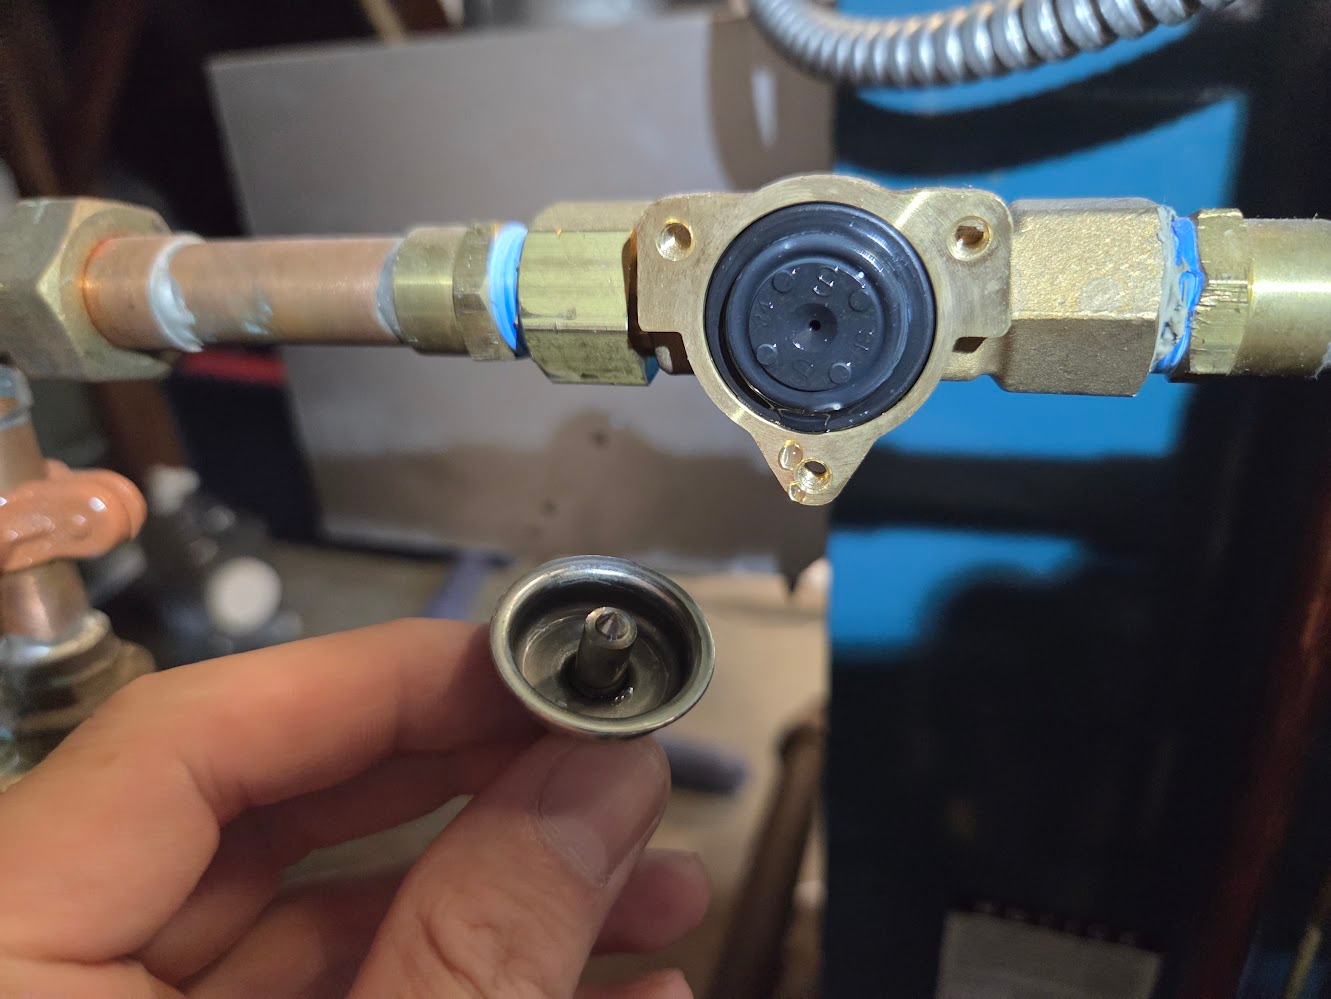
Rubber diaphragm removed:
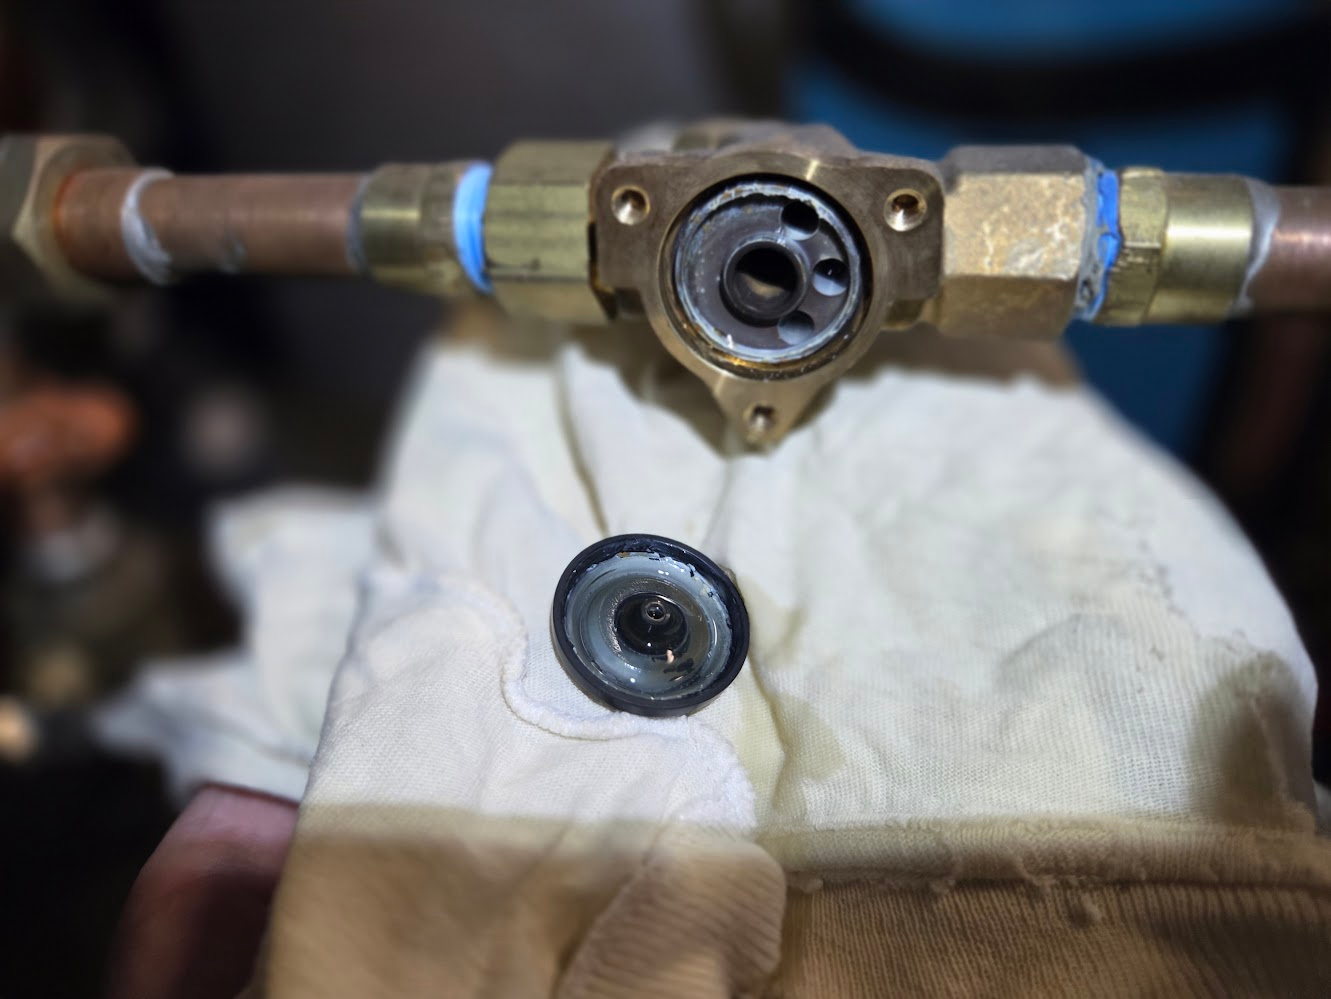
After polishing valve surface with provided scotch brite pad. I also gently used a pick to scrape around some of the recessed parts.
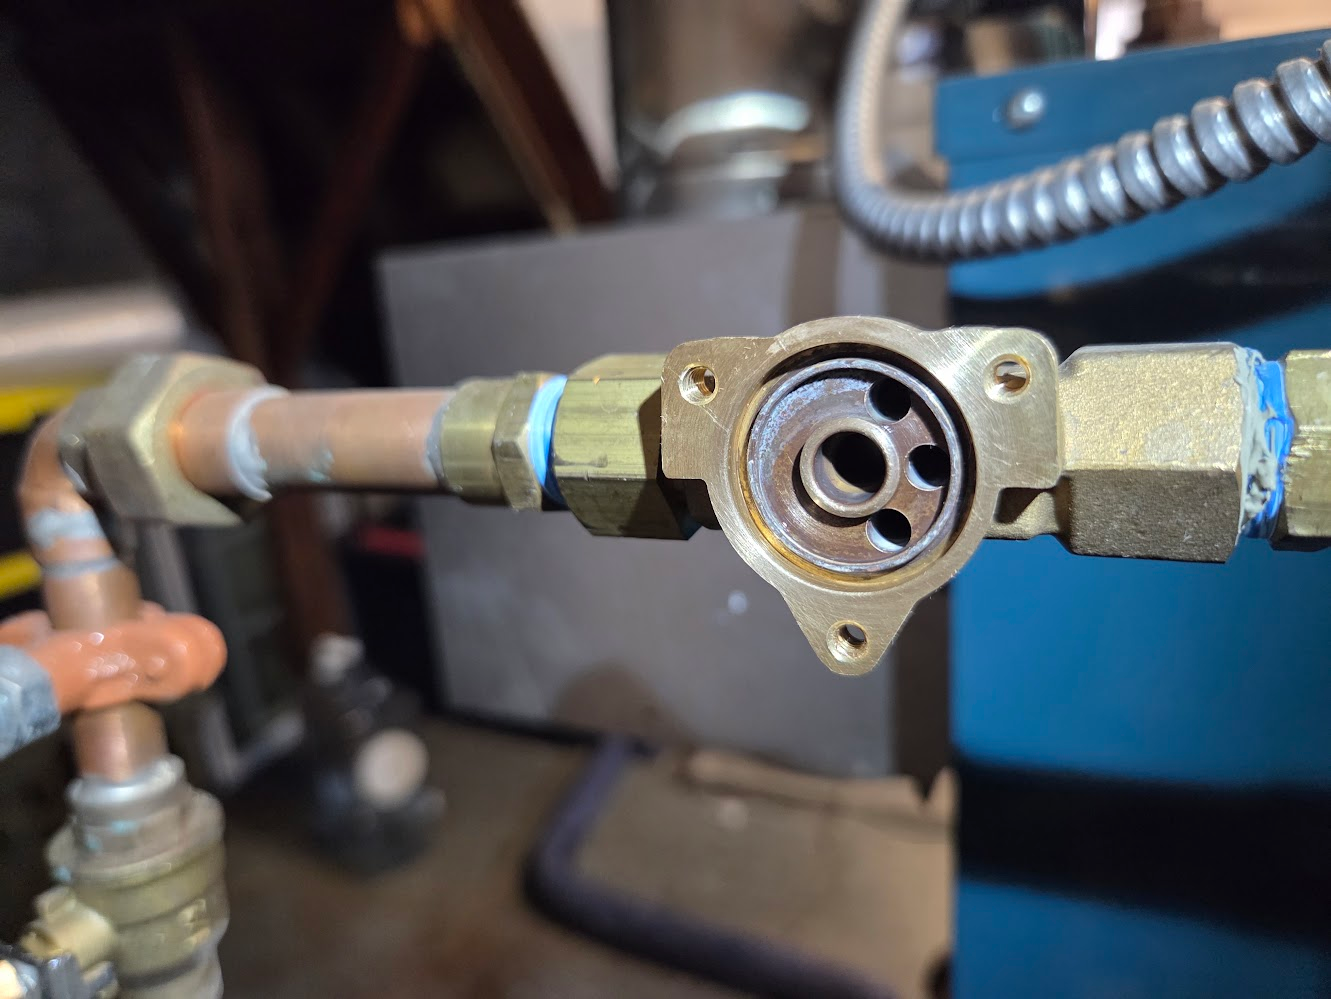
Old and new rubber diaphragm:
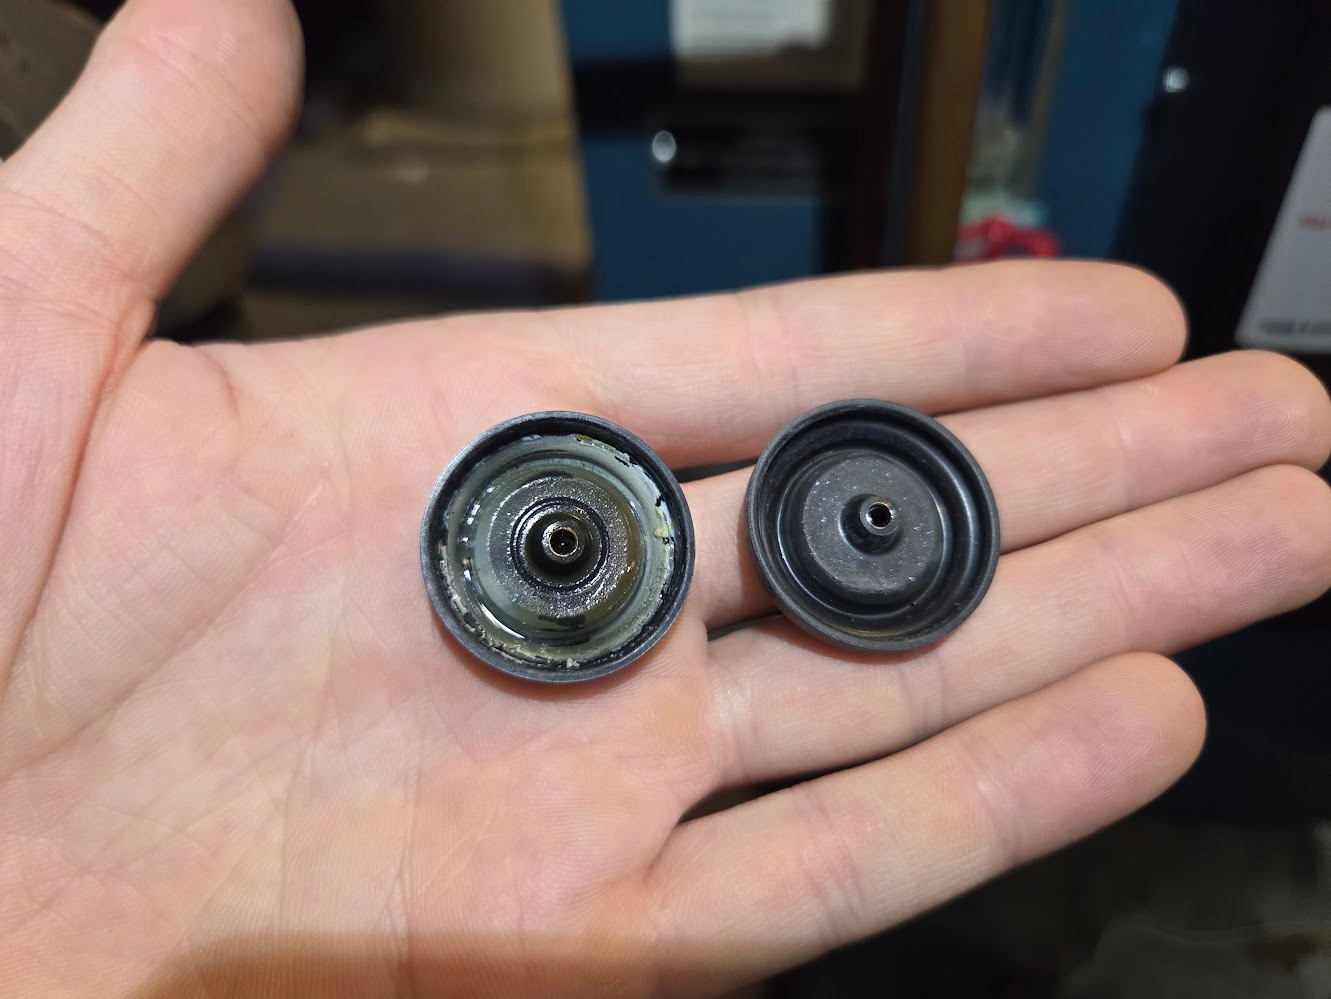
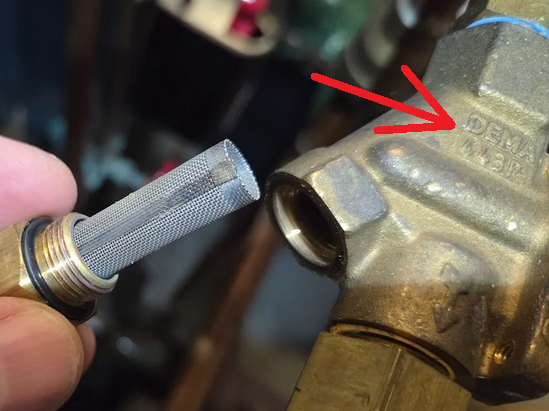
Filter on the back of the valve. This had been another mystery to me, since I still had not found any information about the filter despite that it was supposed to be done every year. The filter seemed to look in very good condition I thought.
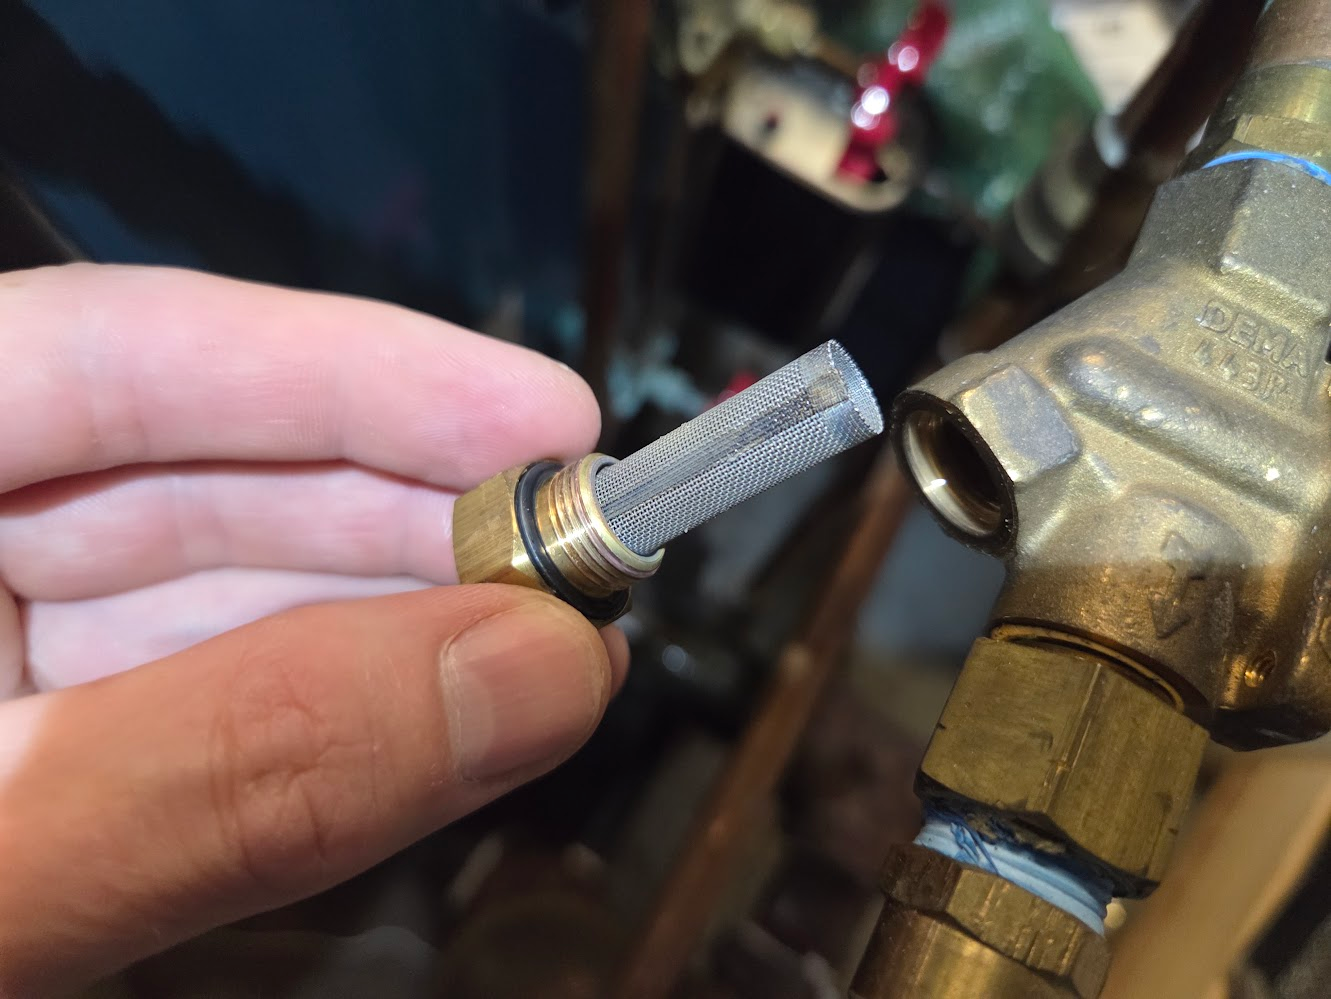
Back together, with new rubber diaphragm, plunger, and spring.
Comments
-
Excellent ! I have found in life it is usually much more satisfying and almost always less expensive to DIY with as many projects as possible. Doing it with your time schedule often helps too. I do understand that many folks just can't DIY.
Paying someone just to be disappointed is depressing.
National - U.S. Gas Boiler 45+ Years Old
Steam 300 SQ. FT. - EDR 347
One Pipe System
 2
2 -
The way they tell you to install a Service Kit Part No. 45-345 if the strainer shows signs of mineral deposits collecting on the screen, you would think a new screen would come with the Kit. Apparently if the screen or the valve body gets too bad they want you to replace the whole valve.
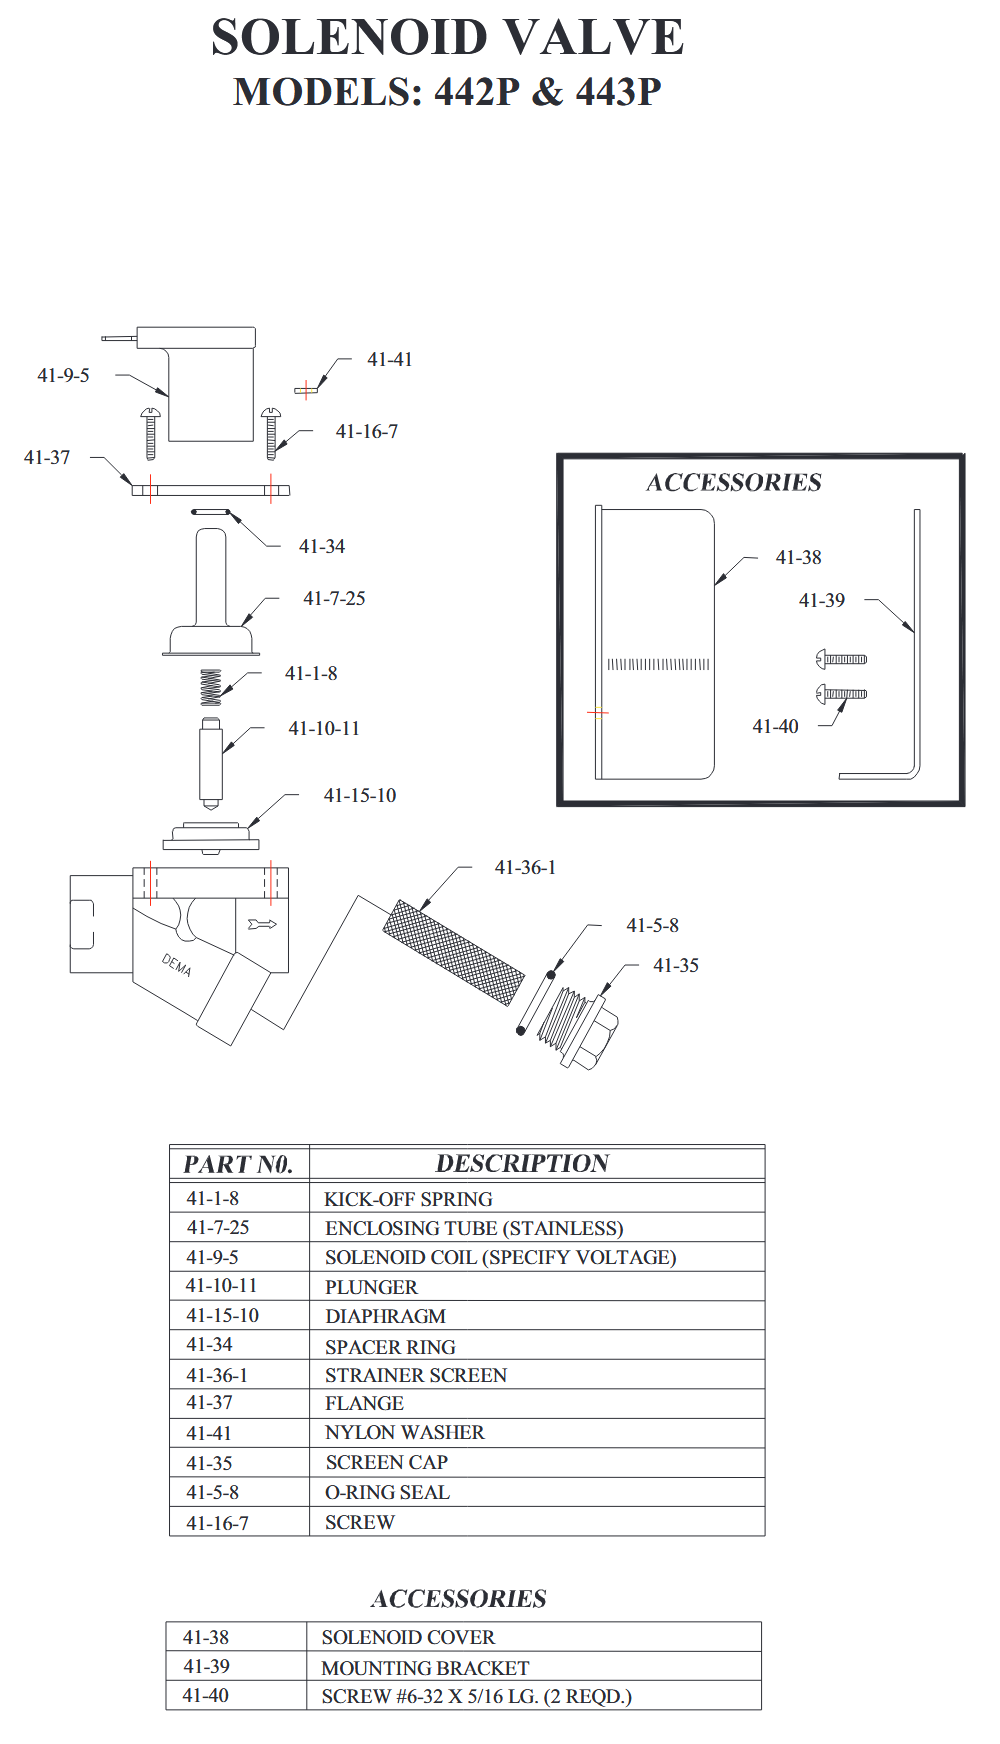
PDF page 340.
https://www.demaeng.com/wp-content/uploads/2020/12/DEMA_Parts_Catalog.pdf
National - U.S. Gas Boiler 45+ Years Old
Steam 300 SQ. FT. - EDR 347
One Pipe System0 -
Good contractors must wonder "why would someone DIY?"
Meanwhile millions of people face the kind of frustrating issue you faced.
NJ Steam Homeowner.
See my sight glass boiler videos: https://bit.ly/3sZW1el1

Categories
- All Categories
- 87.9K THE MAIN WALL
- 3.3K A-C, Heat Pumps & Refrigeration
- 60 Biomass
- 430 Carbon Monoxide Awareness
- 133 Chimneys & Flues
- 2.2K Domestic Hot Water
- 6K Gas Heating
- 124 Geothermal
- 170 Indoor-Air Quality
- 3.9K Oil Heating
- 80 Pipe Deterioration
- 1.1K Plumbing
- 6.7K Radiant Heating
- 397 Solar
- 16.1K Strictly Steam
- 3.5K Thermostats and Controls
- 56 Water Quality
- 51 Industry Classes
- 51 Job Opportunities
- 18 Recall Announcements