Looking for advice on balancing the system in my house to to help with heat and clanging

Hi all! I stumble across this forum all the time so I thought I might as well come here to ask my questions.
I've got a small home from about 1950, converted from coal to oil many years back. I've got a Weil McLain 68 (468) boiler, which if I understand correctly has a 12.4 gallon capacity. I've got an image attached to this post that shows the entire setup.
I don't know the proper terminology so I apologize, but the house has 3 main 'runs' of steam mains. They are as follows:
- Run 1: 44ft @ 2 inches, which if I did my math correctly is about .96 cu. ft of air.
- Run 2: 24ft @ 2 inches, which is about .53 cu. ft.
- Run 3: 24ft, comprised of 8ft @ 2 inches and 16ft @ 1.25 inches. I believe that should be .31 cu. ft.
I'm looking for some advice on setting this up as best I can. I'm looking to vent the mains fast, and I especially want to make sure Run 3, where my kids' bedrooms are, is getting adequate heat.
So far this year I have:
- Flushed the boiler, added Rectorseal 8-way, let it run for a week or two, and repeated the process. I've done this 3x. I had dramatic improvement with the first flush and treatment. I had been getting a lot of surging and generally poor performance. Things went well for a few days after that first flush, but then it got wonky. I suspect a lot of sludge came down to the boiler. Things cleared up pretty well after the second flush.
- Replaced the old, worn out Hoffman main vent on Run 2 with a single Gorton #1.
- Replaced the old, worn out Hoffman main vent on Run 3 with dual Gorton #1s. This was before I'd done the math on the air. My thought process was to get air out of the steam main on Run 3 as quickly as possible. My son's room is where Rad 3-1 is, and it's the coldest room in the house despite being the closest radiator to the boiler. This change definitely got steam through Run 3 very quickly.
- Replaced the radiator air vents on Rad 3-1 and 3-2 with Gorton #6s.
- Lowered my pressuretrol as low as it'll go. Cut-in is about .5 and it cuts out at 2psi.
- The boiler started surging again. I think this may have been due to some oils introduced from the piping when I hooked up the new main vents. Skimmed the boiler for a few hours, completely flushed it, filled it again and treated it with 8-way again. No more surging.
- Replaced the air valve on Rad 1-2 with a Gorton #5. I previously had what I think was the wrong kind of vent on it, for a convector.
Here's where I'm at now. I'm getting a bit of clanging/water hammer now that I didn't have before. My initial thought was that sludge started to partially block a pipe, and it's creating a spot where water is pooling. I don't know if that's the case.
My son's room, Rad 3-1, is still cold. His radiator doesn't heat well, and there's some vacuum going on there. I suspect there may be a blockage in either his radiator or the 9 feet of pipe leading to it from the main. When I was first diagnosing things I could feel heat get about halfway down that 9 feet, at which point it was like it hit a wall and the pipe went cold. I've got more success with heat going to his radiator now, but the radiator itself is very slow to heat. When the weather is warmer I'm going to disconnect his radiator, flush it out, and replace the old valve with a new one.
My pressure still goes up to about 2PSI, which is causing some short cycling. When the pressure gets that high, the 2x Gorton #1s at the end of Run 3 start steaming — they clearly don't like the pressure that high. If I've read things well enough, this also sounds like it's basically back pressure, from something else venting more slowly than it could be.
I'm not sure what I should be doing with vents on the mains. Run 1 is the longest, and has almost 1cu. ft of air. I'm guessing I could use another #1 on it, but I'm not super clear on how to gauge exactly how much I should be adding. The 'Balancing steam systems' chart indicates that a single #1 can vent .7 cu / minute at 3oz of pressure. Adding a second one seems like it would definitely impact things as it would provide me with twice the venting capacity while the air capacity (.96 cu ft) isn't increasing. Same thing with Run #2, though that's about half the distance.
I wanted to ask the experts before I started spending more money. I know that one of the first things I need to do is get some additional insulation on my pipes, and that may make all the difference in the world. Based on what I've provided, what's the most logical move forward?
Thanks so much! I feel like the dad in "A Christmas Story", tinkering in the basement all the time. I've had a blast learning so much!

Comments
-
Can you provide a photo of the boiler header and the piping connection for that runout to Radiator 3-1?
It seems your principal problem now is the poor operation of that Radiator 3-1 .
There is no plugging of your steam pipes.
The 9-foot long 1-1/4" runout to your 16-section problem radiator is marginal, and will require good piping elsewhere. A large vent on this radiator will encourage steam flow but quickly produce lots of condensate. A slow vent will reduce condensate flow but retard heating that radiator. Experiment with that. A larger runout will be more forgiving. Steam flow is fighting condensate. There may be ways to improve this without changing that piping.
A slower vent on Radiator 3-2 may encourage a more balanced flow toward Radiator 3-1.
Let us know what steam return you have in the vicinity of that radiator or steam main.
Reducing your steam pressure to no more than 1-1/2 pounds should help performance. That should be a goal.
You mention that your boiler is cycling on pressure. It should not be doing that unless it's very cold outside, returning from a setback or very oversized. Have you calculated the proper size of the boiler vs. what you have?
Generally you can improve system performance by using a single brand of radiator vents that share the same characteristics. Mixing vents from various suppliers often retards performance.
Nice diagrams and good work!
 1
1 -
Run 1 is the longest, and has almost 1cu. ft of air. I'm guessing I could use another #1 on it, but I'm not super clear on how to gauge exactly how much I should be adding. The 'Balancing steam systems' chart indicates that a single #1 can vent .7 cu / minute at 3oz of pressure. Adding a second one seems like it would definitely impact things as it would provide me with twice the venting capacity while the air capacity (.96 cu ft) isn't increasing
Measure the time it takes for steam to go from the header to the end of Run 1. Put your hand on the header………..start the clock when your hand comes off the header.
Go down to the end of Run 1. Put your hand on the main. Stop the clock when your hand comes off the main.
What vent are you using on the 3-1 rad? Since the piping to it is marginal, the vent must be huge or the steam will just head over to 3-2 where the venting is better. Why would the steam make a right turn to go down 9 feet of 1.25" when it can easily head down towards 3-2 with the twin #1's right there? You might even need to remove one of the twins to get the steam to cooperate regarding the 3-1.
0 -
As the folks have noted, the piping to your son's radiator is marginal in size. It's also long. This makes it all the more important that it be absolutely straight from one end to the other, and that it have adequate pitch — it must slopw back to the main, and I'd want an inch or two in that length if I could get it. That may be where your hammering is coming from, especially at the beginning of a run as the pipe is heating up.
Br. Jamie, osb
Building superintendent/caretaker, 7200 sq. ft. historic house museum with dependencies in New England 1
1 -
Thank you for the quick reply! I've attached some photos that will help visualize everything. In the head-on shot, you be looking (from left to right) at runs 3, 2, and 1. There were some questions on the returns as well. To answer those: They're all 1.25" and they're pictured in the first photo. Against the back wall, at the top is the return for #3, with the return for #1 directly below that. The return for #2 is running right down the top center of the picture. There's a Hartford loop behind the boiler below the new "stop leak" feature I put in until the weather gets a bit warmer (the tomato sauce can addressing the slow leak I noticed on the water pipe).
I'm not sure how to calculate the boiler size I should have for the house, but I'd be happy to do so.
I've ended up with a mismash of radiator vents over the years, mainly due to being unhappy with purchases for one reason or another. Rads 3-1 and 3-2 were replaced this winter with Gorton #6s. 3-1 was a varivalve (opened fully), and 3-2 had a Gorton on it, but I don't remember what size it was. I noticed that one was failing to seal on occasion (likely due to the pressure and I didn't realize). In the diagram in the first post I've got a key for the air valves that are on each radiator. Generally I'm incredibly happy with Gorton and will likely replace out with Gortons as things fail. I replaced a sticky Hoffman 40 on Rad 1-3 this year, and I was initially going to put a Gorton on there. I've seen a lot of folks talk about how much they like the Ventrite #1, so I went with that one. So far, it's much quieter than its Hoffman #1A on Rad 2-2.
Another quick comment on Rad 3-1: The varivalve I recently removed from the radiator was installed a few years ago, replacing a similar one that was quite old. Open fully as it was, it should've been venting pretty easily I would think But my son's room actually seems to get a little warmer now than it used to. The radiator previously didn't start getting any warmth until the boiler was about a minute away from shutting off for hitting its target temp. At that point, as you can imagine, it never had much of a chance to get warm at all. His room has been mostly heated by residual heat and a space heater. After the swap out on the main from a stuck Hoffman to the 2x Gorton #1s and the #6 on his radiator, there was some improvement, though not as much as I'd have hoped.
@LRCCBJ, when I do the hot hand test, what would my ideal time be? I'm assuming I'll be worse than that time. If that's the case, I take it I'd want to add at least another #1 on to the main?


 0
0 -
Thanks for the quick response Jamie. Over the course of that 9 foot pipe there's a 2.5 inch drop to the 45-degree elbow coming off the 2x1.25x2 T on the main.
And I should clarify a bit, I'm sorry.
After adding in the new main venting on runs 2 and 3, I'm noticing the hammer in my living room, which is where Rad 1-3 is. It's occasionally also on Rad 2-2 behind me. It's not excessive or non-stop, but it also didn't happen until I added venting.I also wanted to make a quick note on the vacuum: I noticed vacuum on Rad 3-1. I attributed it to a potential blockage somewhere, something causing the steam to condense. It sort of huffs and puffs. It was very noticeable with the older Varivalve. I think there may also be a little bit of it on Rad 1-3 in my living room, but it's tough to tell. There's definitely a lot of air escaping that valve, but it seems to suck in a match flame a little bit every now and again.
0 -
@LRCCBJ, when I do the hot hand test, what would my ideal time be? I'm assuming I'll be worse than that time. If that's the case, I take it I'd want to add at least another #1 on to the main?
The "ideal" time would be something close to three minutes. However, this time does depend on the temperature of the piping when you do the test. If it is insulated, the piping might start at 140F or so and you should make the 3 minute time. If it is uninsulated and the piping is room temperature, the time is significantly more……………could be up to 7 minutes. If longer, more venting is needed.
If I were doing it, I would not add another #1. I would add a #1 vent right at the valve for 3-1. Get the main to give up steam to 3-1 rather than proceed down to 3-2. I'd probably steal one of the #1's from 3-2 and put it at the valve for 3-1. Some creative plumbing required at 3-1 to get it done but you must have considerably more venting on 3-1 if you want to get it to work.
ALSO: Get down in that crawl space and INSULATE that 9' run to 3-1. It will help dramatically.
 1
1 -
You have significant piping problems with your boiler which may restrict what you can achieve with venting.
I'll try to get you better heating on Radiator 3-1:
Try putting a slow (Hoffman) vent on 3-2 and see if that forces 3-1 to heat.
(There is no blockage in your 1-1/4" pipe. The panting vent is from bodacious condensate forming waves in the small, long runout by the fast venting. You can try increasing the pitch in that runout by lifting radiator 3-1 an inch or so…)
==============
Then if that helps:
I would switch the two main vents from Main #3 to Main #2.
 1
1 -
yeah that header needs a little modification
 1
1 -
I just wanted to thank y'all again for taking the time to respond over the weekend.
I'm sourcing some insulation to start with. I'll make incremental changes after that
 1
1 -
An off topic question…. how well does that "Magic Heat Reclaimer" work that is connected to your flue? I've always wondered how well they would work with a natural gas boiler. Does it "reclaim" much heat?
 1
1 -
Honest to goodness, I really have no idea. This was my grandparents house and though I've lived here for 16 years, it's been on the boiler a lot longer than that. I don't really have anything to compare it against.
0 -
Make sure that the piping to the radiators, especially the far away ones are well insulated. You may be condensing the steam to water too fast before it can get to and heat some rads.
1 -
How did you create that diagram?
Any updates?
0 -
Still working on insulation. My local Home Depot doesn't carry fiberglass pipe insulation, abd the pricing I was able to find online left a bit to be desired when shipping got factored in.
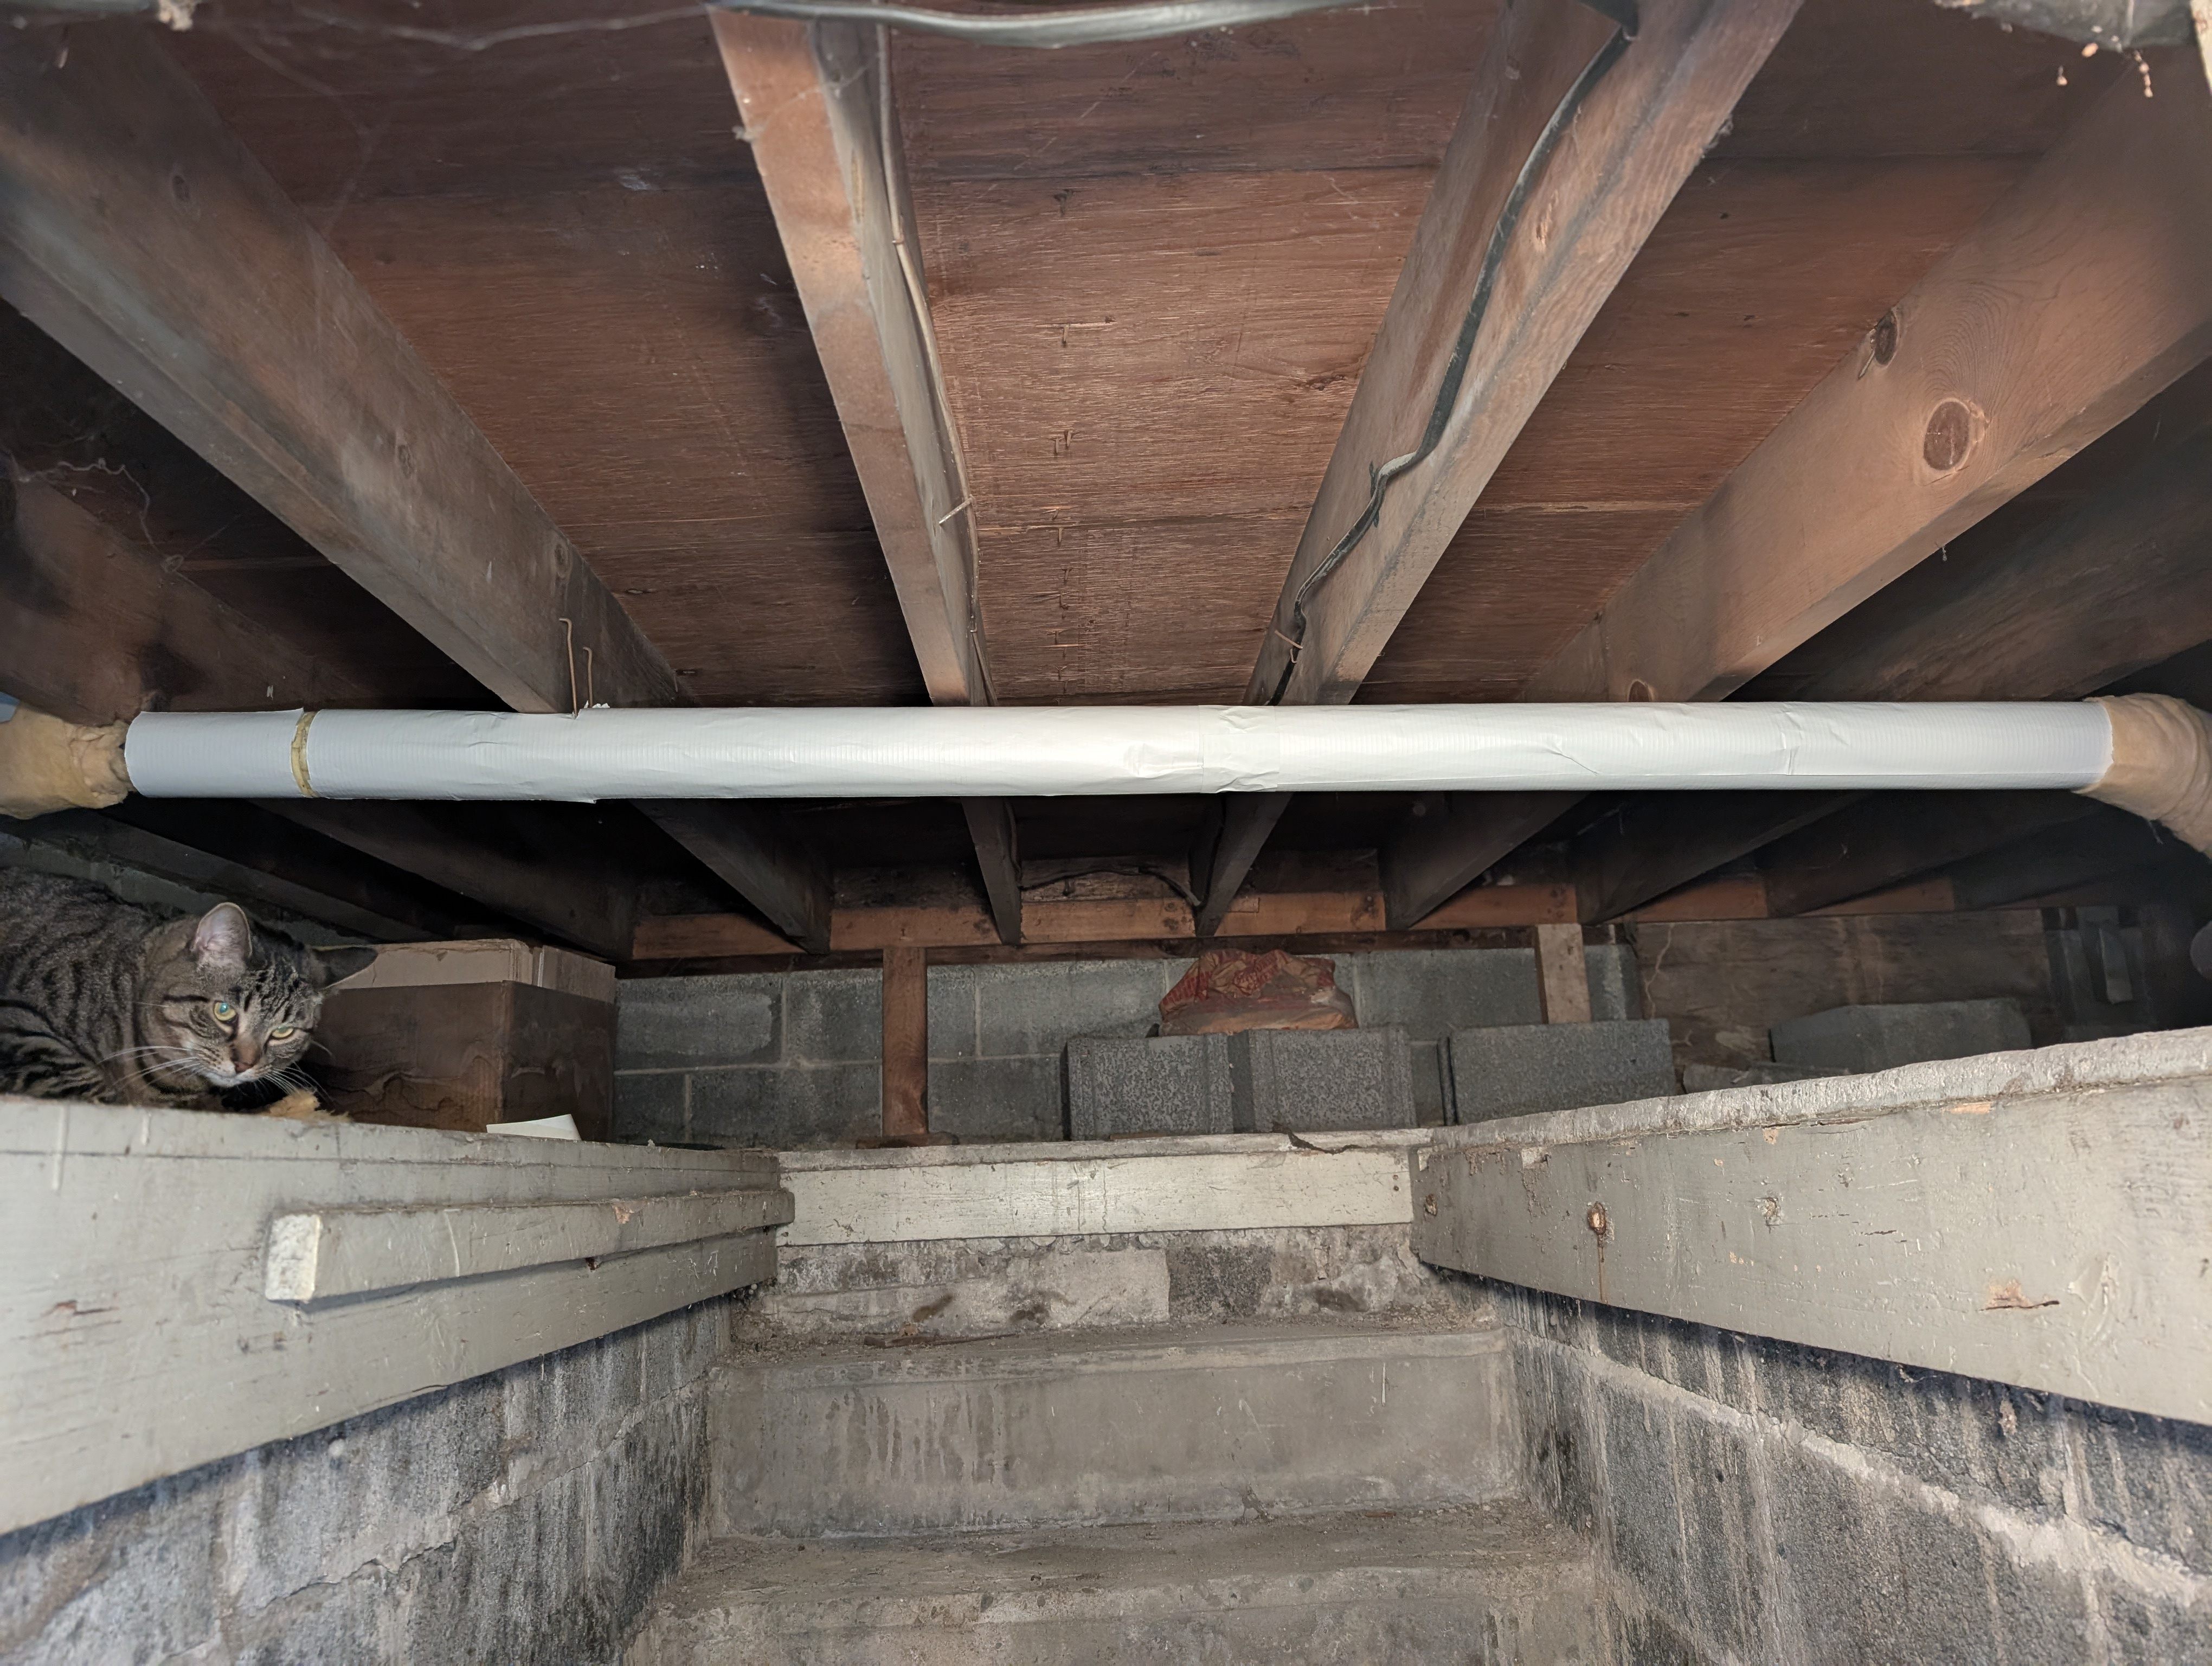
I spoke with someone on our facilities team at work Monday and got the number of a local company I should be able to get some from. Planning to get in touch with them tomorrow and hoping to get it installed this weekend. My son is built like a scarecrow so I'll likely enlist him to wiggle his way through that crawl space 🤣
@CoachBoilermaker I used draw.io - I use it at work to make diagrams and whatnot quite a bit, and it certainly allowed me to do things nicer than my chicken scratch handwriting would have. They have a fully-online version at
0 -
Funny, I've used draw,io to make basic 2D flowcharts, but your diagram is PRO. Amazing work
1 -
@ecrofirt "Lowered my pressuretrol as low as it'll go. Cut-in is about .5 and it cuts out at 2psi."
That's good on the face of it.
Be advised that I did the same thing and woke up to a cold house one morning. Apparently the 'trol had decided to go out of calibration and left me low and cold.
See my thread below — which reminds me I should write an update to it…0 -
@mattmich thank you, and that's great to know!
I wanted to swing back with an update on things.
I have made the following changes:
- Insulated the 1.25" pipe run to Rad 3-1
- Swapped out the Gorton #6 on Rad 3-1 back to an older varivalve (mainly for testing since it can vent so much more)
- Raised Rad 3-1 about an inch increasing the pitch of the run below.
- Removed one of the two main vents on Run 3
- Insulated about half of Runs 1 & 2, where there was no insulation
- Re-worked the venting on 1 & 2 - each now has 2x Gorton #1s
- Did another skim and full flush and 8-way treatment of the boiler. The water was a fairly murky pinkpurple and I was having some surging again so i wanted to clean it out to get rid of more gunk. Boiler running quieter now.
I did these things somewhat incrementally and I have been observing the results.
Insulating the run to Rad 3-1 made no difference. Earlier this winter, I noticed that around 2/3 of the way down that run towards the radiator off of the main line there was a spot where heat stopped dead and it would stay cold there and not move for a long time. When it did eventually move past that spot it moved quickly at the same rate that I observed elsewhere.
When I first insulated I did it piecemeal a little bit at a time checking things and it continued to stay cold in that spot. I wanted to see if insulation up to that point would make a difference and move the cold spot further down the line. No change. I moved past it with insulation and tested at the elbow and it stayed cold. I insulated the remaining pipe, checked the radiator valve and that continued to stay cold. I swapped to the varivalve, fully opened, and there wasn't a change. I raised the radiator with a bit of wood. At this point. If there has been any change on that radiator itself, it has been minimal. I really do think that there's a chance that there is a clog of some type in that cold spot. Once it moves past it it moves quickly.
I noticed at one point that if I gave the pipe some percussive persuasion with my hand on that spot, the heat would move past it at a normal rate immediately. I also noticed 2 days ago that if I fully close and then open that radiator valve it will cause the verivalve to vent a little bit. I verified that over a few heating cycles. This morning I closed/opened two or three times in a row during the same heating cycle and then the heat seemed to get to the radiator more quickly. I don't know if that closing and then reopening was creating pressure followed by a vacuum or something but it seemed to have a positive impact. Could have been placebo. I've checked with a match and it isn't sucking air in.
After those changes there's now a periodic deeper thunk of water hammer under the floor in the room with Rad 3-1. It's not your normal high-pitched kind of clang but definitely more of a deep thunk. I'm thinking that with the higher radiator and the pitch being more that maybe that water that is draining is coming into play a little bit in a way that it didn't before but I'm not an expert.
I am definitely taking that radiator and valve off when the weather gets a little bit warmer to flush it out and swap the valve. I don't know if there's anything I can do to check that main line that leads to the radiator without having to get the whole pipe replaced. I was thinking about looking into one of those pipe cameras and running it down the pipe to see if there was anything noticeable.
The extra insulation on runs 1 and 2 was a no-brainer. That part has helped with a bit of the water hammer I was noticing down at Rad 1-3.
The extra vent on Runs 1 and 2 is getting steam down to those quicker as you would expect. I also think that one or two of the Gortons #1s I bought at supply house this year is bad. The 20-year-old one that was on Run 1 has always vented and never stayed open letting steam out. With the new ones I bought this year I've got two that will just steam non-stop. I thought at first that the pressure was getting too high, but it's not all of them that steam non-stop and unless my pressuretrol has gotten out of calibration the pressure is still low when this is happening.
All told there has been some mild success. I'm still not as happy as I think I could be but it's getting there. I've got some pictures, I'll put them in the next post.
0 -


You'll notice I was being evaluated and criticized by the building inspector in two of those shots. She's the boss.
0 -
Any chance that there is a low spot — a sag — in that area on the main where the heat seems to stop? A genuine clog in a steam main is rare — but a sag (even as little as an inch!) can have much the same effect.
Br. Jamie, osb
Building superintendent/caretaker, 7200 sq. ft. historic house museum with dependencies in New England 1
1 -
You could replace that section easier than you think.
Stand on the stairs, cut it in half and remove both halves. You got plenty of room to swing a big pipe wrench in the stairway.
Get two new halves, cut to fit, with a black union in the middle. Measure the thread engagement on both of the removed halves to calculate the new lengths. Subtract the length of the union BUT add the engagement lengths
Probably prove your thesis faster than a camera………..AND, you don't have any easy way to get the camera in there without cutting the pipe.
 1
1 -
..and above all, do this when it's cold enough you can run your system properly and warm enough you could cap that run and fix over the summer!
0 -
@Jamie Hall, I wish there were a low spot, it would make things easier. Pipe appears to be straight as an arrow and pitched.
@LRCCBJ your post got me thinking and looking at everything. 40 years on the planet and I had no idea Lowe's offers pipe cutting and threading. I was looking at their 10' pipes when I stumbled on that. Thanks, that gives me something to consider for sure.
0 -
Be careful at any of the big box stores. They are not experienced in the equipment and the quality of the thread is less than desired AND good luck getting the length you want to 1/16"
Find a plumbing supply that threads pipe. There must be one left in your city.😉
For me it was Ferguson.
0 -
Hey all, sitting around today and watching YouTube videos. I came to an idea. I've seen a few videos about clogged return lines. I'm wondering if that's a big part of what's going on here. I'm wondering if the return right before it gets back to the boiler has a clog. I made a quick video showing everything.
Here's what I noticed. It's now about 15 minutes after taking that video. The piping just before my Hartford loop is still cold. The piping in my wet returns for runs 2 and 3 is hot all the way until it gets to the floor. The piping running along the floor to the Hartford loop is cold.
Pressure built up in boiler and it has shut itself off twice. The Gorton #1 at the end of run 3 was hissing steam.
I'm thinking that's a big thing right?
0 -
I am thinking you are correct.
Reason is that there is nothing to stop the condensate from filling that return that is close to the floor UNLESS there is a clog in it that is stopping the condensate from flowing.
This presumes, however, that at least 15 minutes have elapsed since the boiler started. I'd like to see the same test run with 30 minutes continuous boiler operation to conclusively prove the thesis.
BTW, what's the water level in the sight glass after 15 minutes? It should be just about gone if the feeder doesn't activate and nothing is flowing in the wet return.
I will note that you'd have a much more serious problem if that return prevented all flow.
0 -
Thank you! When I recorded that video it had been running for a while already and then I stayed in the room afterward. By the time I left it was easily 30 minutes after the boiler first kicked on.
In all that time, that return along the floor never got hot. I'm losing some water every time the boiler kicks on but not enough to kill the sight glass unless the boiler starts with the sight glass at 50% or less.
I suspect it's not a full blockage. Though that pipe along the floor never got hot despite the returns getting hot, it did eventually get warm.
I've seen some YouTube videos on clogged returns. Silent Steam Team has a nice one showing a ball valve on at the Hartford loop, and a drain along the return a big before. Being that the clog seems to be right there And I don't have a drain on my piping, I'm thinking perhaps it might be best to cut it out and run some new pipe with a drain in line.
0 -
The return is dry until it comes down to level with the water line and will warm up much more quickly as it is empty. Below the level of the water line the return line is full of water, and the hot condensate drips are diluted. By the time it gets near the Hartford loop it could be cooled off. Warm condensate is a trickle. The water filled return piping is gallons, therefore any temperature change in the return piping is very slow and gradual. Can not use temp. variation to diagnose a clogged return. Most steam water line issues are due to contaminated water. Skimming is often the answer.
1 -
Thanks!
That's good to know. Very good to know.
I've skimmed the boiler twice this winter during a full flush. I am positive I'm the only one that ever did it because there was a plug on the skim pipe and I piped it out to a faucet. I suppose I will make that a regular thing when I do a flush and treatment.
0 -
The water filled return (estimated 8 feet) holds about .75 gallons. The 468 @ 150K will also produce about .75 gallons of condensate in 30 minutes.
So, there must be a realistic increase in the temperature of that wet return in 30 minutes as all the water in the return should have been displaced by the returning condensate. At the very minimum, there would be a decent mix of the stagnant water with the returning condensate, thereby elevating its temperature well above "COLD".
His video does not show this to be the situation. I believe he has a restriction right at the elbow near the floor.
 2
2 -
If you feel there is a restriction at the floor you can beat the elbow with a hammer, which may upset the rust and get some flow.
You can also drill a 3/4" or 1" hole in the steel pipe a foot or two above the water line and run a snake through it. If you have no snake, you can poke a hose in it, flood it and see what happens.
Since the return has no pressure and only a trickle of water, you can then plug the hole with a rubber expansion plug, repair clamp or a piece of rubber sheet wrapped with electrical tape or hose clamps.
It's a shoemaker stuff, but if the snake goes right through it and finds no stoppage, you've saved lots of wasted money, threading and hard work.
0


Categories
- All Categories
- 87.7K THE MAIN WALL
- 3.3K A-C, Heat Pumps & Refrigeration
- 59 Biomass
- 430 Carbon Monoxide Awareness
- 129 Chimneys & Flues
- 2.2K Domestic Hot Water
- 5.9K Gas Heating
- 122 Geothermal
- 170 Indoor-Air Quality
- 3.8K Oil Heating
- 79 Pipe Deterioration
- 1.1K Plumbing
- 6.6K Radiant Heating
- 396 Solar
- 16K Strictly Steam
- 3.5K Thermostats and Controls
- 56 Water Quality
- 51 Industry Classes
- 51 Job Opportunities
- 17 Recall Announcements