Lochinvar burner cleaning

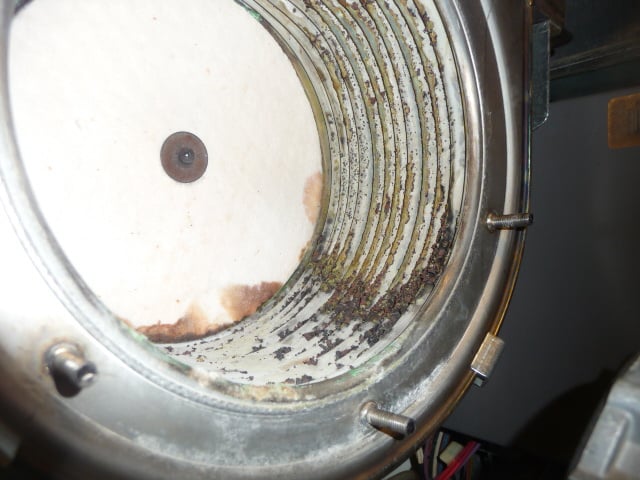
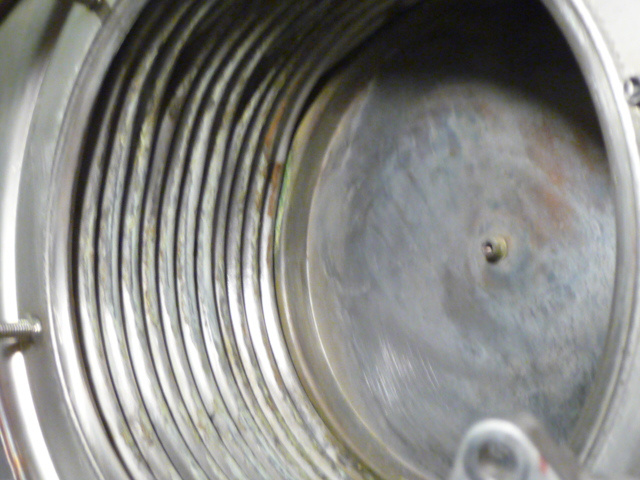
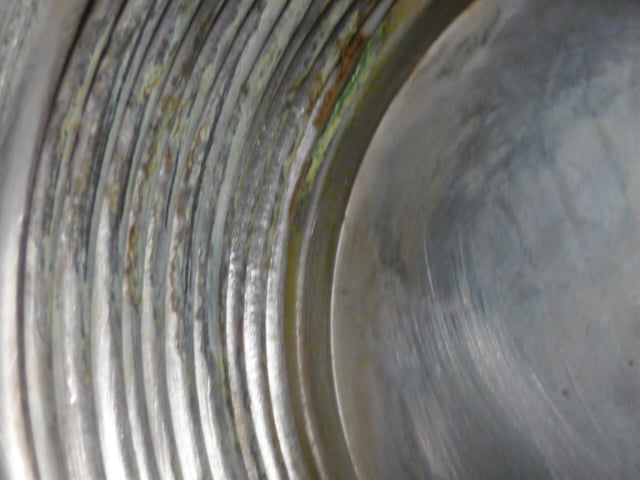
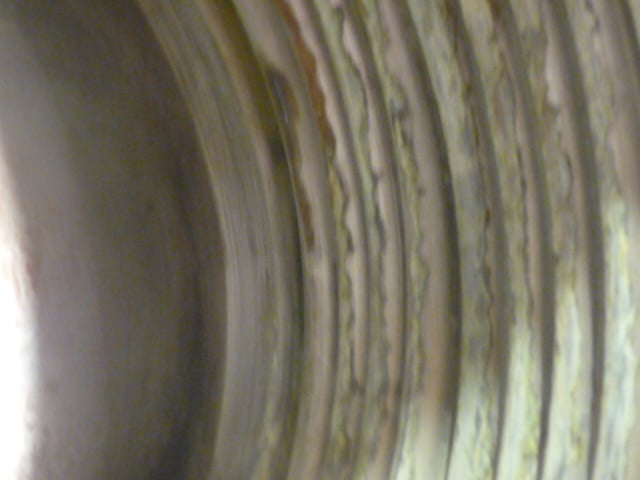
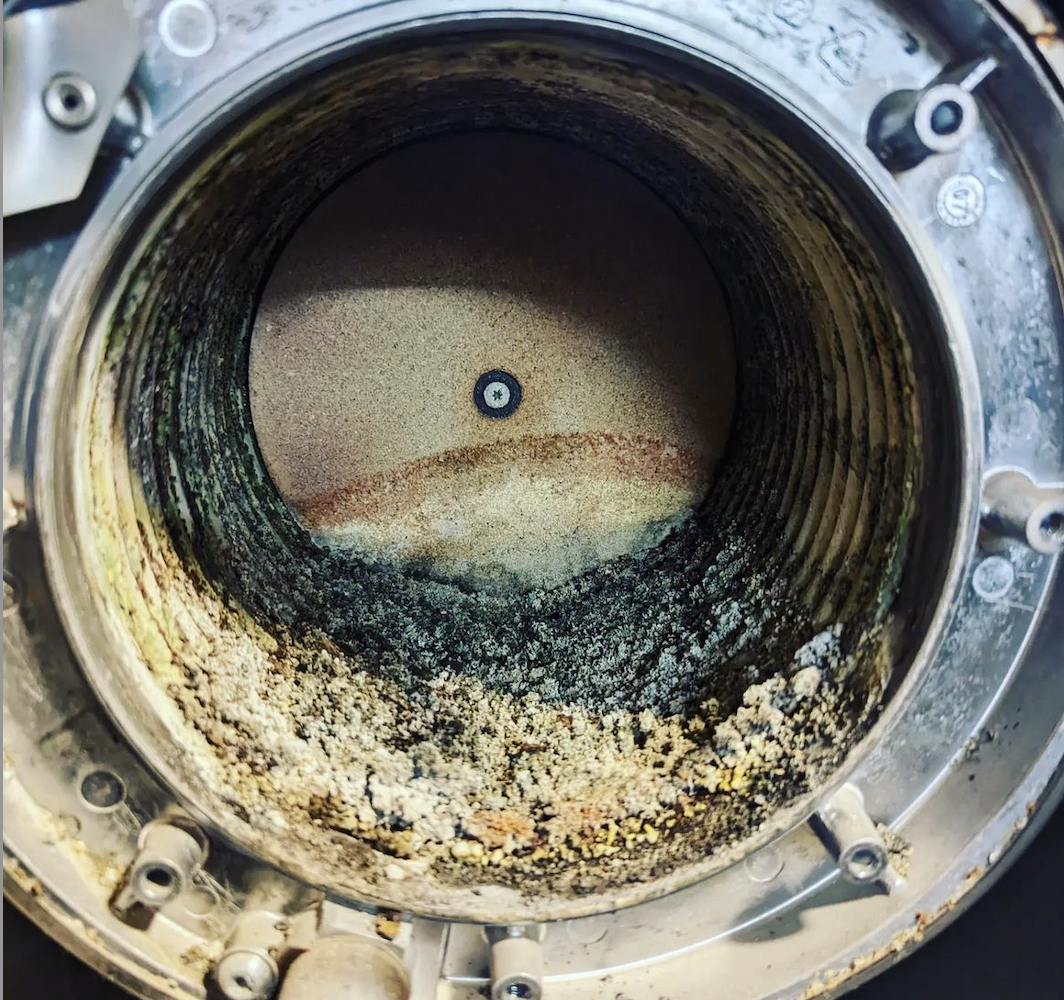
I have a WHB 55 that has been in service 10 years and performed well, with minimal repairs needed. I clean it at least once a year, sometimes twice because our long winters. Anyway, there is the usual coffee grounds looking stuff but now there is starting to be more buildup that looks like calcium deposits & such. Its tough stuff and doesn't just scrub off. I scrape it a little then hit it with the cleaner wheel like in the Lochinvar kit. no heavy abrasives and no chemicals. so… what to use? heres almost 9 months use. the metal underneath is fine,,, scrape the grunge and it buffs back to near new looking
Comments
-
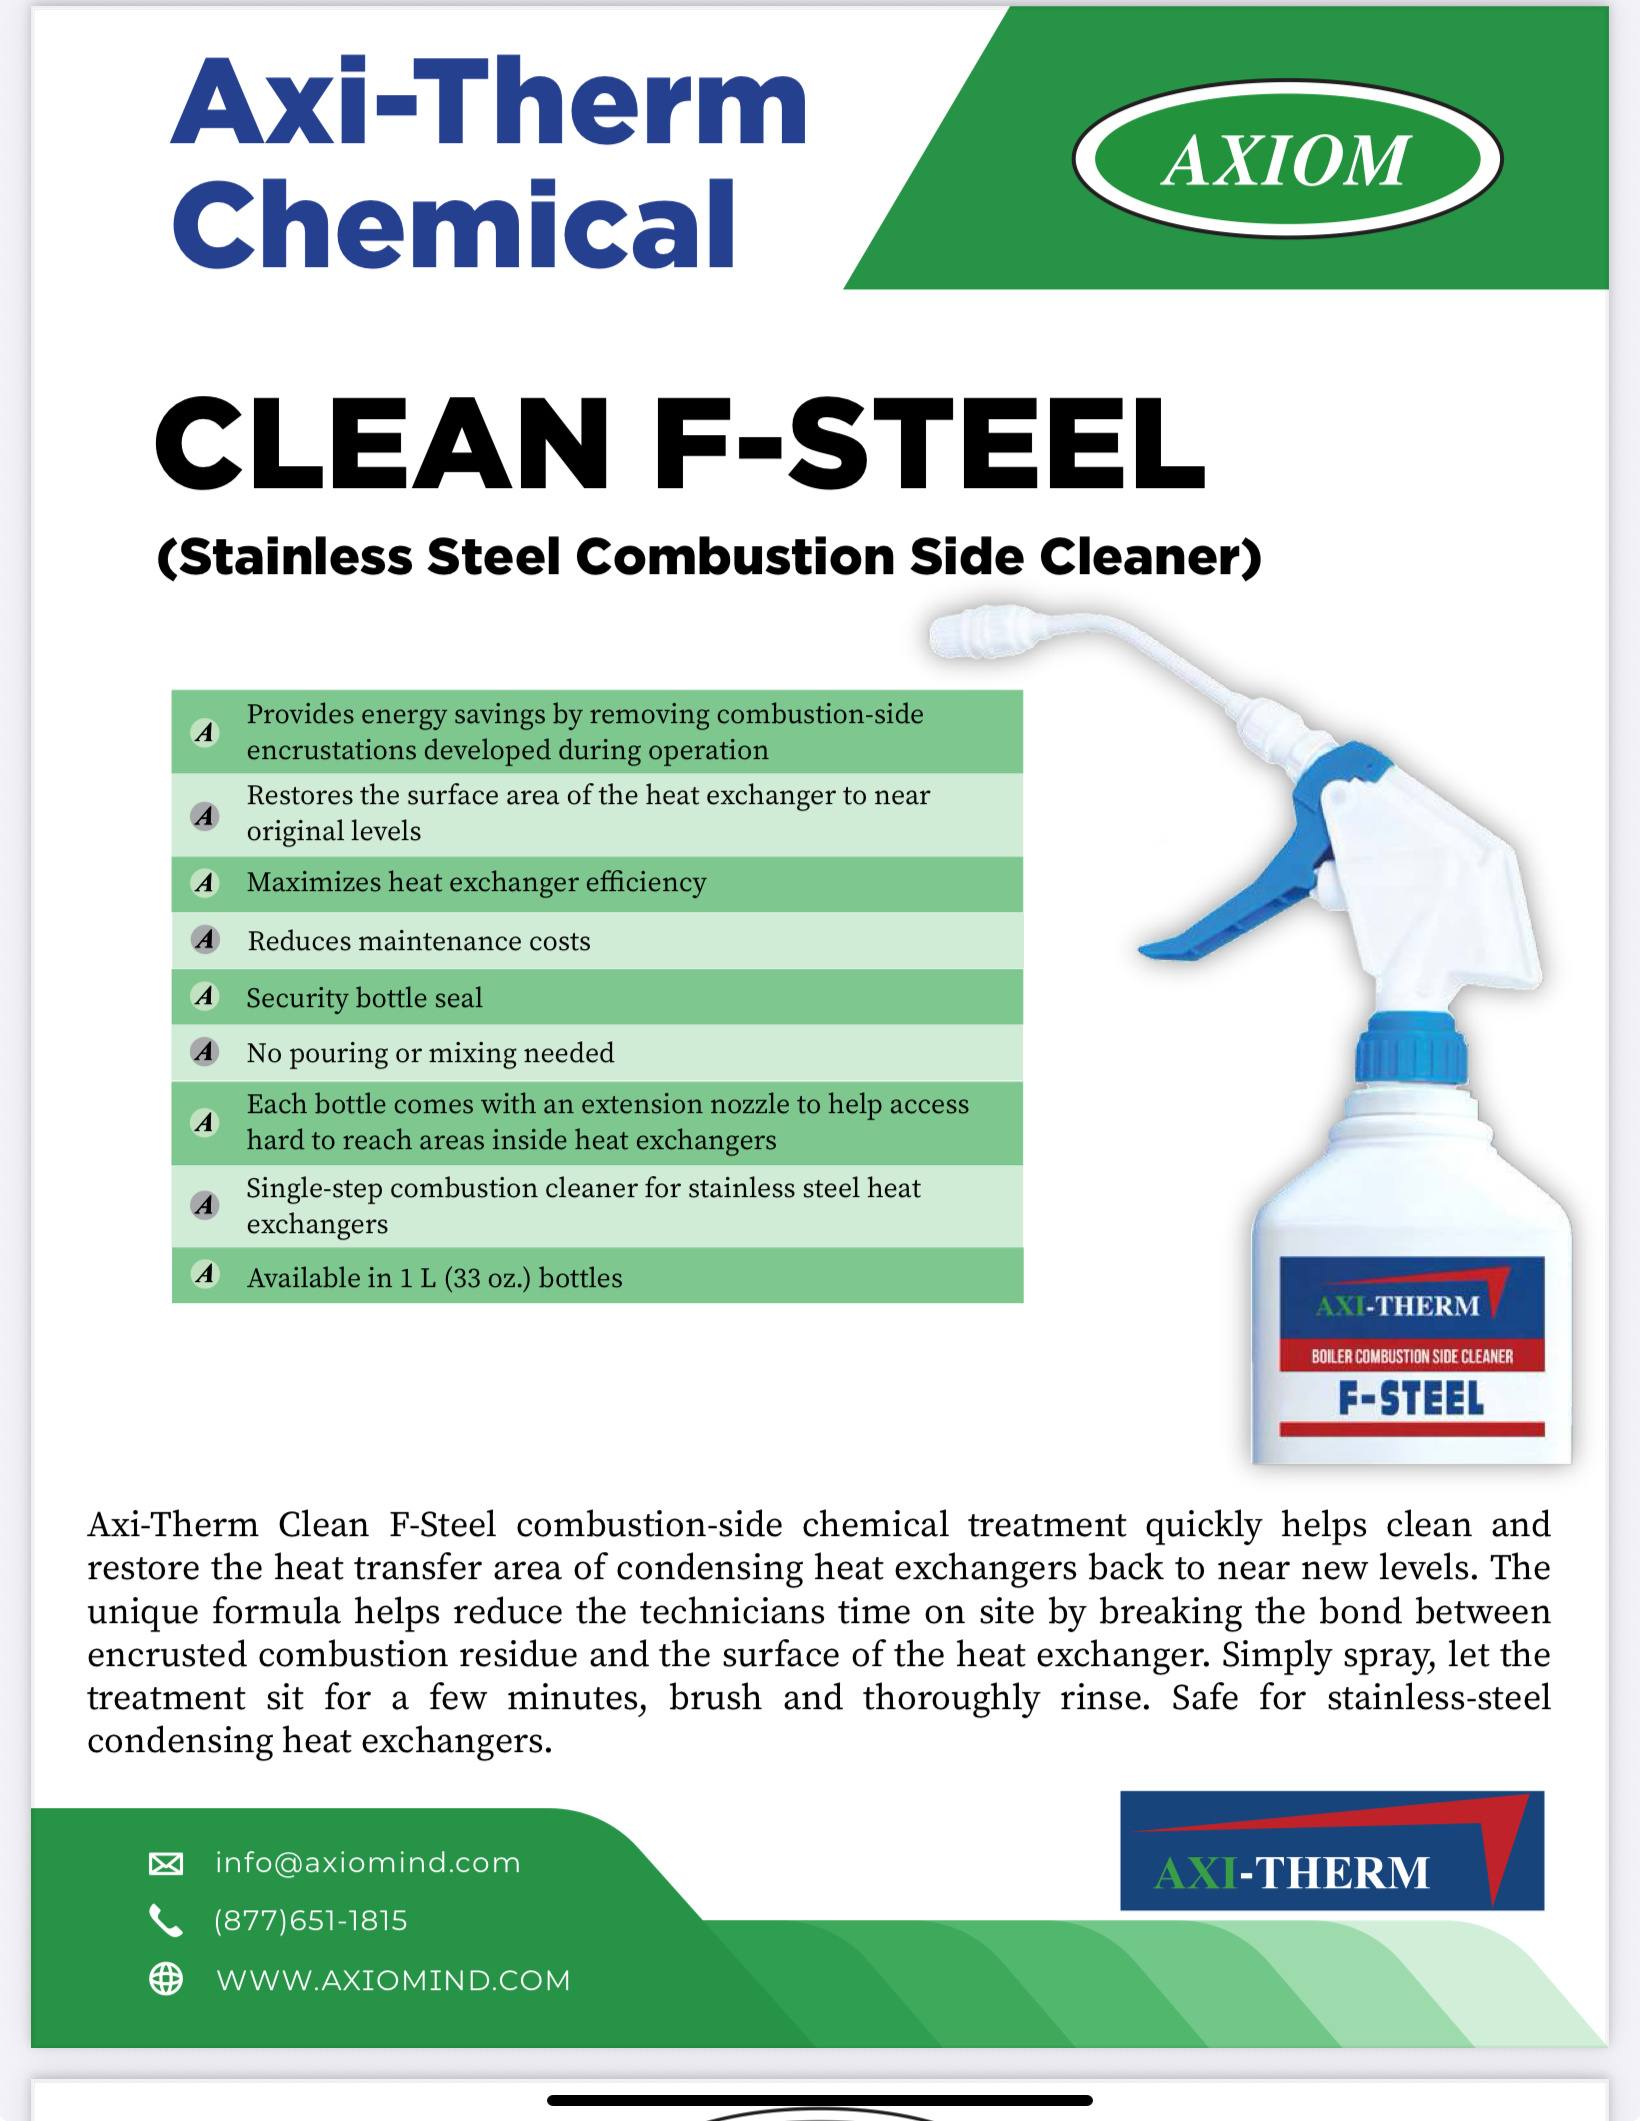
Axiom has a spray cleaner for stainless boilers. It may reduce the amount of scraping for you.
Do you have clean combustion air, burner dialed in correctly, intake air piped away from exhaust? These conditions could contribute to the coffee grounds.
 Bob "hot rod" Rohr
trainer for Caleffi NA
Living the hydronic dream 1
1 -
the boiler kit came with a housing (Lochinvar part) that has intake and exhaust ports in the same unit. it is mounted to the house but also may not even be "legal" since someone told me the exhaust can't exit under the eves.
thanks for the reply
I'm going to post another question since I have a new problem…..
0 -
Probably talk to Lochinvar and see what they recommend.
0 -
I not a big fan of either concentric exhaust or the cover with both pipes attached
I would like to see the vent out the roof, or the two pipes several feet apart if out the side wall
Your manual should have an entire chapter on venting procedures and locations
 Bob "hot rod" Rohr
trainer for Caleffi NA
Living the hydronic dream2 -
You are doing pretty much what can be done. Not sure of why your getting more build up now? Again, anyone putting an analyzer on it. Using decent combustion side cleaner helps some getting them cleaner but still will show some signs of degradation. The Gianoni style Heat xers just do this along with the firertubes in others.
0 -
yeah, I bought a top notch sniffer and tested it. the combustion numbers were all good.
the build up now is no different from early on except the calcium (ish) deposits are getting bigger because I didn't remove it all. those pix are of a 10 year old burner. I'm in Alaska, my boiler runs pretty hard 6 months a year, "medium" hard another 3 months.
0 -
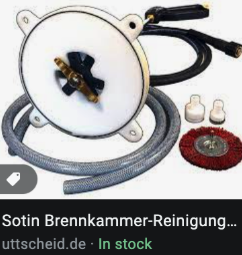
I'd like to try one of these pressure washer kits on those coil type HX. If you had specific brands that needed service frequently, this looks like a handy tool. It looks like it would need a specific "plate" for different brands or types of water coil Sermeta boilers.
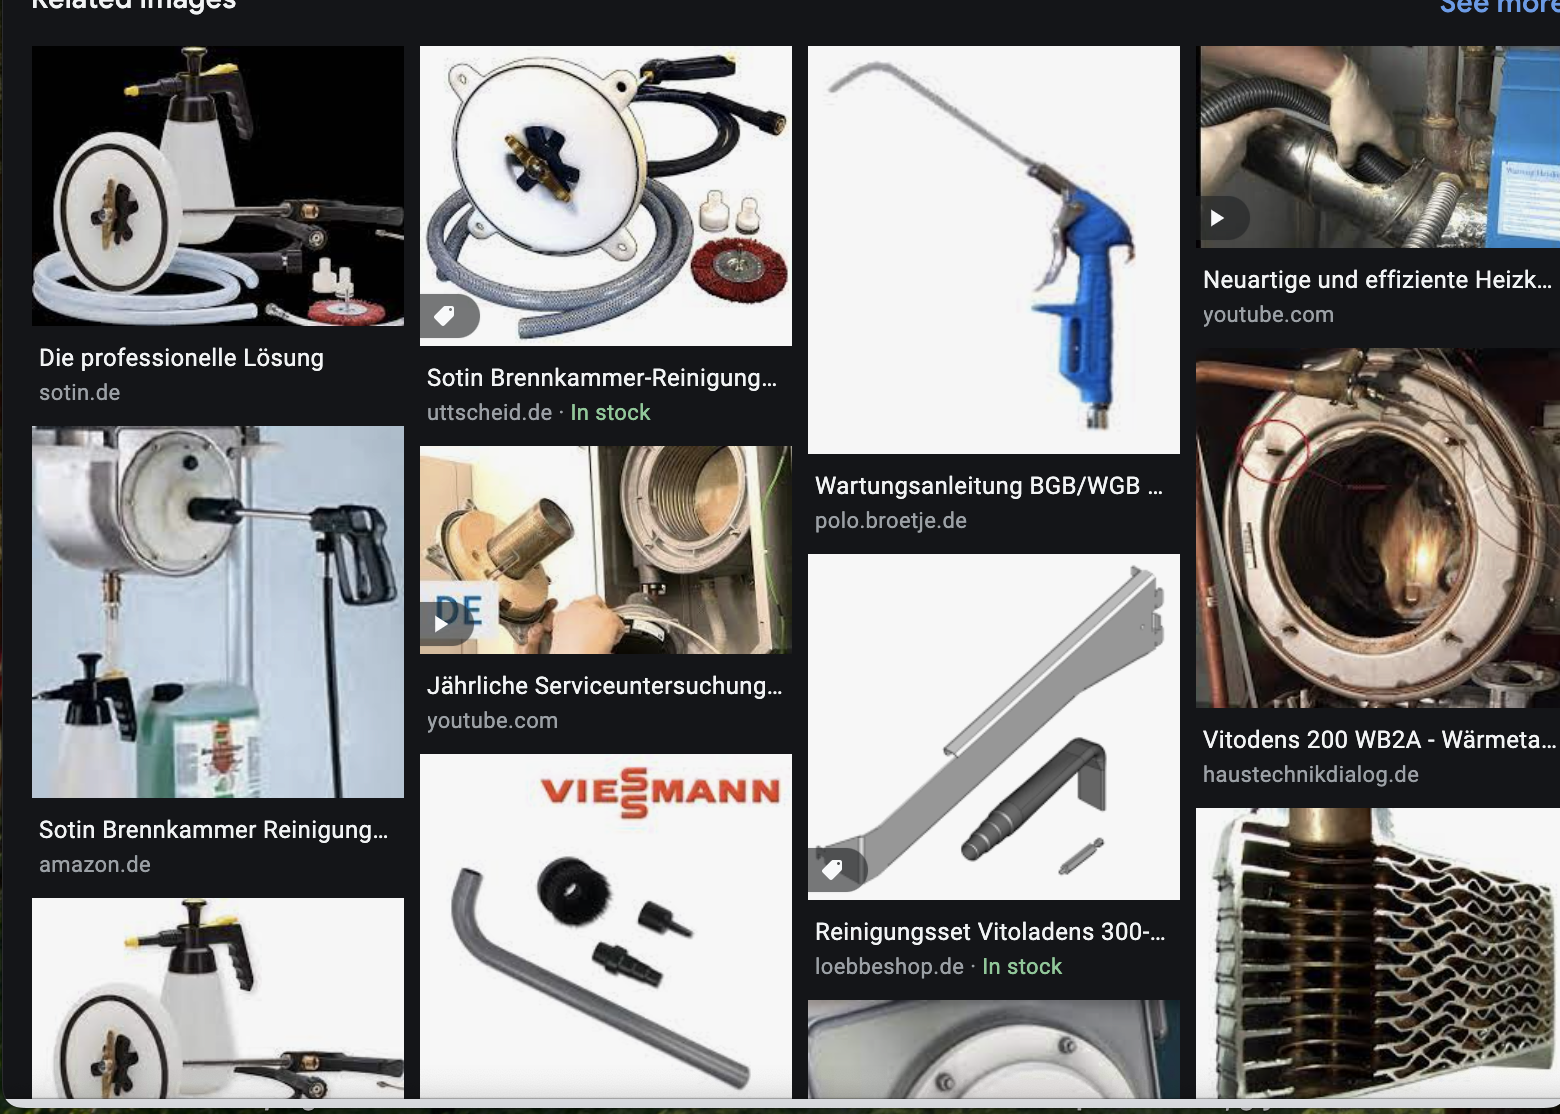
But at some point you may need to dig in and shovel out debris :)
 Bob "hot rod" Rohr
trainer for Caleffi NA
Living the hydronic dream0 -
I've seen some rough ones but not as bad as hot rod's picture. I always do a combustion analysis after cleaning. There may not have one done in that pic, ever. The max that I recommend is 3 years between cleanings.
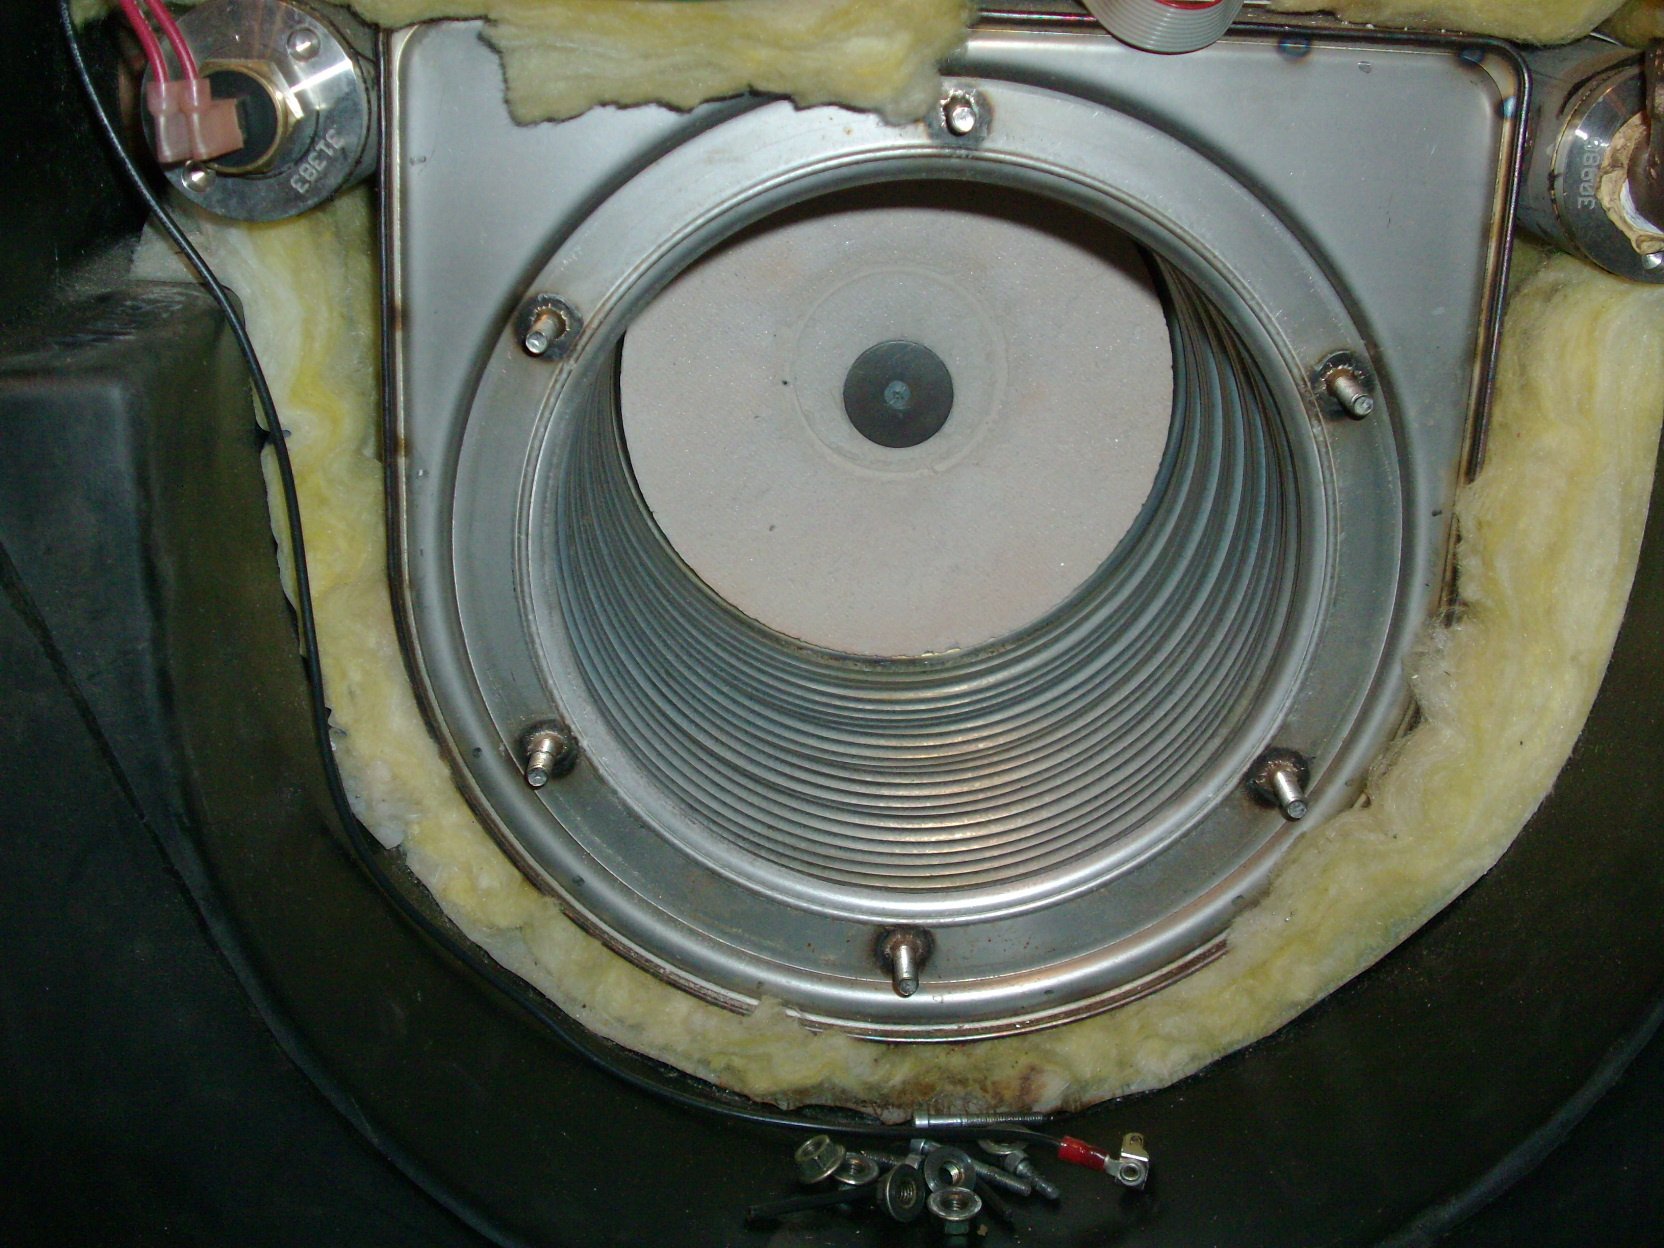
I always remove the back refractory and I use a Dremel tool with a stainless steel wire brush to clean the coils and a feeler gauge between the coils (there is a tool for this). I use CLR or Rydlyme to help break down the deposits. I'm going to try Axiom's product (thanks, hot rod). It takes me about 3 hours to do a though cleaning. This is what it looks like when I'm finished. This was a rough one which took almost 4 hrs.
 3
3 -
could probably just salvage covers from scrap boilers and make the plate from it once you have one kit
another method is to rig up a small submersible pond pump and a nozzle that squirts the descaler on to the boiler, route the condensate in to a bucket, put a gallon or 2 of descaler in the bucket and let the pump spray the boiler for a couple hours.
0 -
I wonder if the nozzle on the end of this spins then you slide it in and out through them cover. A pump with some pressure, even a 120V pressure washer would blast it clean. Looks like the kit includes a nylon brush.
A piece of aluminum plate from an online metal supply, drill mounting holes and nozzle hole. I suppose the plate could be square? Make a paper templete to get the hole spacing exact.
I'll keep an eye out for a damaged or returned mod con with this HX.
 Bob "hot rod" Rohr
trainer for Caleffi NA
Living the hydronic dream0 -
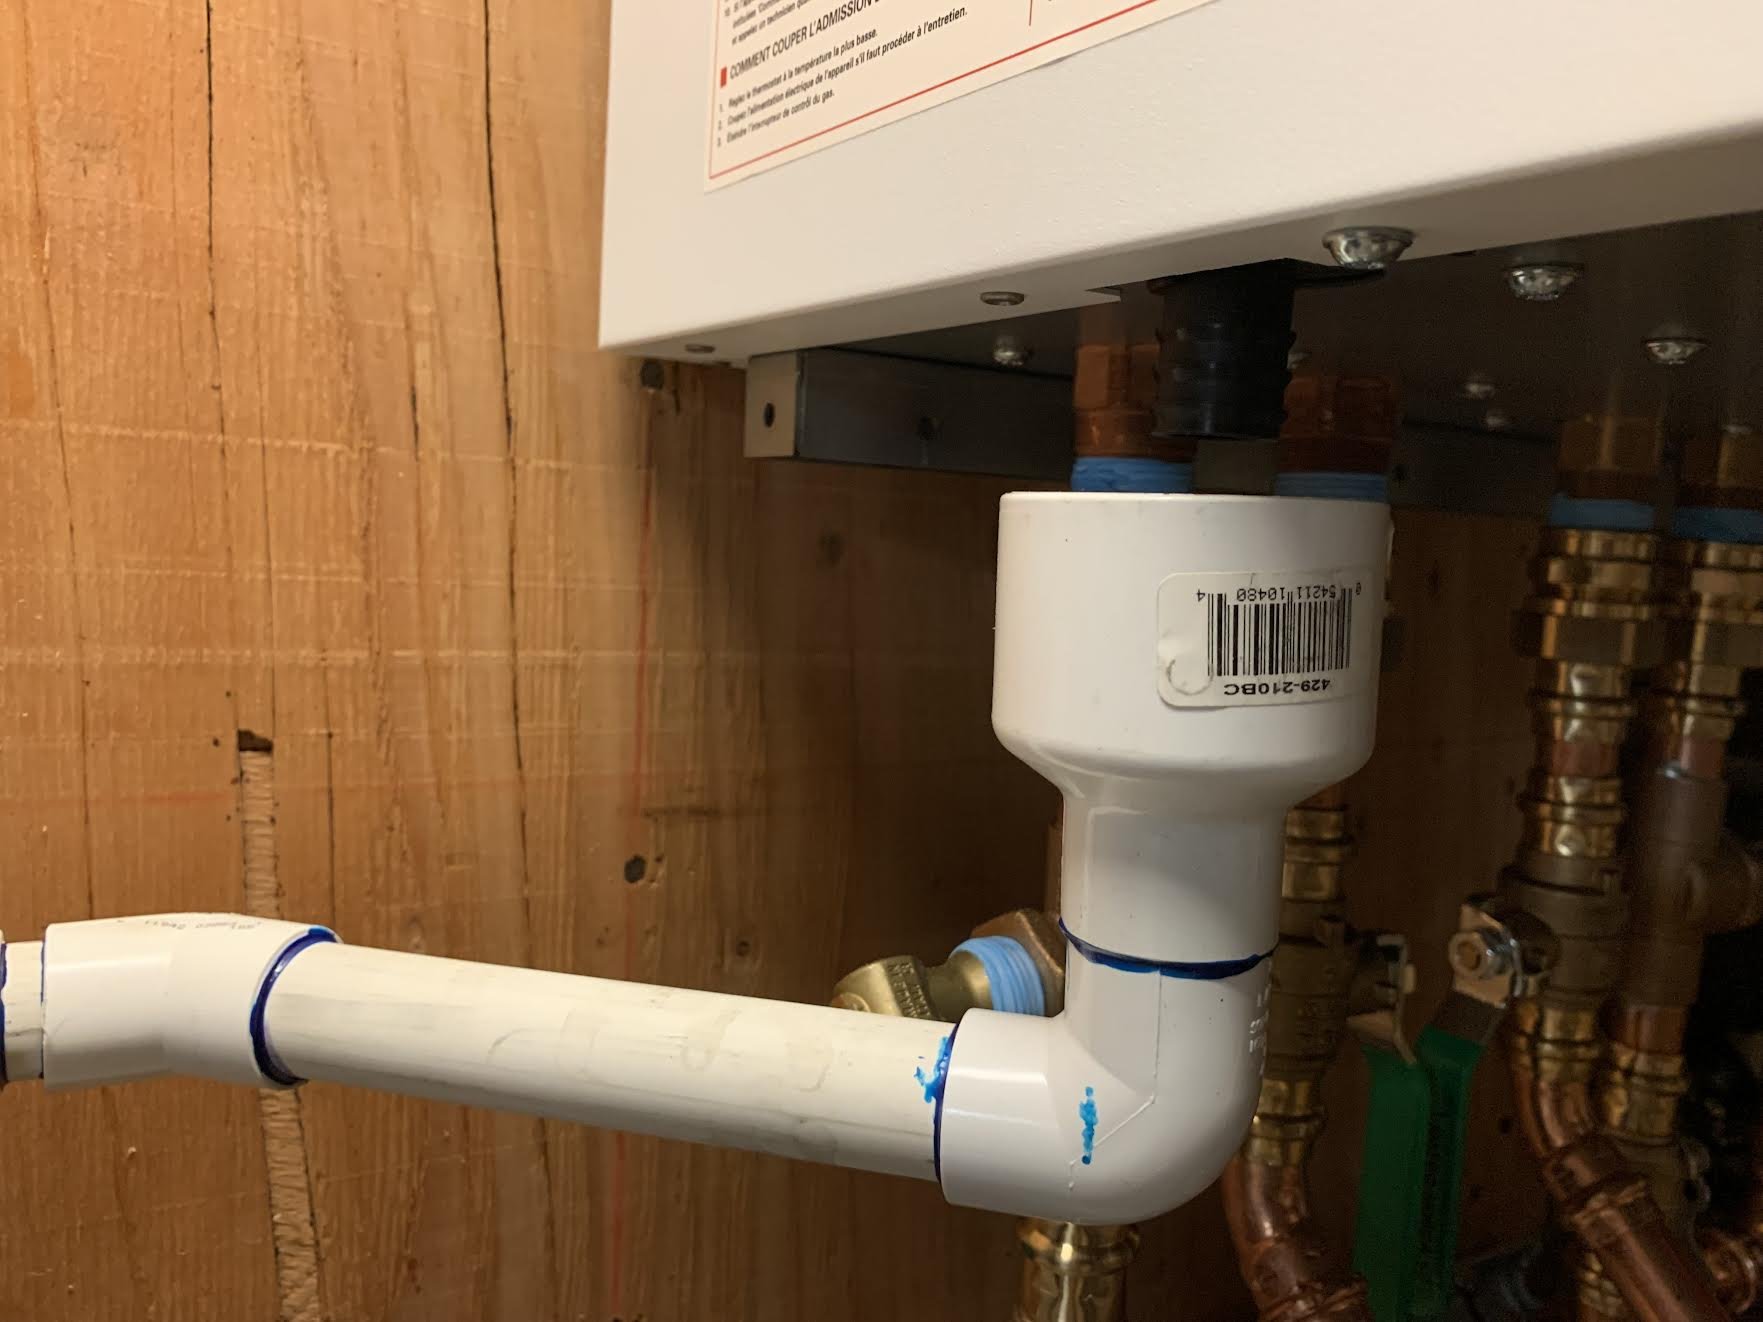
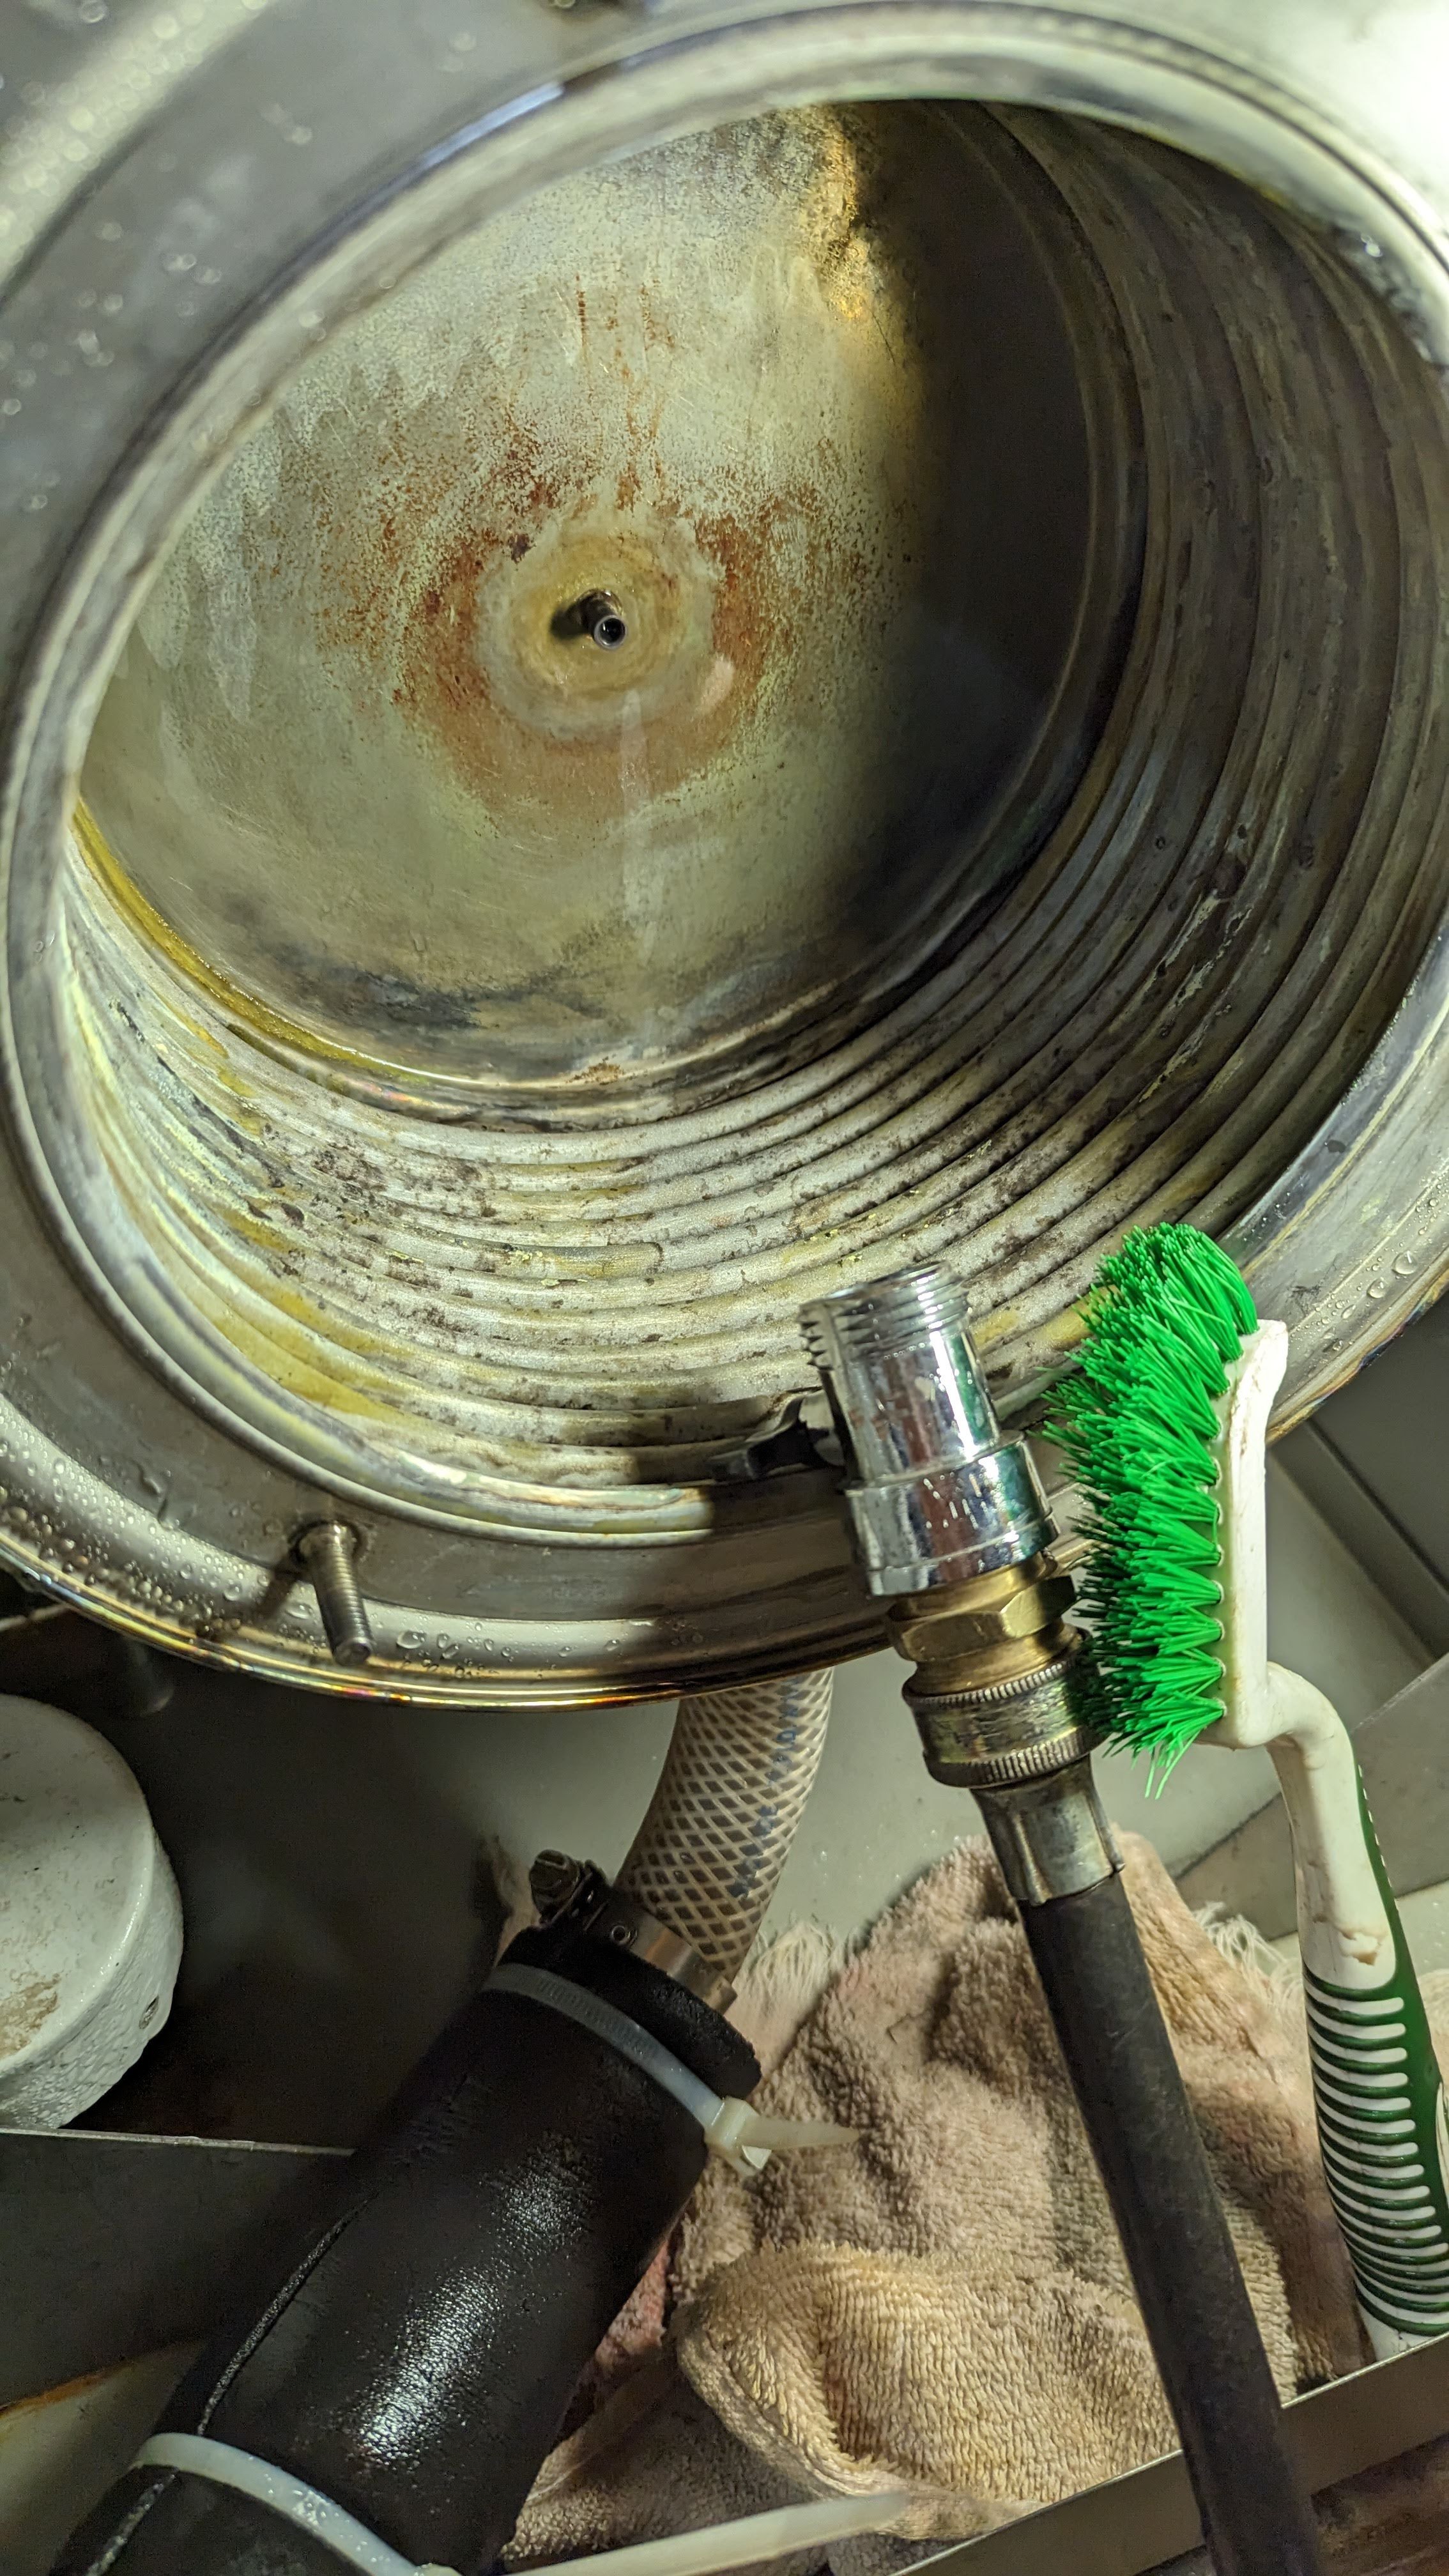
I've had my Knight for about 17 years and every year I use this to spray the stuff out of it after using the credit card technique between the tubes. My hose is connected to the water heater and has a 1/4 turn valve which sprays really well if you throttle it down. I use a nylon brush to clean it along with a credit card. The condensate drain is connected to a shop vac and I usually spray a couple of gallons. A couple of hours and zero dollars later, I'm good for another year. When my unit was new, the factory said no chemicals are to be used, only water. Something about the stainless steel being passivated and chemicals might not be helpful. Don't know about what is said now. I do this once a year but might increase to twice since I have the time and if it keeps it alive, why not.
0 -
I hope you are able to teach some newer service techs. This is exactly the kind of service homeowners expect (and pay for!) that so often just gets skipped. great job
1 -
I'm scared to take a wire brush to Giannoni HX's as I've seen too many leak when they get older and the last thing I want is to break through a thin spot in the stainless. Good luck explaining that to the homeowner. Sorry, ma'am. I just perforated you boiler's heat exchanger. You have no heat or hot water.
I get rid of all the coffee grounds I can. The piles are easy, the hard stuff stuck between the coils are difficult and it's hard to tell between a weld and a concretion. Flush with lots of water.
You can tell when there's a clog somewhere; water backs up and overflows out of the chamber opening. Check the trap, and both condensate hoses and even stick your finger into the drain outlet of the HX. And always make sure there's an air gap to your condensate neutralizer. I've seen many clogged neutralizers that back up the condensate into the combustion chamber and soak the insulation.
 8.33 lbs./gal. x 60 min./hr. x 20°ΔT = 10,000 BTU's/hour
Two btu per sq ft for degree difference for a slab0 -
A nylon brush works quite well and the 1/4 turn shut off makes a great sprayer. Attach the condensate drain to a shop vac and spray away. Also, good use of old credit cards for between the tubes.
 1
1 -
Lochinvar recommends just water. They sell a maintenance kit the includes nylon brushes, 12" extensions, and igniters. Quick connects for the impacts. Also includes a rear firewall protector if you don't or cant remove the rear firewall.
0


Categories
- All Categories
- 87.6K THE MAIN WALL
- 3.3K A-C, Heat Pumps & Refrigeration
- 59 Biomass
- 429 Carbon Monoxide Awareness
- 124 Chimneys & Flues
- 2.2K Domestic Hot Water
- 5.9K Gas Heating
- 119 Geothermal
- 168 Indoor-Air Quality
- 3.8K Oil Heating
- 78 Pipe Deterioration
- 1K Plumbing
- 6.6K Radiant Heating
- 394 Solar
- 15.9K Strictly Steam
- 3.5K Thermostats and Controls
- 56 Water Quality
- 50 Industry Classes
- 50 Job Opportunities
- 18 Recall Announcements